Learnerslesson
   JAVA   
  SPRING  
  SPRINGBOOT  
 HIBERNATE 
  HADOOP  
   HIVE   
   ALGORITHMS   
   PYTHON   
   GO   
   KOTLIN   
   C#   
   RUBY   
   C++   


C# - Installation


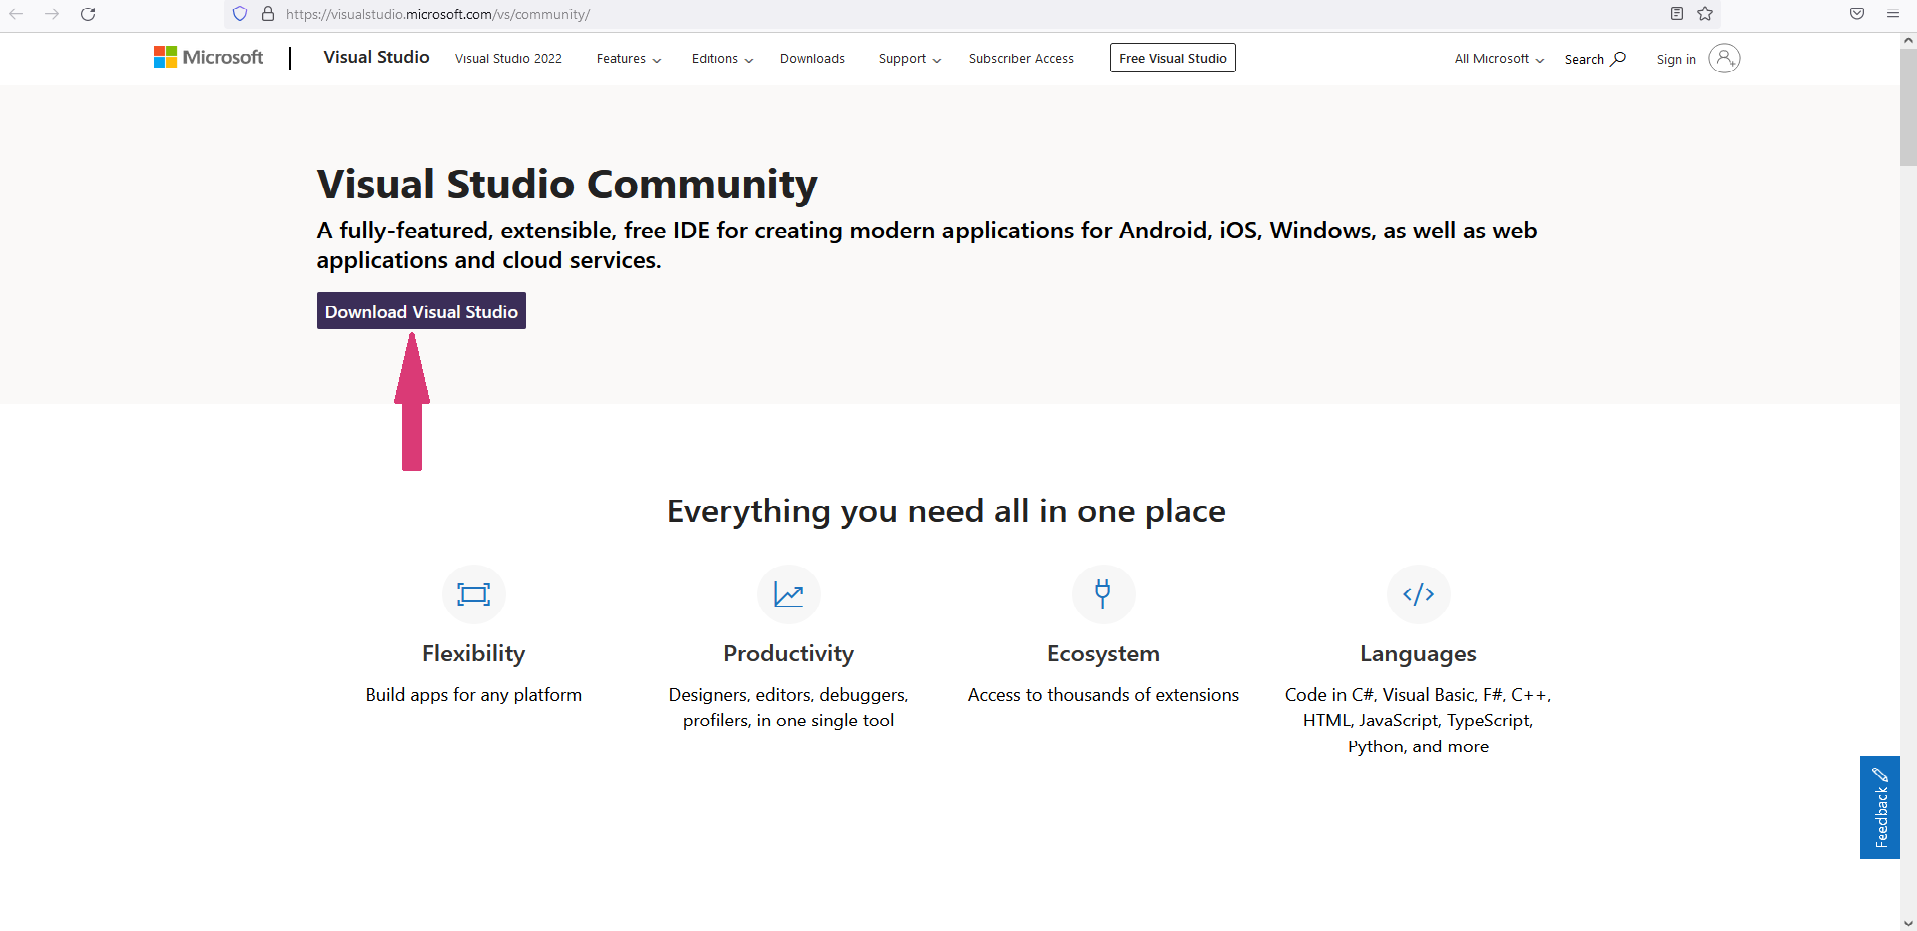
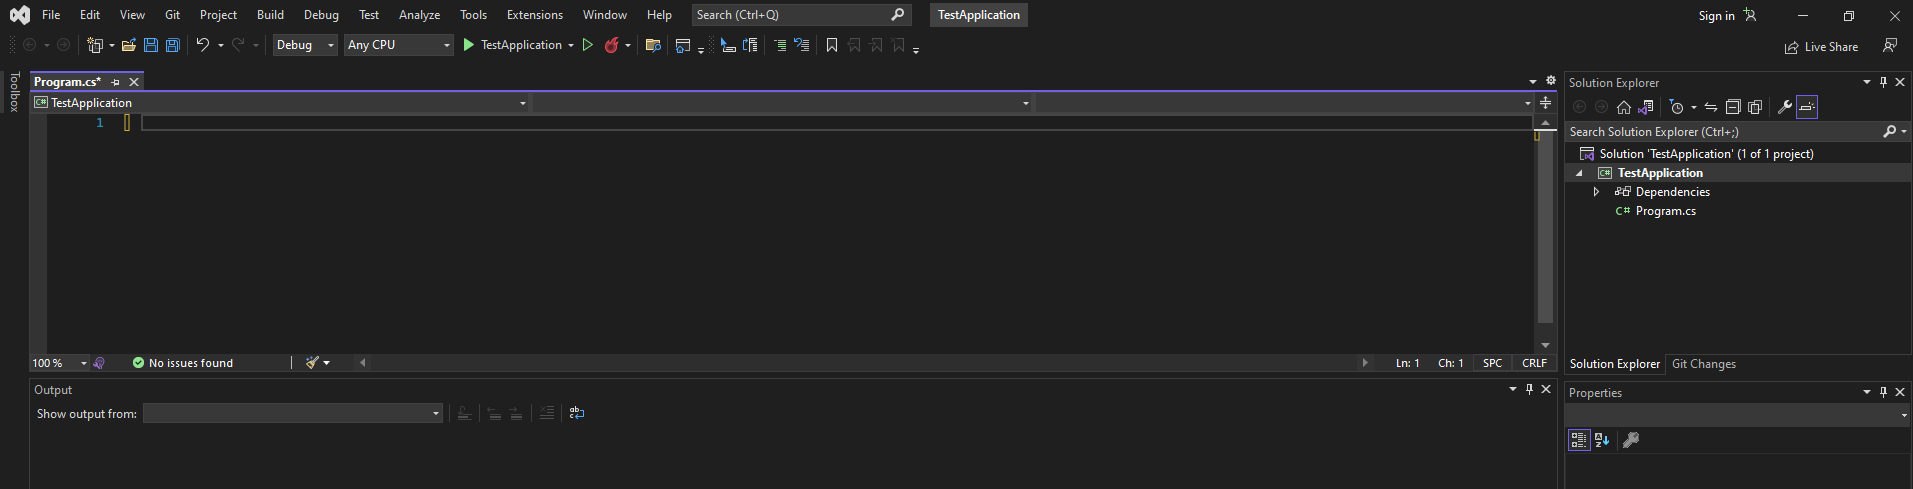
The best and easiest way to run C# Programms is to use Visual Studio IDE.


Installation of Visual Studio Community edition for Windows OS


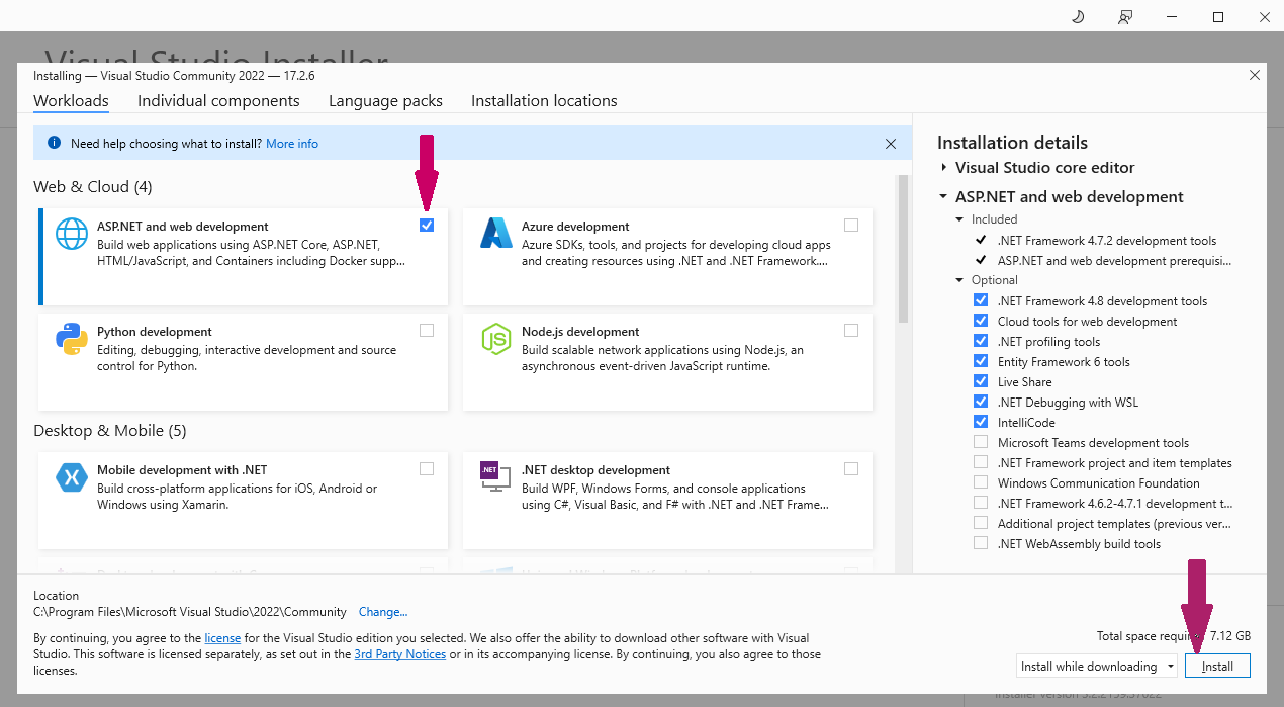
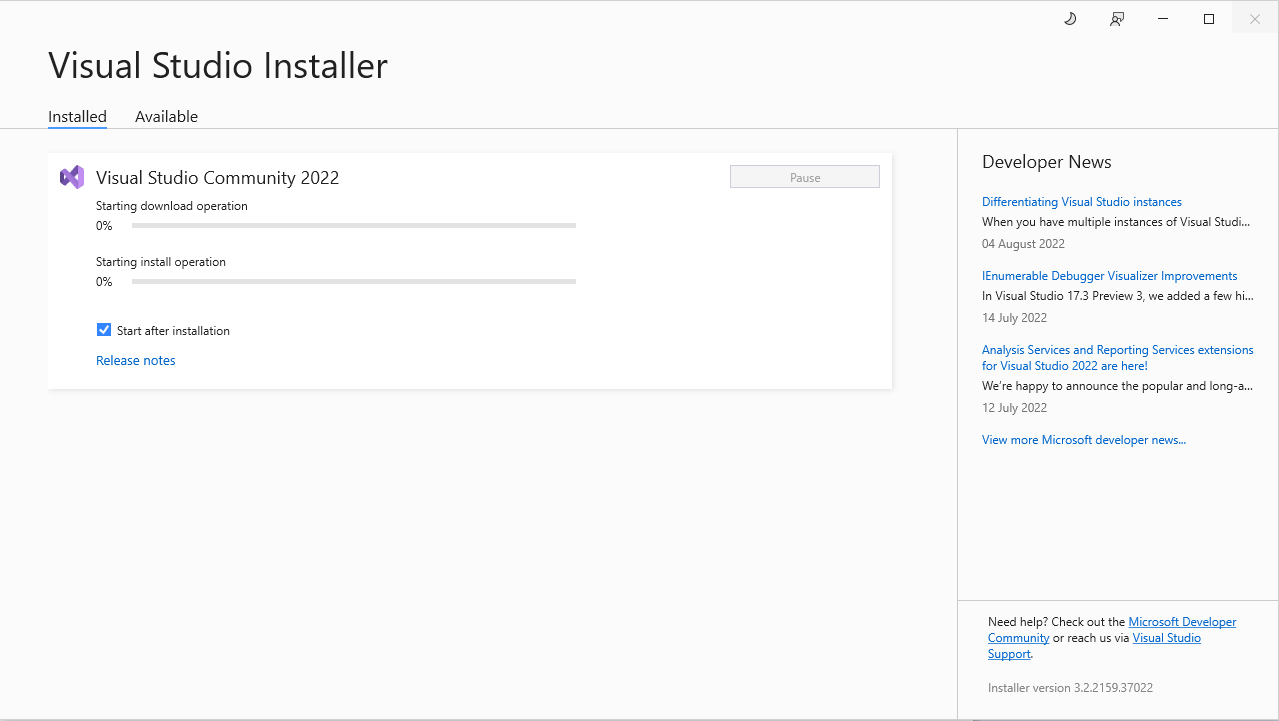
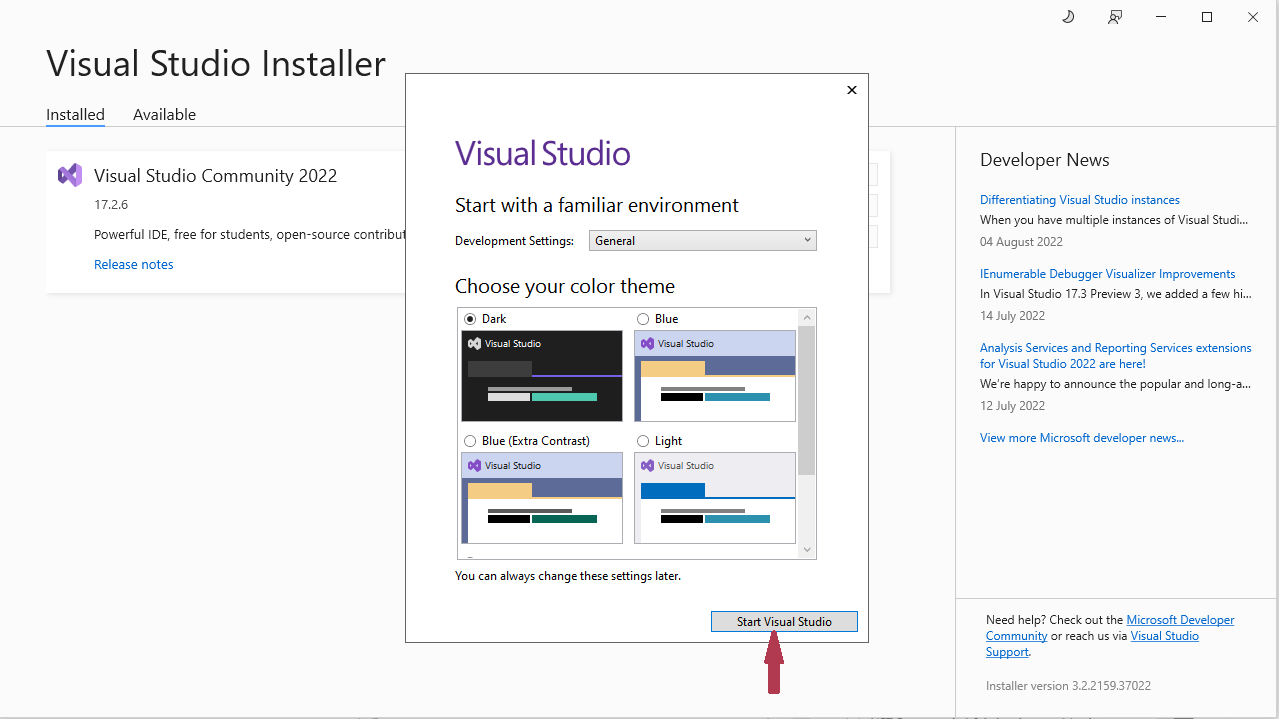
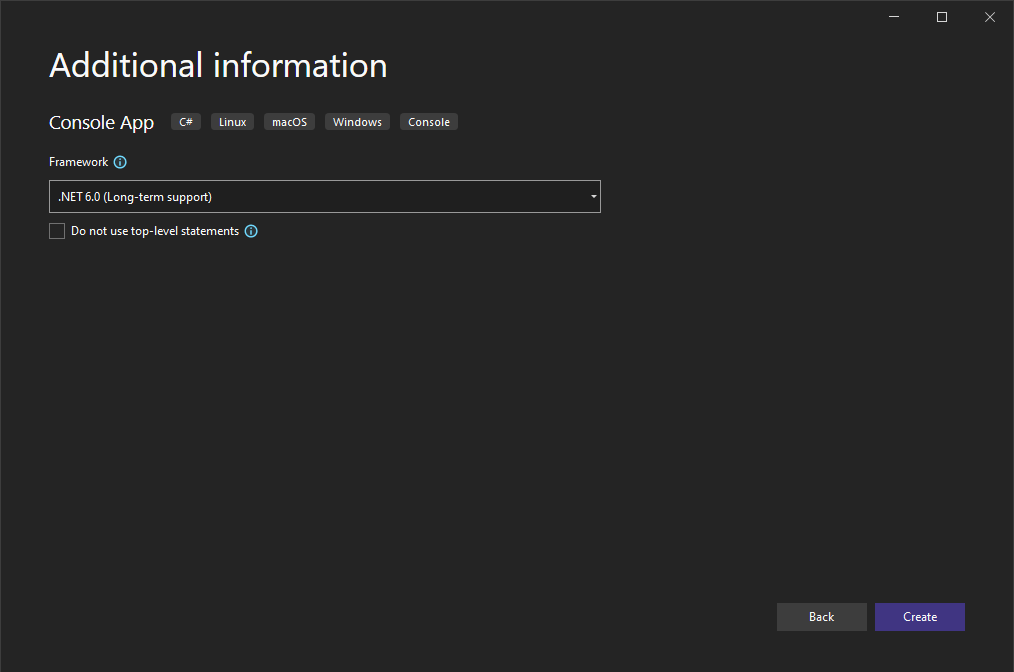
Below are the steps to download and install the free version of Visual Studio Community edition on Windows OS :

  1. Goto the below link and download the latest version of Visual Studio Community edition.


    https://visualstudio.microsoft.com/vs/community/
    C_Sharp

    C_Sharp

  2. Once Visual Studio Community edition is downloaded. Click on the exe file to install.


    C_Sharp

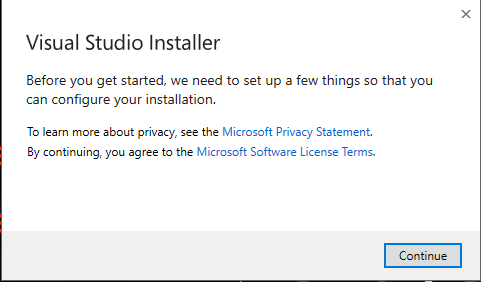
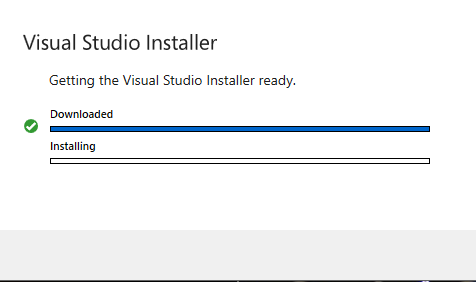
    Then you get the Visual Studio Installer. Click on 'Continue' to proceed.


    C_Sharp

    C_Sharp

  3. After the Visual Studio Community edition is installed, select 'ASP.NET and web development' and click on Install.


    C_Sharp

    C_Sharp

  4. Once the Installation is complete. Click on 'Start Visual Studio'.


    C_Sharp

    C_Sharp

  5. Now, click on 'create a new project'.


    C_Sharp

  6. Then click on 'console app' and click 'next'.


    C_Sharp

  7. Then provide a 'Project Name' and specify the 'Location' where your application needs to be stored.


    C_Sharp

  8. Now, click on 'Create'.


    C_Sharp

  9. And you have the application opened.


    C_Sharp

  10. Now you can type the basic application to print 'Hello World'.


    Example :


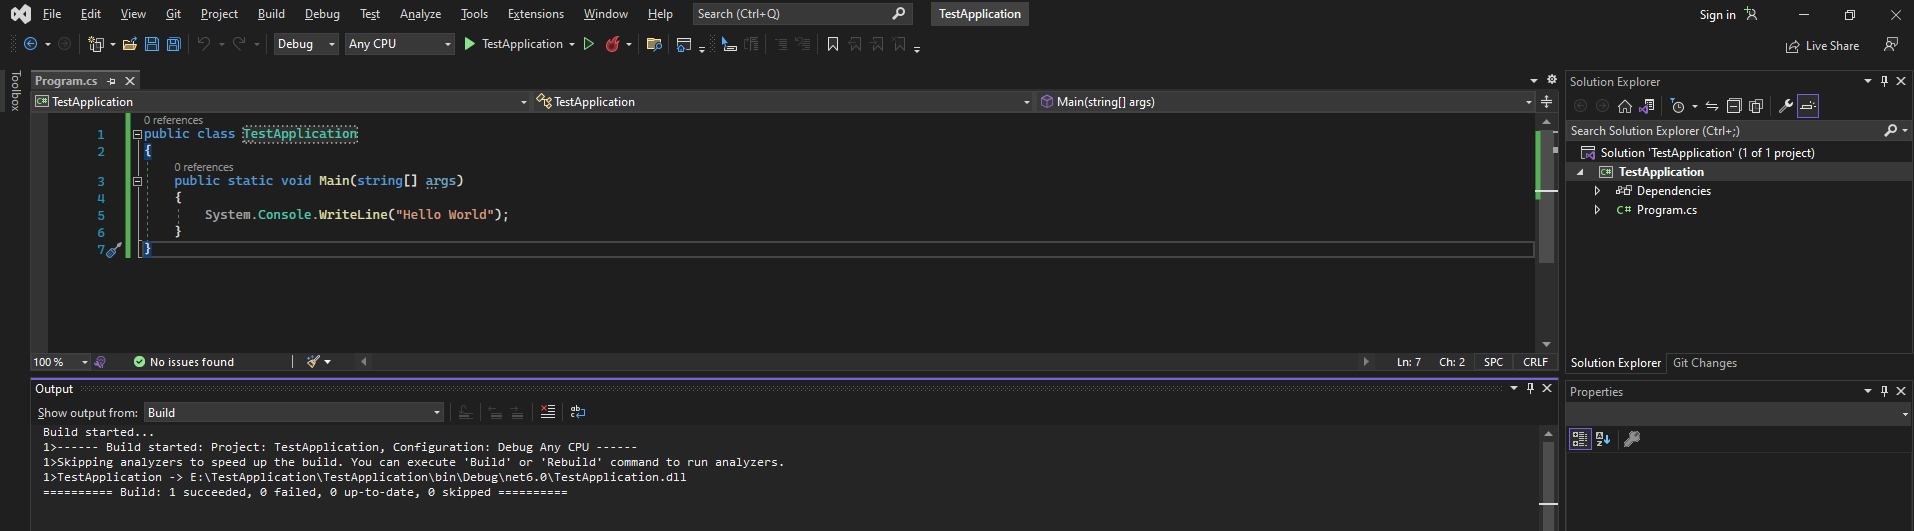
    public class TestApplication
    {
    	public static void Main(string[] args)
    	{
    		System.Console.WriteLine ("Hello World");
    	}
    }


    I have typed the same piece of code in the 'Visual Studio' application.
    C_Sharp

  11. Then click on the play button on top.


    C_Sharp

  12. And a different screen opens and you can see the output as 'Hello World'.


    C_Sharp