A List is a Collection that holds multiple values, of similar Data Types.
#include <iostream>
#include <list>

using namespace std;

int main() {

    list<string> x = {"Tom", "John", "C++"};

    for (string data : x) {

        cout << data << endl;
    }

    return 0;
}
Declaring a List is super simple.
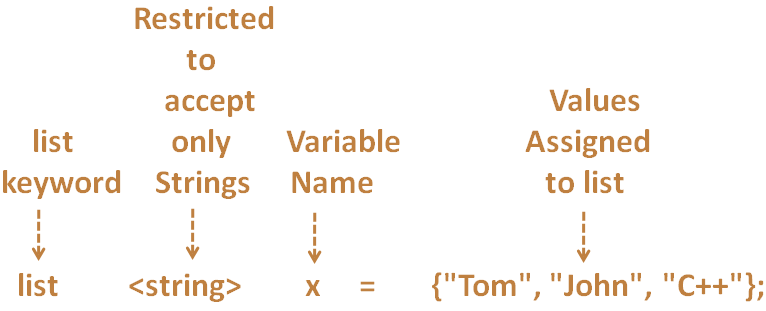
So, in the above code we have created a List using list keyword. And put three String type value (i.e. Tom, John and C++),
list<string> x = {"Tom", "John", "C++"};And initialised to the variable x.
In the next line we have printed the List using the for range loop.
for (string data : x) {
	cout << data << endl;
}
And we have the below output.
Also we have used the list in the #include statement.
#include <list>
This is to make use of the list
So far we have seen a List with default values. Now let us see, how can we create an empty List and assign values to it.
#include <iostream>
#include <list>

using namespace std;

int main() {

    list<string> x;

    x.push_back("Tom");
    x.push_back("John");
    x.push_back("C#");

    for (string data : x) {

        cout << data << endl;
    }

    return 0;
}
So, in the above code, we have defined an empty List,
list<string> x;
Then used the push_back() method of the list to add values of String type to the end of the List.
x.push_back("Tom");
x.push_back("John");
x.push_back("C#");
Then we have printed the output using the for range loop.
So, we have used for range loop to get the values printed.
Let us see in detail, how for range loop works.
#include <iostream>
#include <list>

using namespace std;

int main() {

    list<string> x = {"Tom", "John", "C++"};

    for (string data : x) {

        cout << data << endl;
    }

    return 0;
}
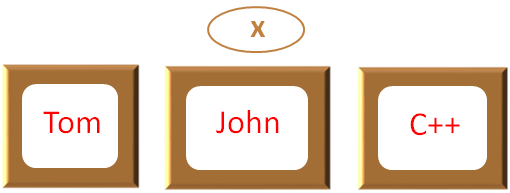
Similarly, in the above code we have created a List,
list<string> x = {"Tom", "John", "C++"};And initialised to the variable x.
In the next line we have used the for loop to Iterate through the List.
for (string data : x) {
	cout << data << endl;
}Now, if we see the iterations of for loop,
for (string data : x) {
	cout << data << endl;
}In the first Iteration the first value of the List x (i.e. Tom) is taken and put into the variable data.

And the print statement, prints the value of data.
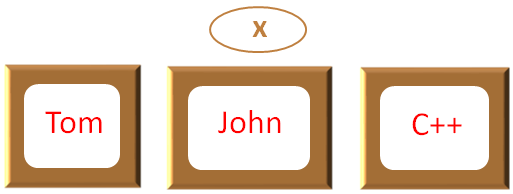
Similarly, in the second Iteration the second value of the List x (i.e. John) is taken and put into the variable data.
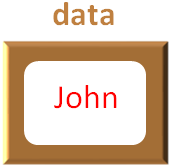
And the print statement, prints the value of data.
Similarly, in the third Iteration the third value of the List x (i.e. C++) is taken and put into the variable data.
And the print statement, prints the value of data.
Now, if you see the final output. You can find that the values of the List are displayed in the same way they were inserted.
i.e. First Tom is printed, then the name John and finally C++ is printed.
And if you see the List,
list<string> x = {"Tom", "John", "C++"};It is printed in the same order it was inserted.
Next, let us see, how to access the elements of the List in the next tutorial.