In earlier tutorials we have seen that we have a run() method that starts the Spring Boot application.
import org.springframework.boot.SpringApplication;
import org.springframework.boot.autoconfigure.SpringBootApplication;

@SpringBootApplication
public class MyFirstApplication {

   public static void main(String[] args) {

      SpringApplication.run(MyFirstApplication.class, args);
   }
}
Now, we will make some changes to this application, so that it accepts a request and gives us a response.
To achieve it, let us start our existing application first.
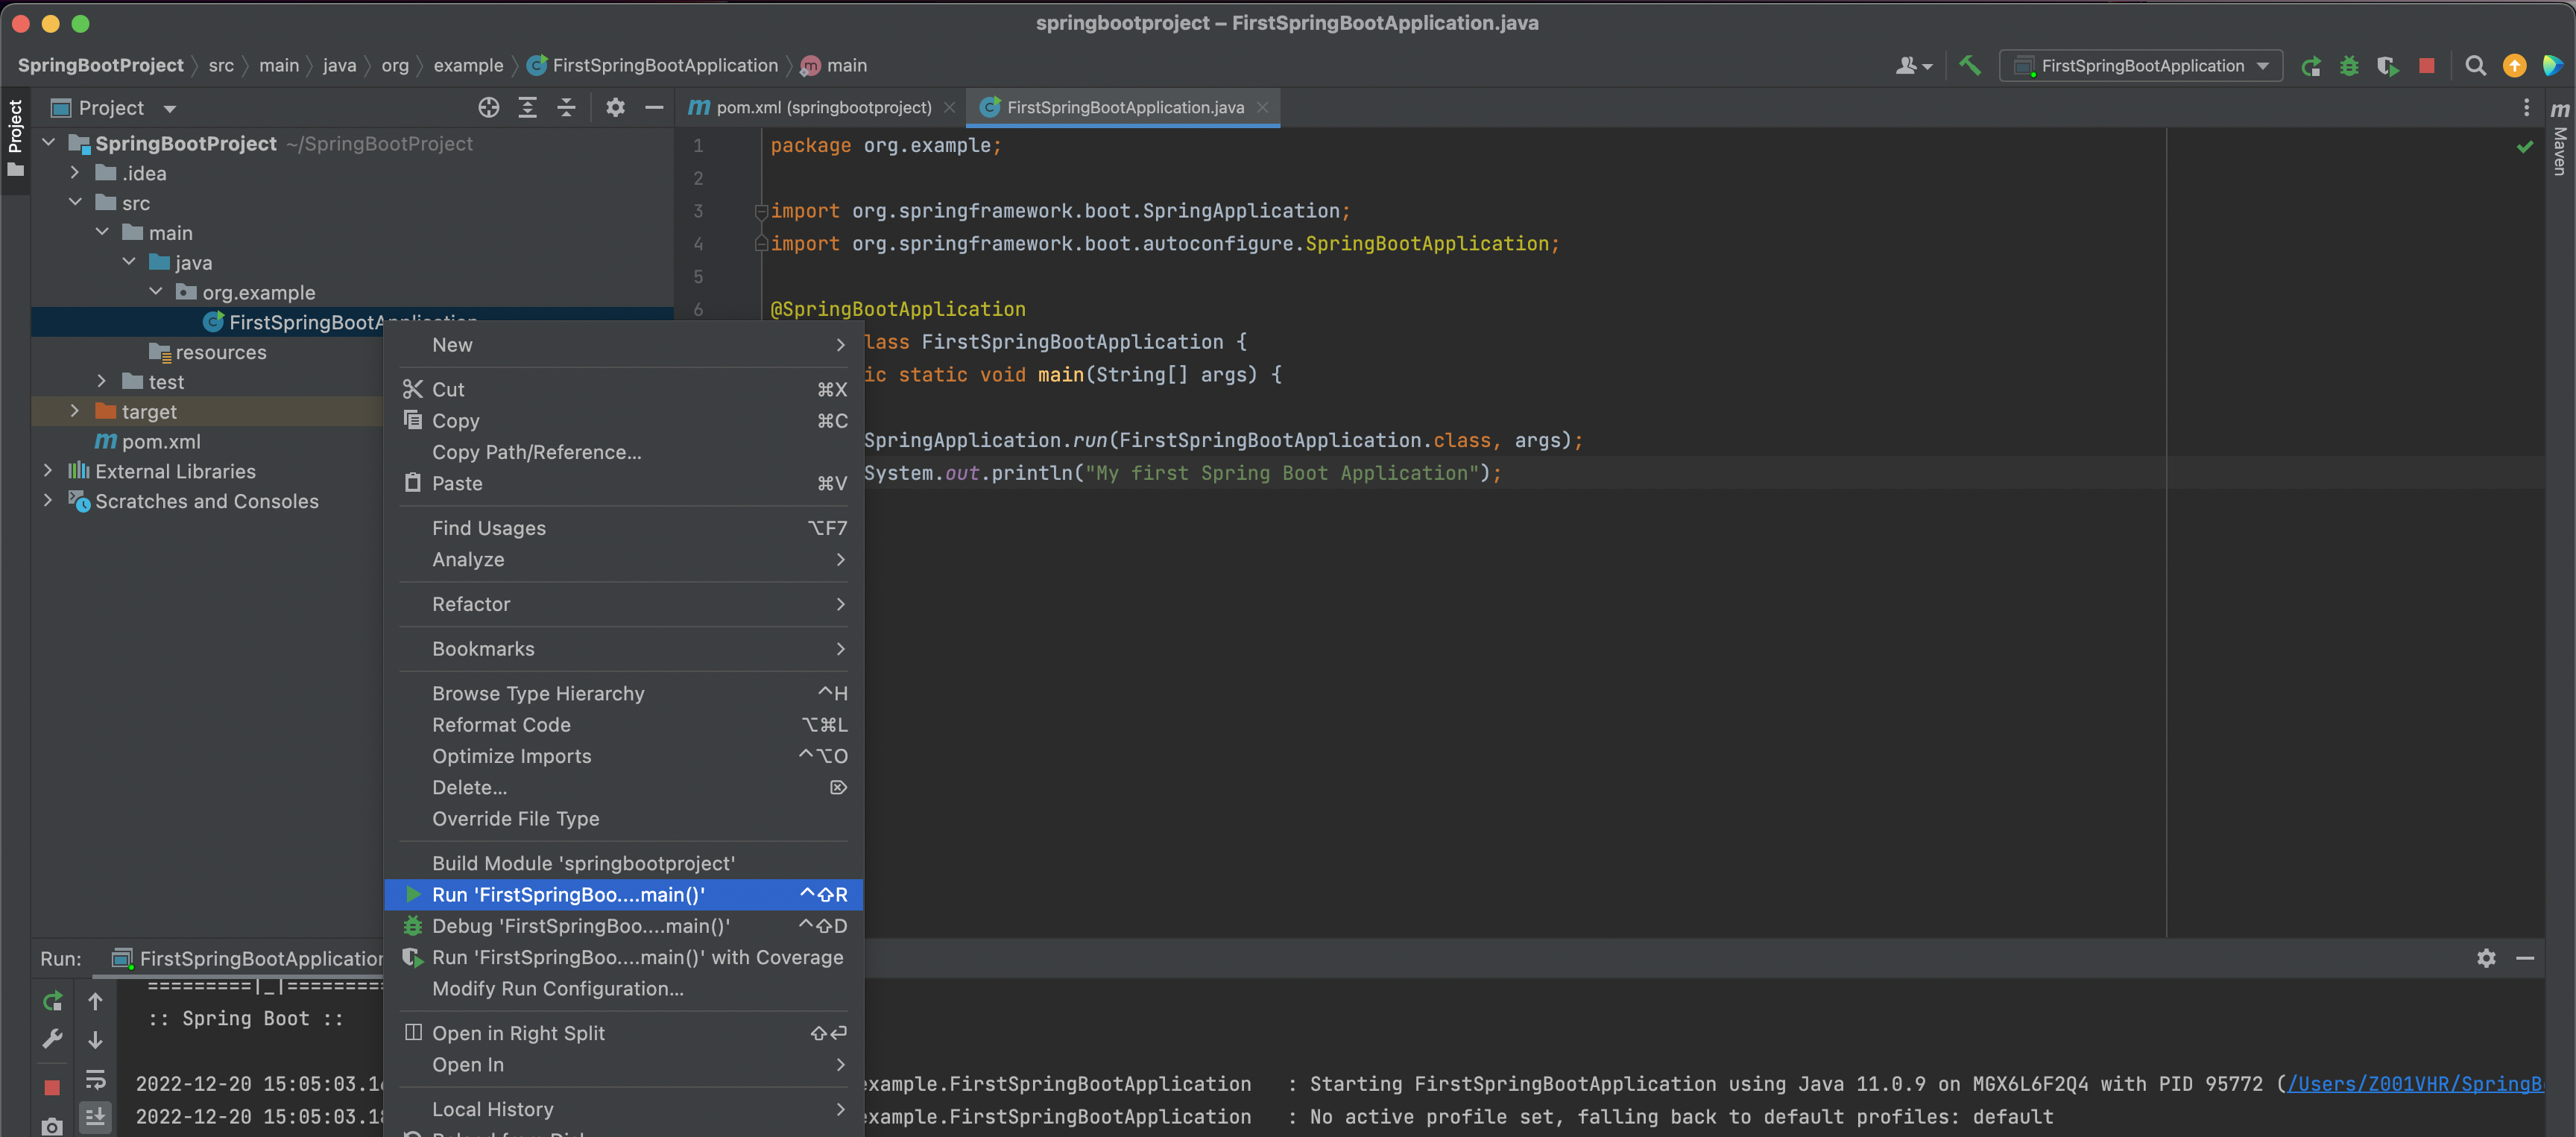
Now, that our application is up and running, we would open any web browser and type,
http://localhost:8080/HelloWorld
Here localhost:8080 is like opening a website locally.
Just like, when you type
https://amazon.com
The page for amazon is opened.
In the same way when we type
http://localhost:8080/HelloWorld
Some content should be shown for that.
But to get this http://localhost:8080/HelloWorld up and running, you need to deploy in tomcat server(In your local machine).
And thanks to Spring Boot. It does the job for us.
If you are new to the concept of server.
Click here to understand the concept of server
When you click on,
https://amazon.com
The webpage for amazon.com is opened. That is because amazon.com is deployed in a server. A server is just like your Computer with a little more cpu and ram.
And why a server has more cpu and ram?
That is because you are not the only person who is opening amazon.com. There are other people around the world who are also trying to open amazon.com, just like you. Now, if the Computer/Server is not so powerful(In terms of cpu and ram), how would that computer handle those many request.
Now let us come back to the URL that we are trying to open,
http://localhost:8080/HelloWorld
localhost:8080 is just like amazon.com. But localhost:8080 has to be deployed in your computer. So in this case your computer behaves as a server. And since you are the only person who is going to hit open localhost:8080, the server doesn't have to be that powerful(In terms of cpu and ram).
Although our computer behaves as a server but a server has certain more features. And in our case we have used the tomcat server.
So what we do is deploy our application in the tomcat server and we get some output.
And in our case Spring boot takes care of deploying our application in tomcat server.
Now let us understand what a request is:
/HelloWorld in http://localhost:8080/HelloWorld is the request.
So, when we type http://localhost:8080/HelloWorld, the request /HelloWorld must be tackled such that we get a response.
So, when you start the application, tomcat server also starts in your local system and you get some output for that.
But the only issue is, when we type
http://localhost:8080/HelloWorld
In the web browser(In my case I have used chrome), we get the below output,
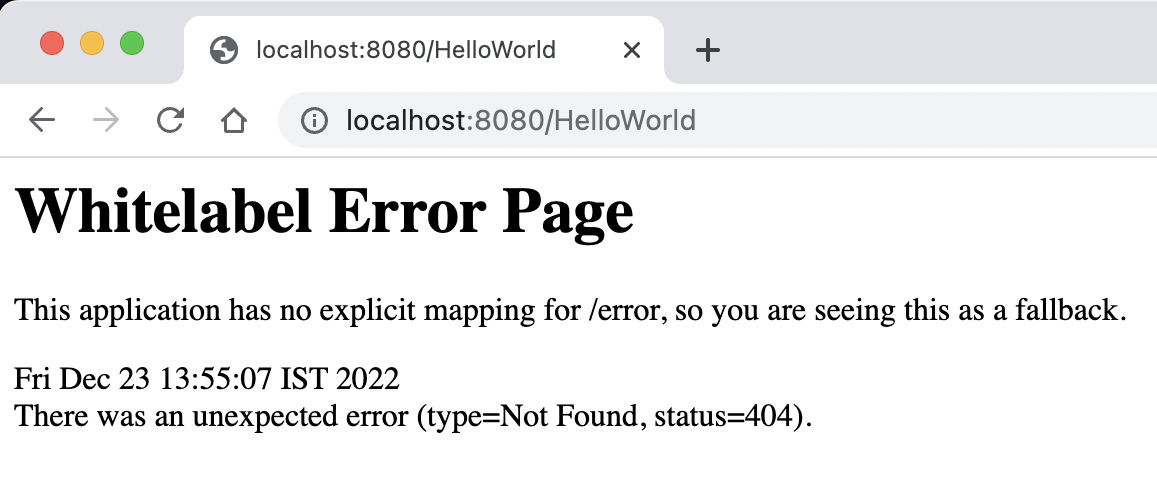
Any idea, why you got this page?
Well! Thats because nothing is defined.
Just remember /HelloWorld in http://localhost:8080/HelloWorld is the request. And we have to configure the request such that we get a proper response.
So, when we type http://localhost:8080/HelloWorld, the request /HelloWorld must be tackled by Spring Boot such that we get a response.
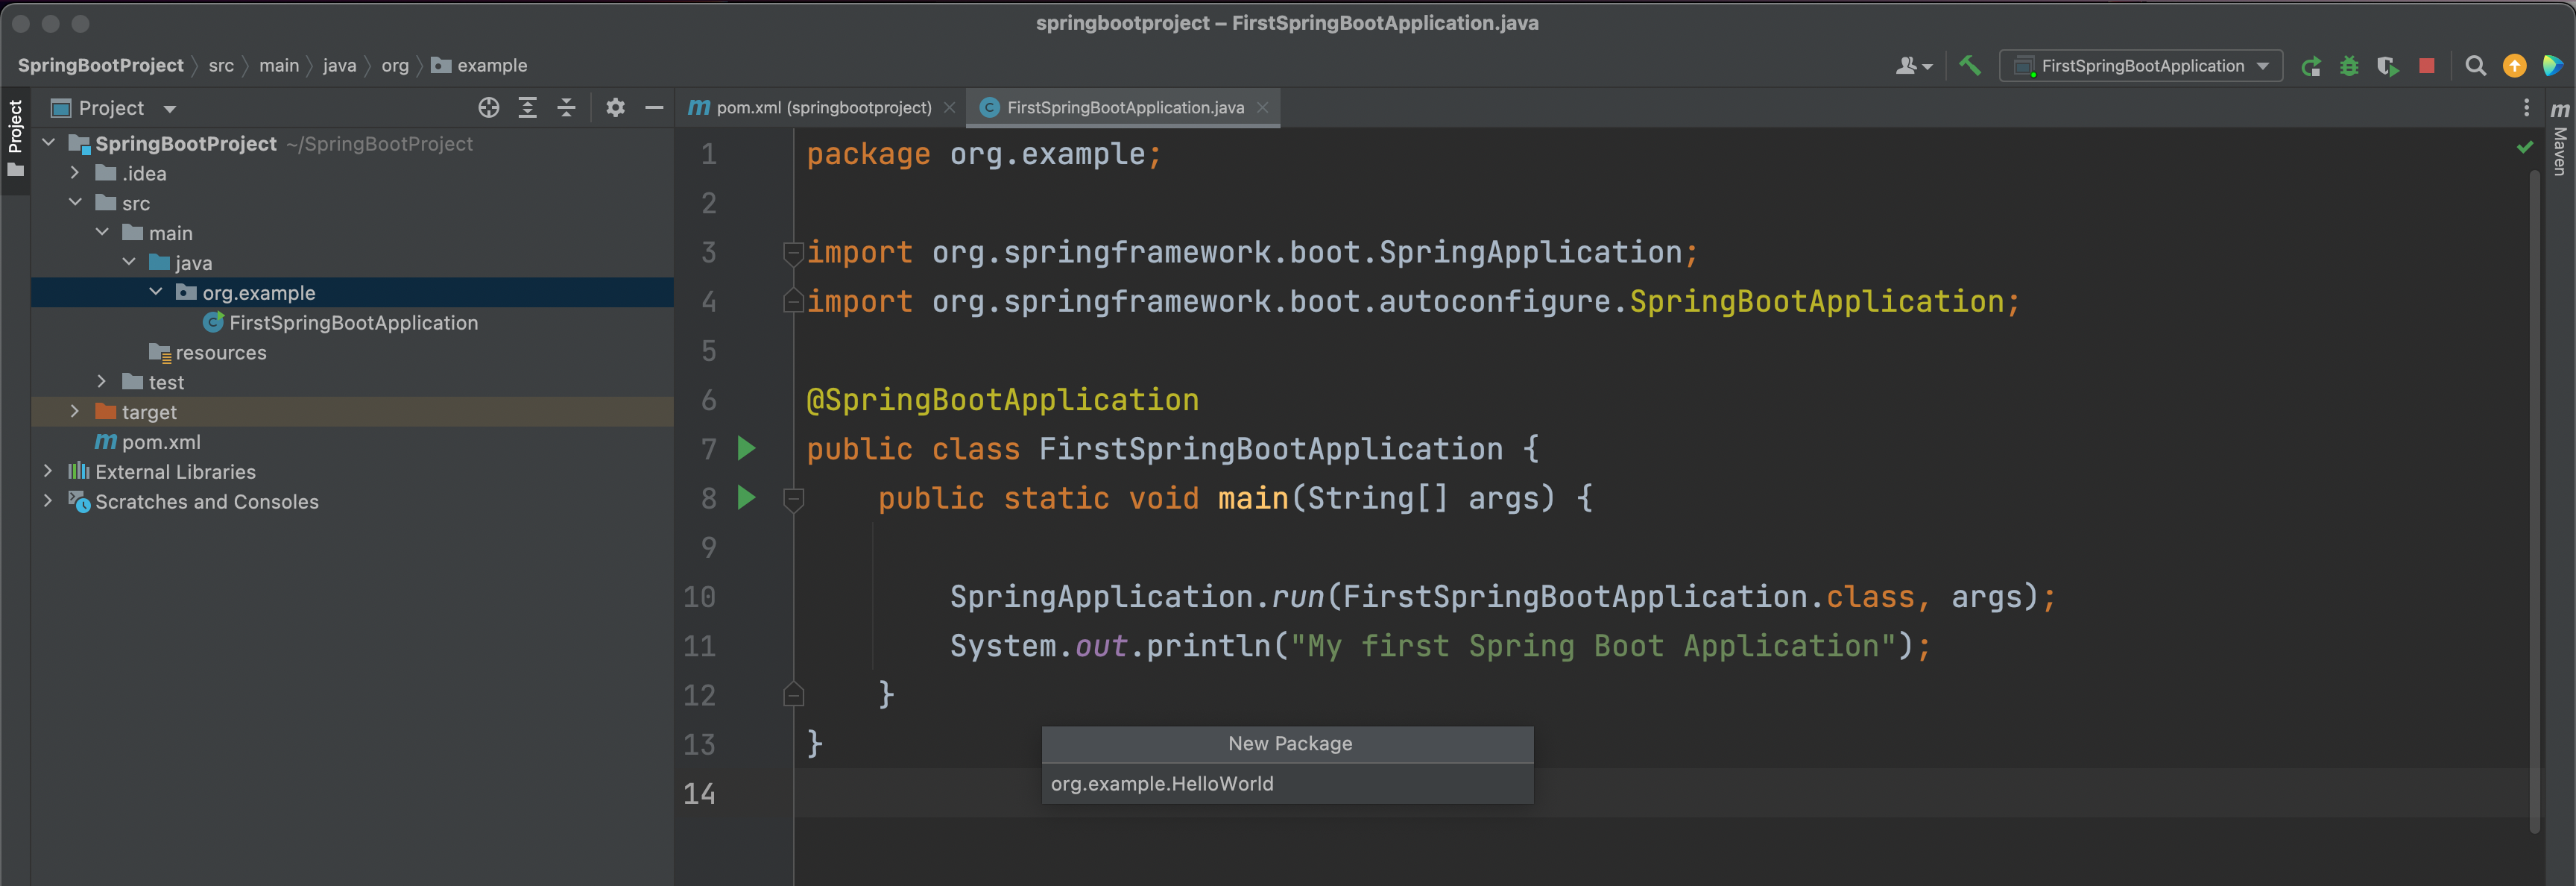
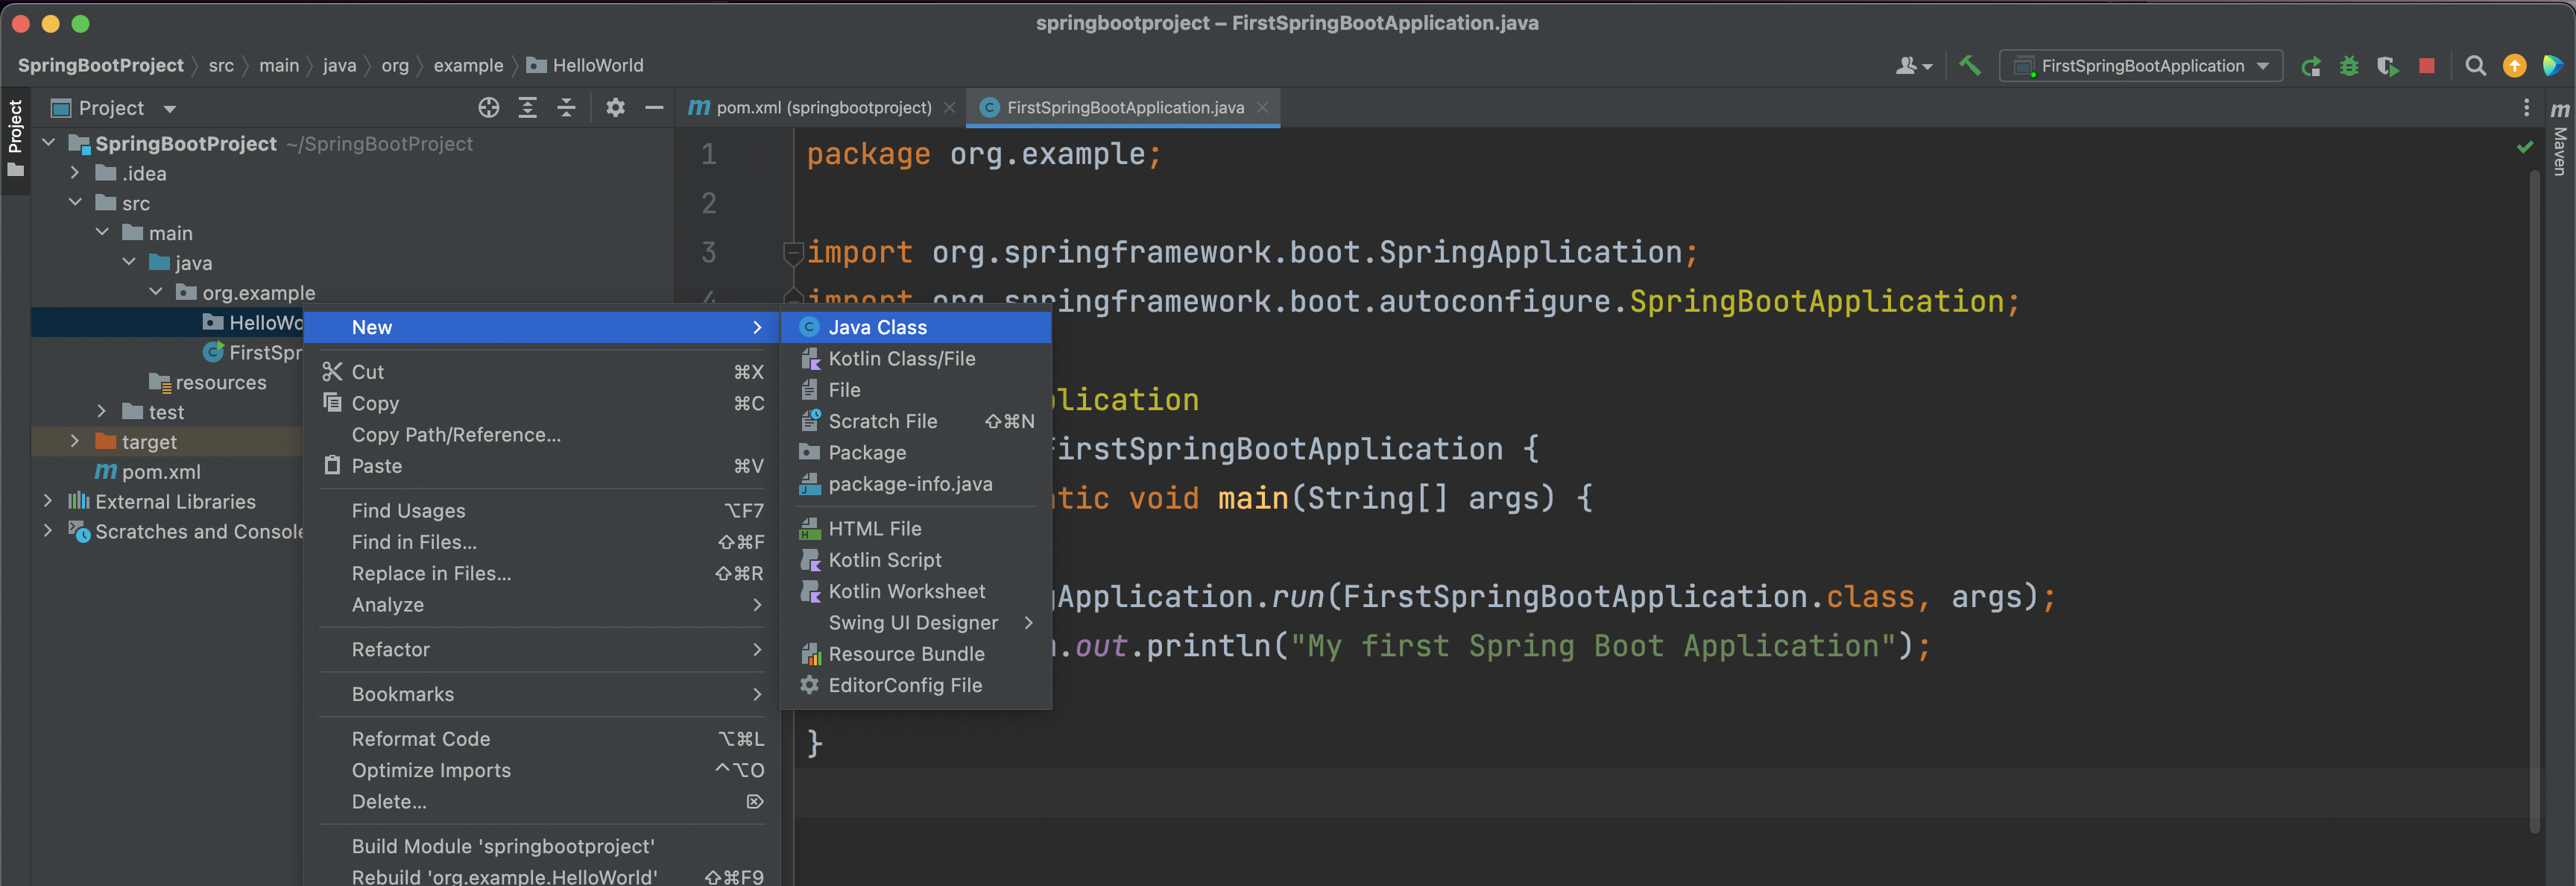
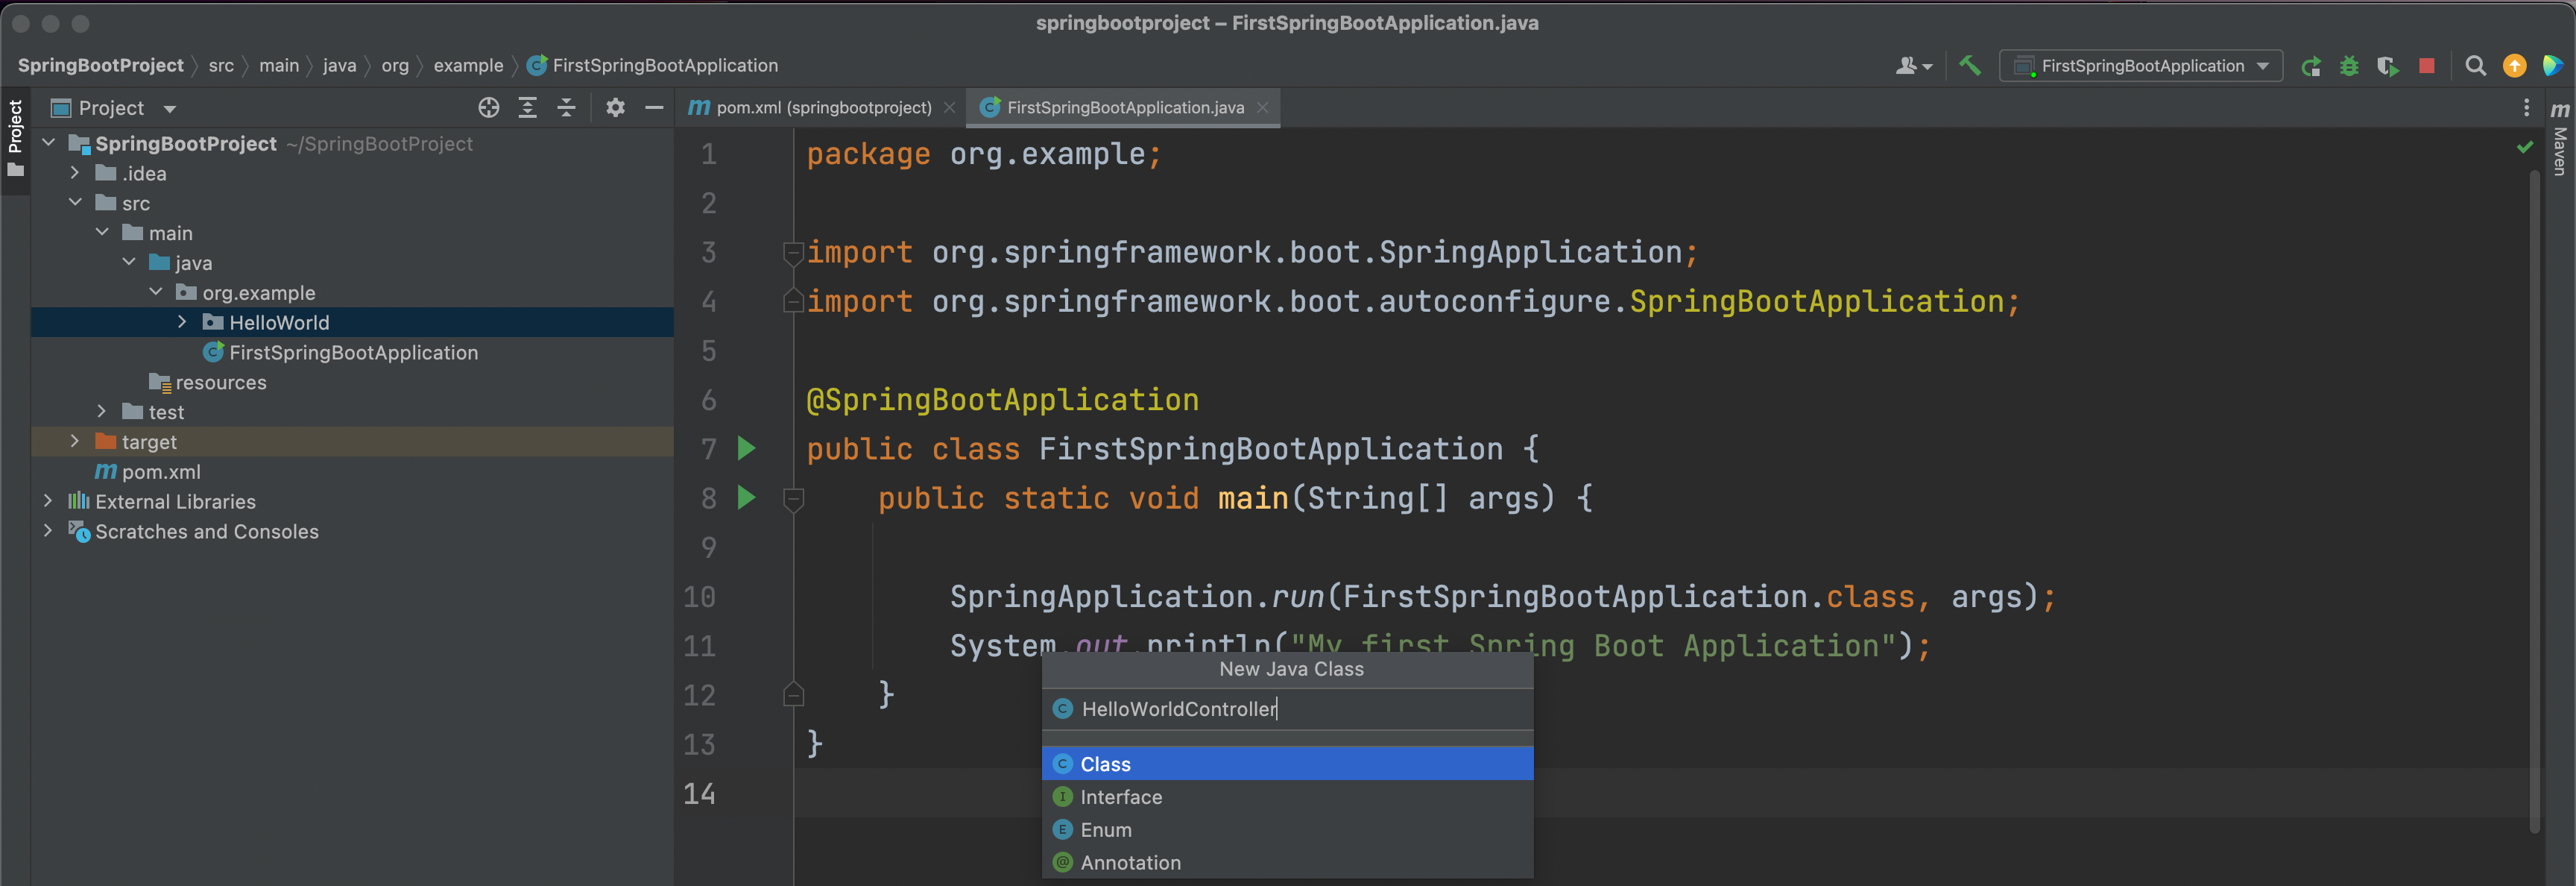
To achieve that let us create a folder HelloWorld under the org.example package.
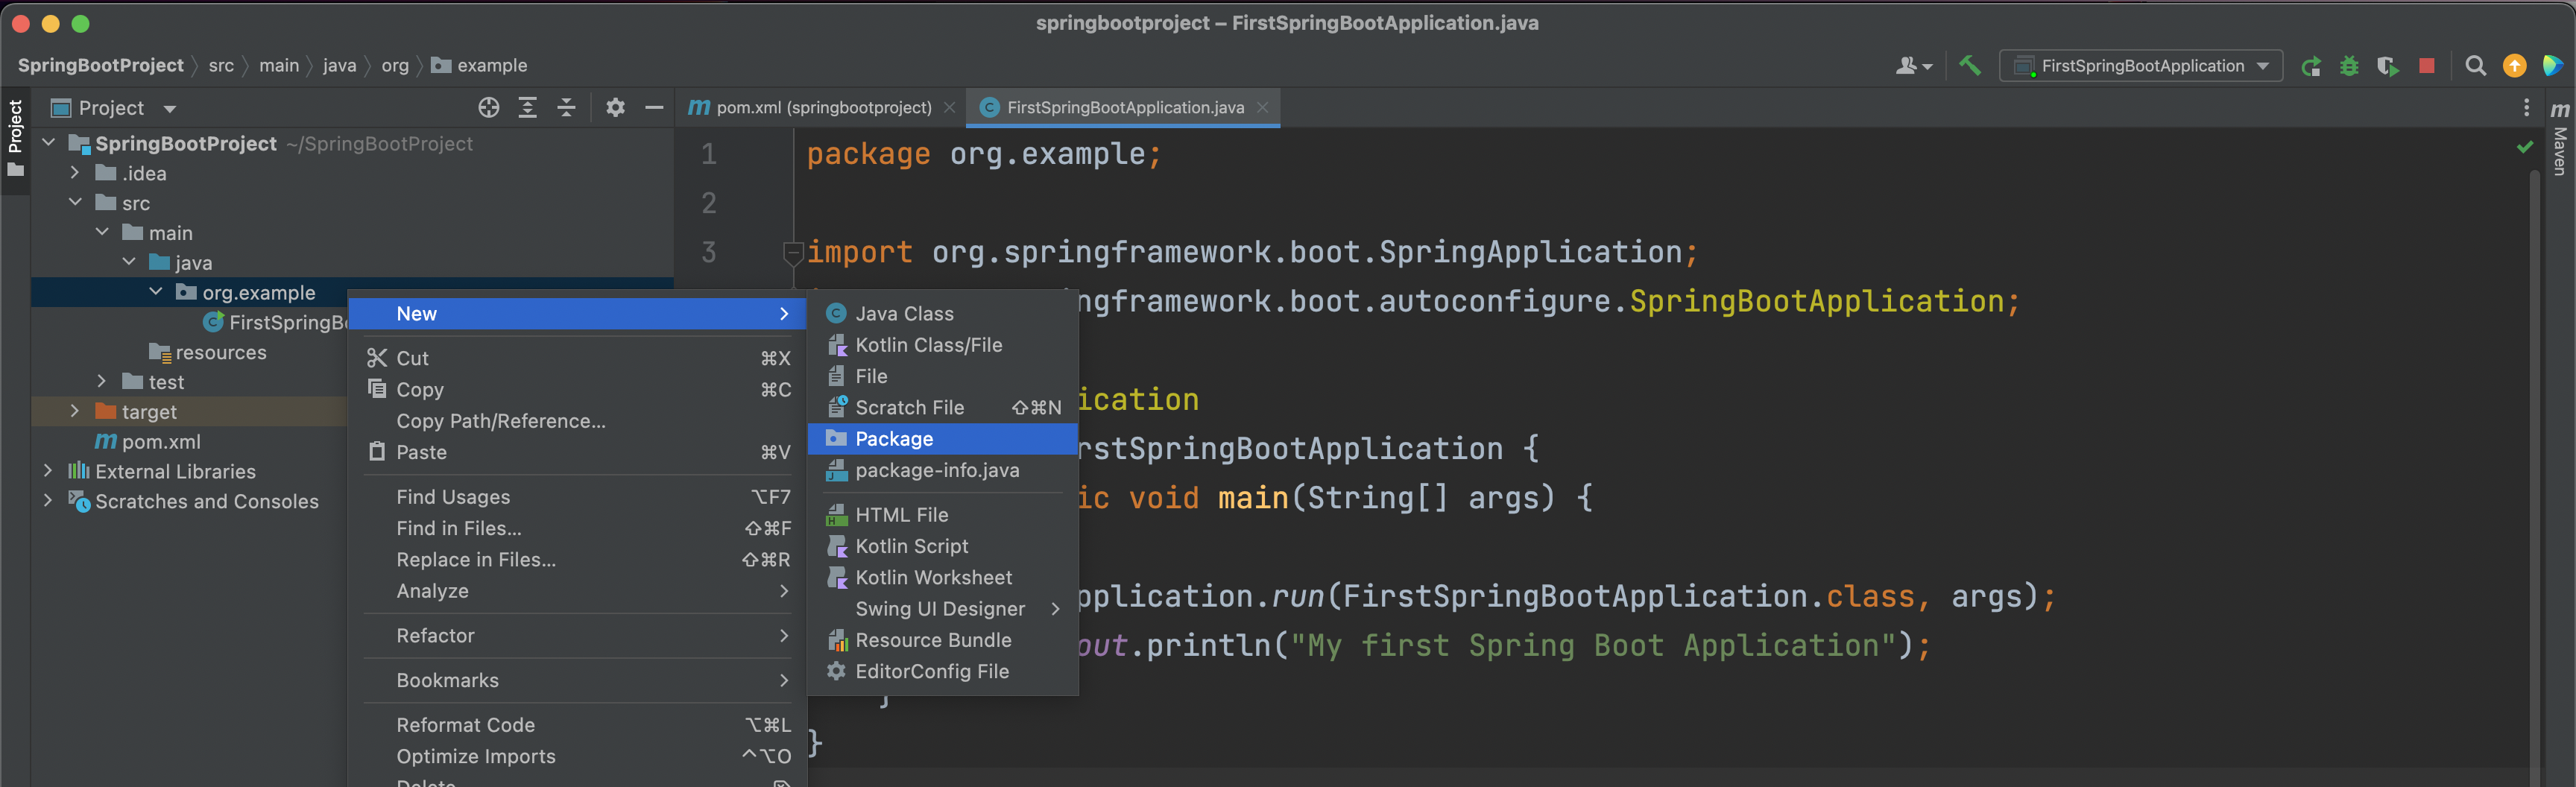
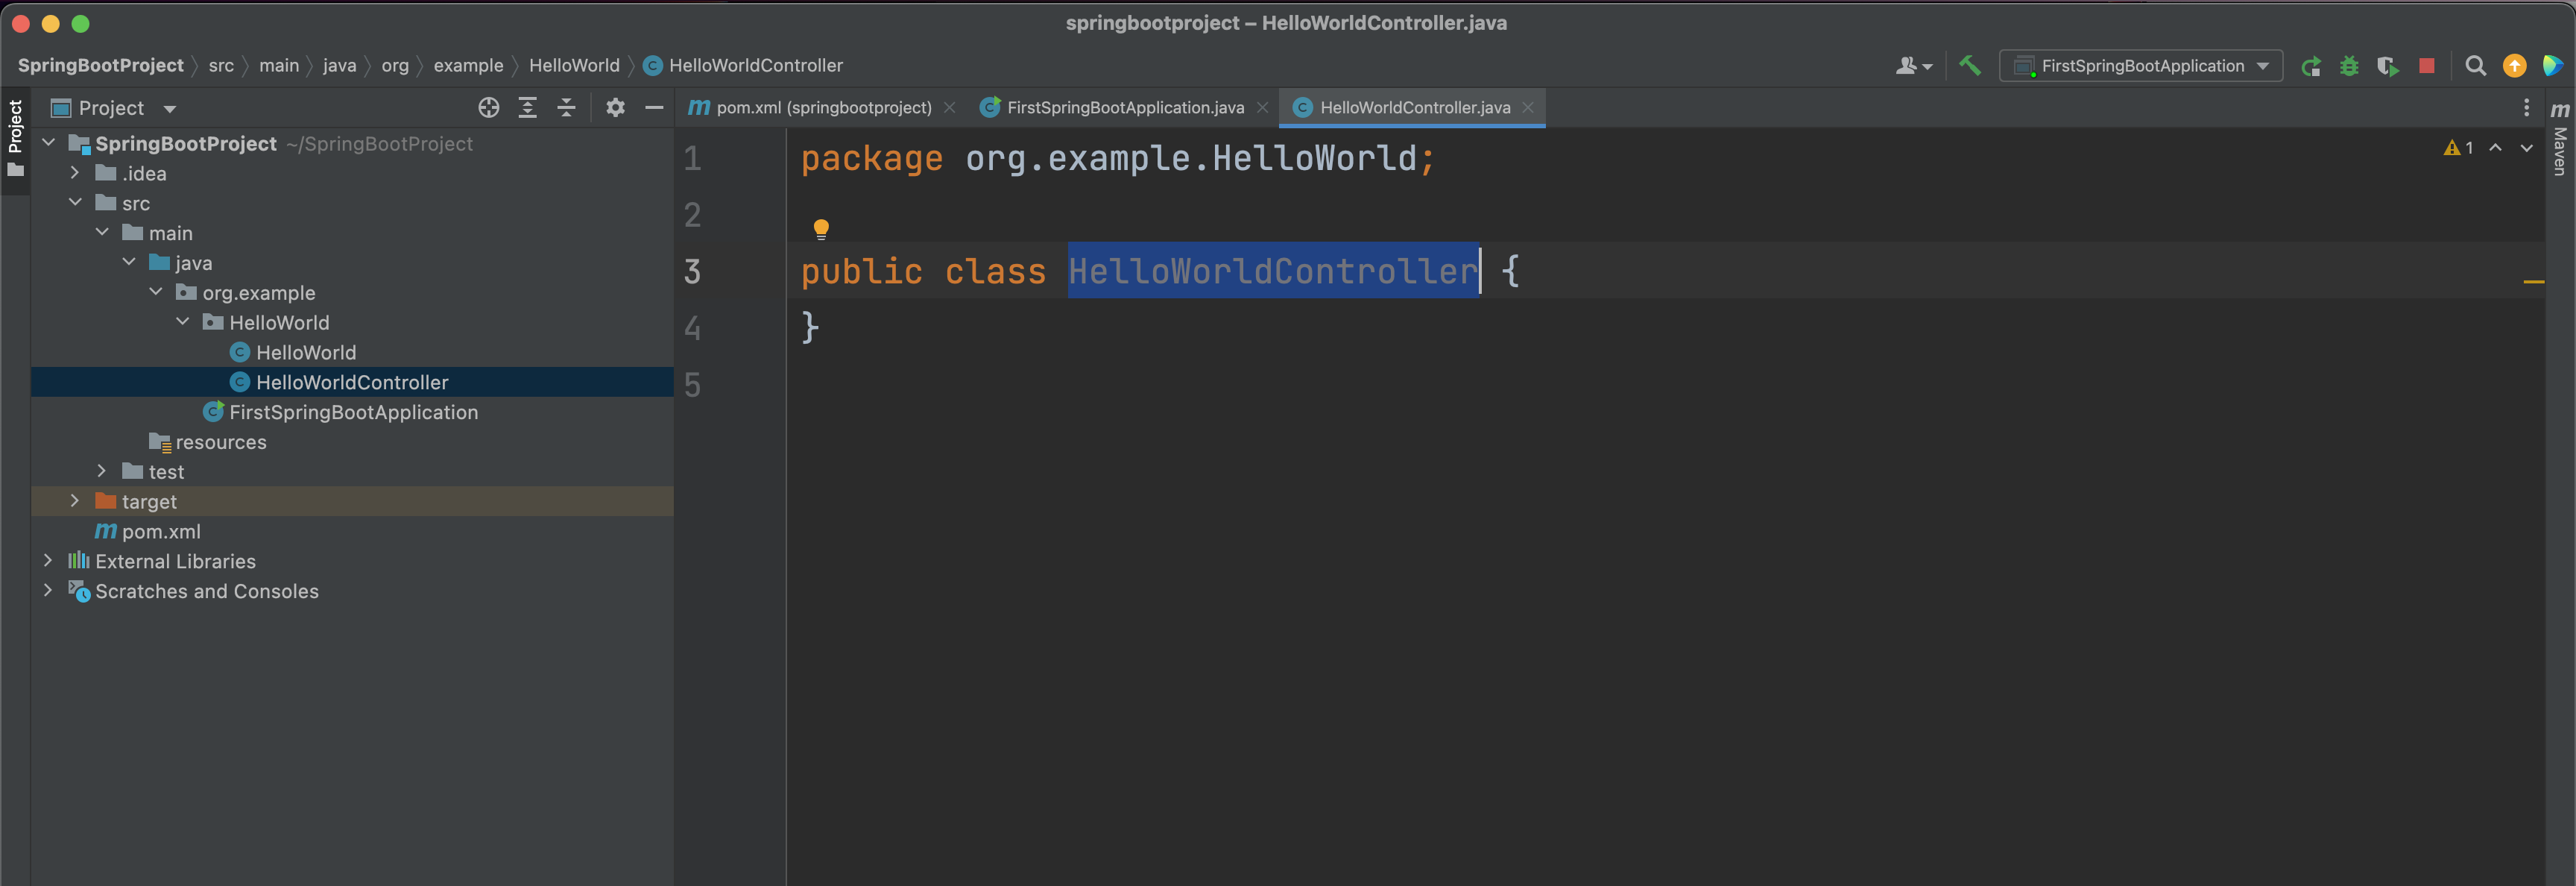
Inside the HelloWorld package, let us create a class named HelloWorldController.java
Now, our main task is to make our webpage return a cool result when we type,
http://localhost:8080/HelloWorld
In the web browser.
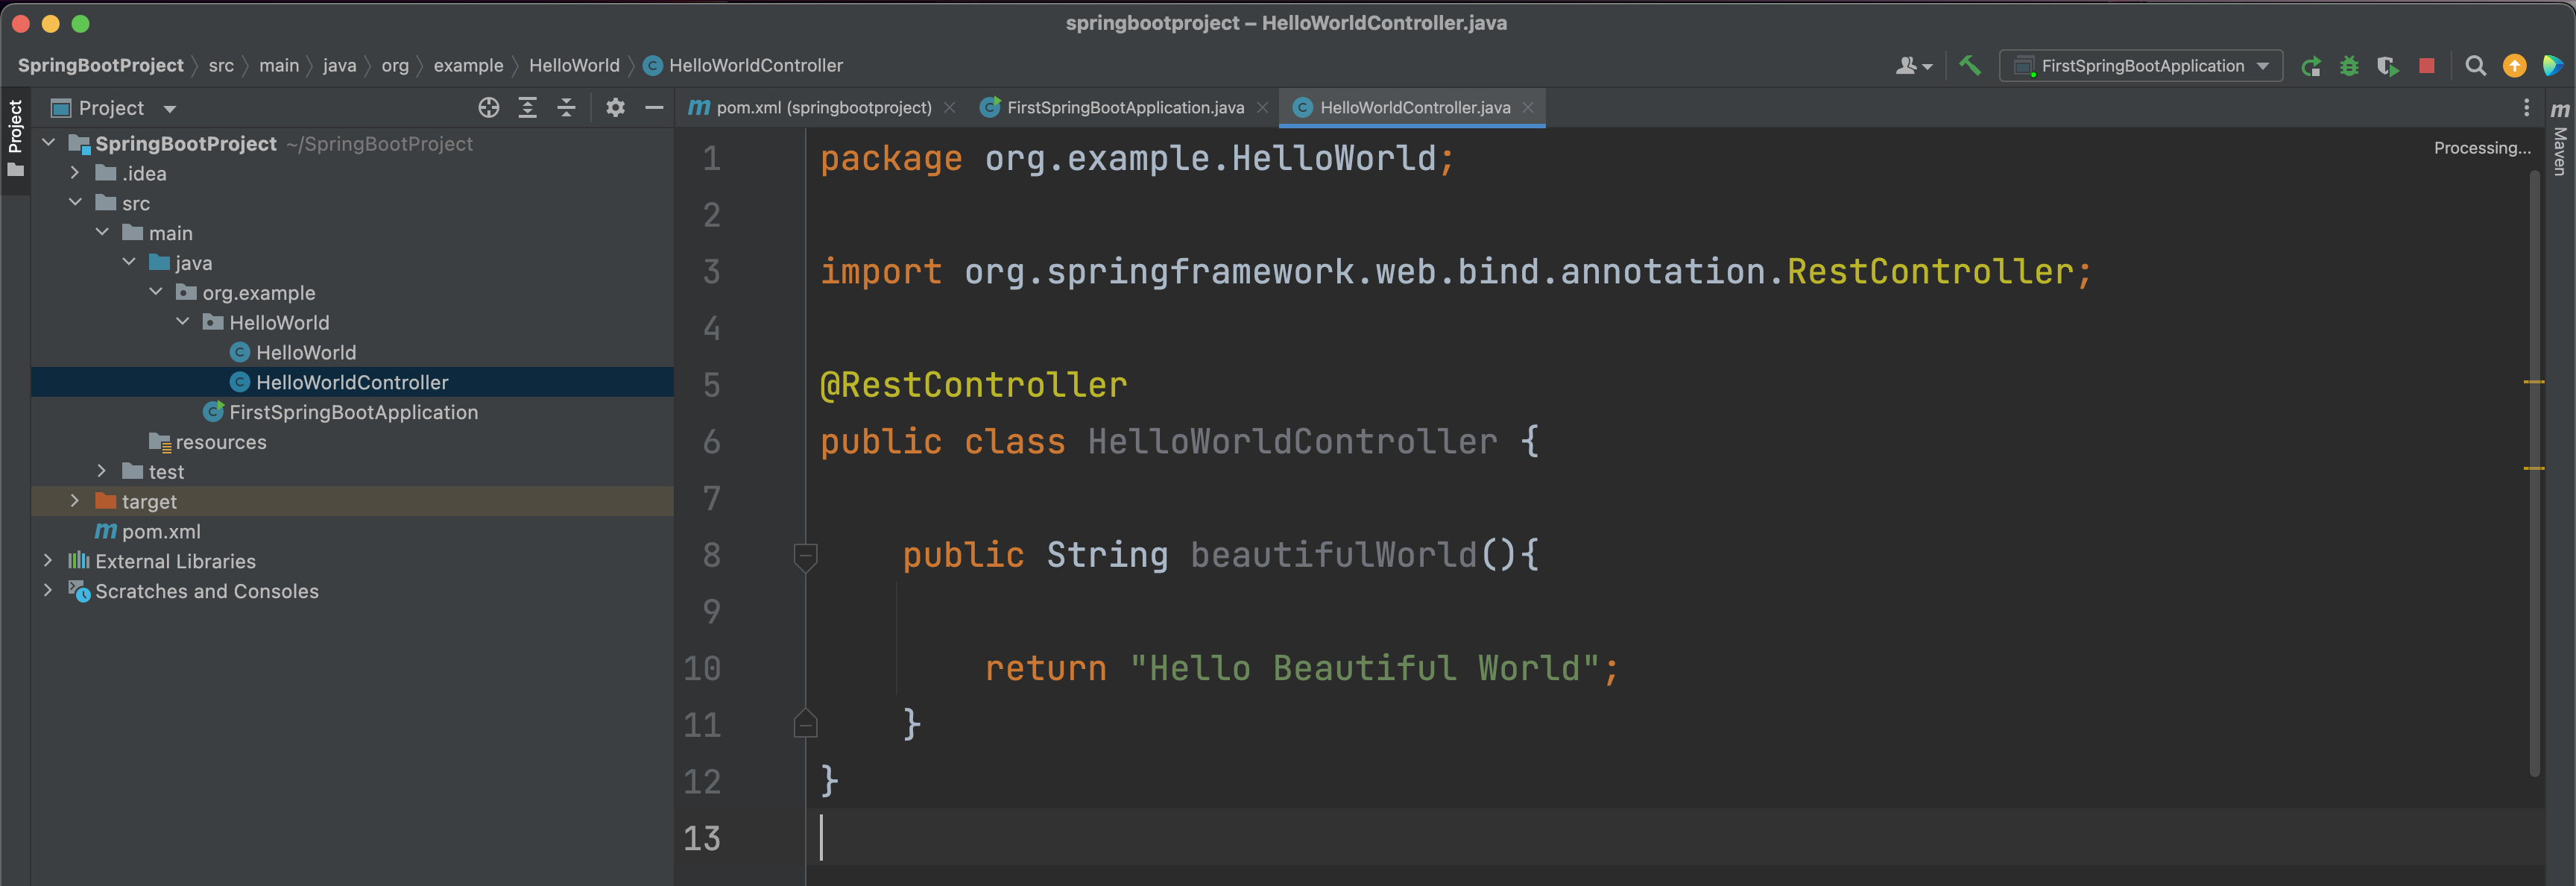
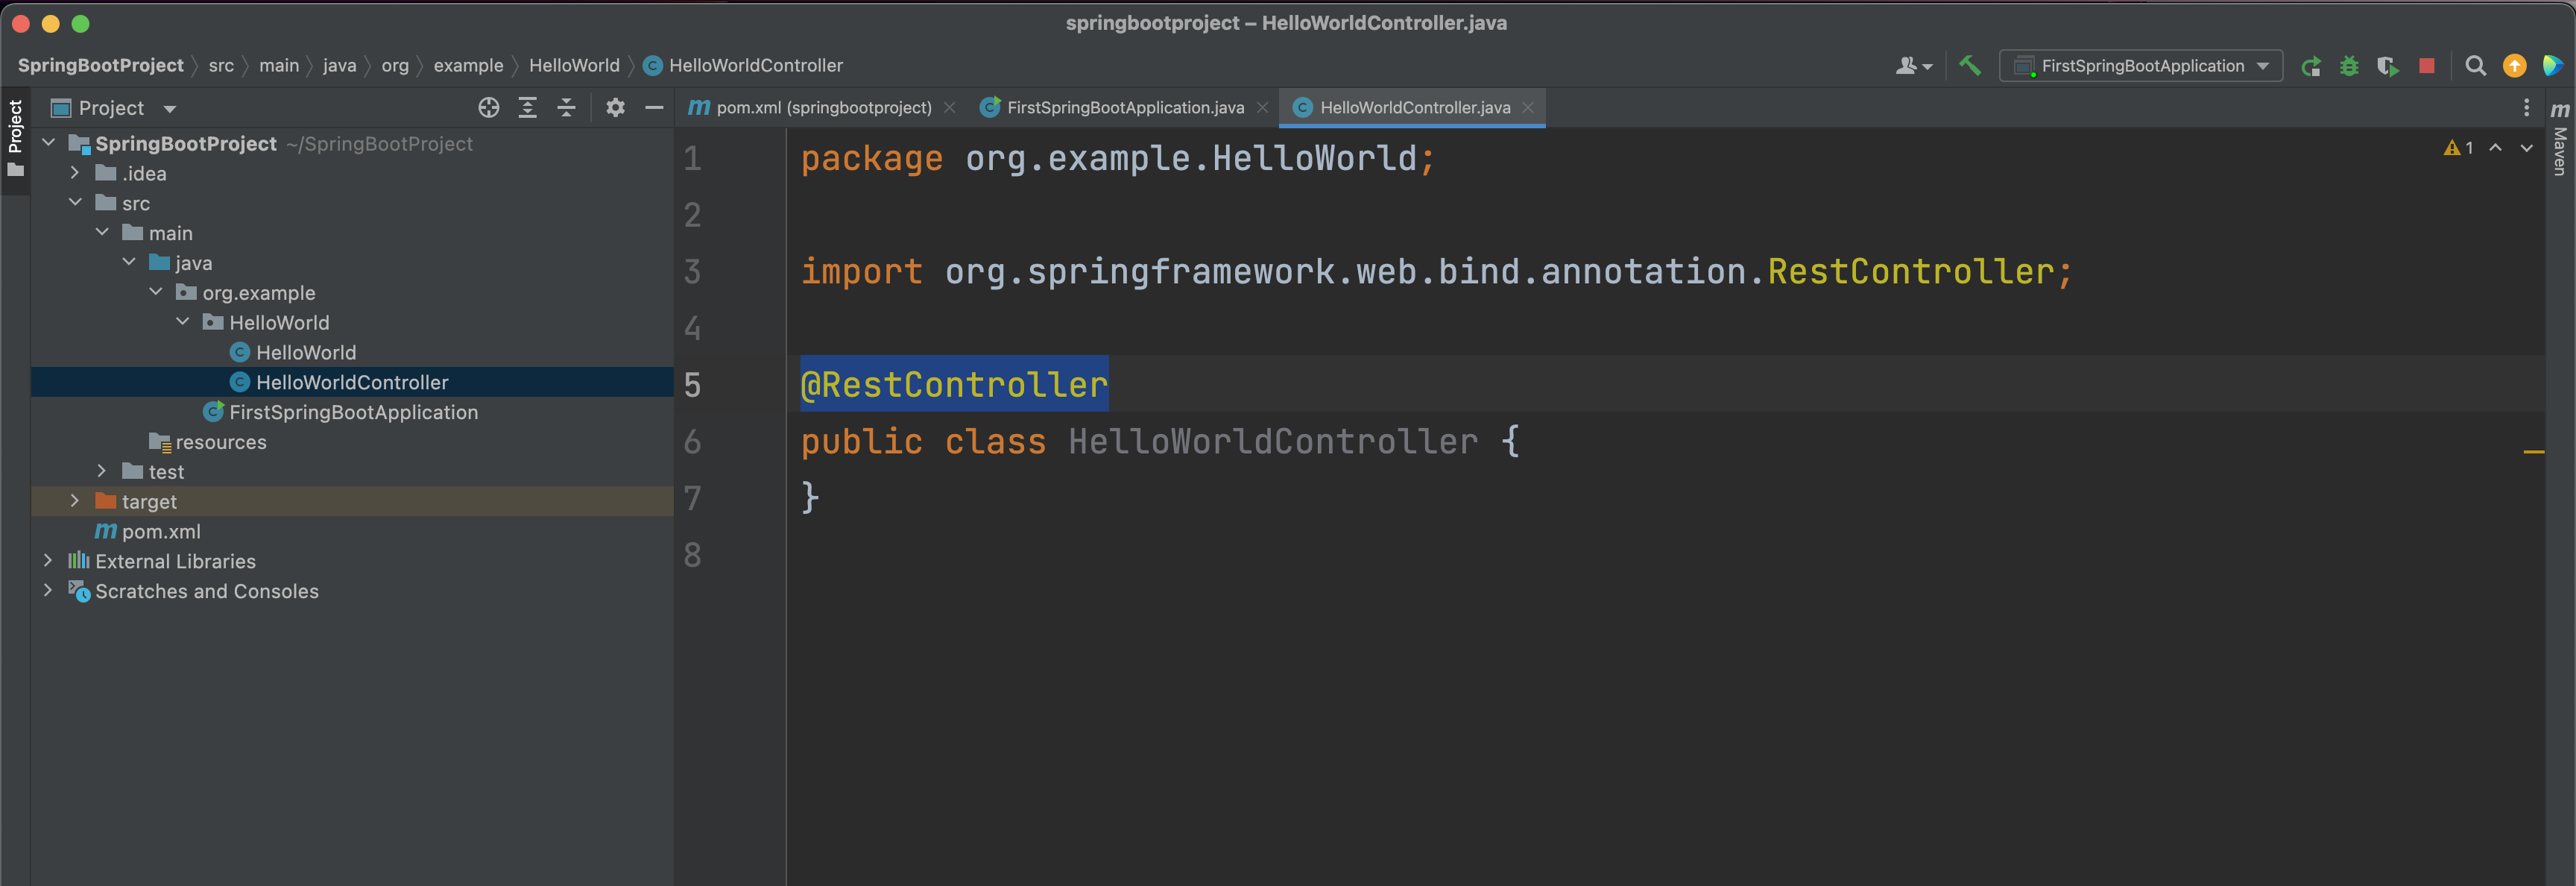
So, the first thing we need to do is, make the class HelloWorldController.java a controller, such that it returns a cool value, when we type http://localhost:8080/HelloWorld in the web browser.
And to achieve that, we need to annotake the HelloWorldController.java with @RestController.
package org.example.HelloWorld;

import org.springframework.web.bind.annotation.RestController;

@RestController
public class HelloWorldController {

}
Don't get confused by the word Rest in @RestController. Just remember Rest is used to handle the request /HelloWorld in the url http://localhost:8080/HelloWorld.
Now, comes the next step.
Where we would be declaring a method inside the class HelloWorldController such that it can handle the request /HelloWorld in the url http://localhost:8080/HelloWorld.
Let us name the method as beautifulWorld() and place it inside HelloWorldController.
And the method beautifulWorld() returns "Hello Beautiful World".
package org.example.HelloWorld;

import org.springframework.web.bind.annotation.RestController;

@RestController
public class HelloWorldController {

    public String beautifulWorld(){

        return "Hello Beautiful World";
    }
}
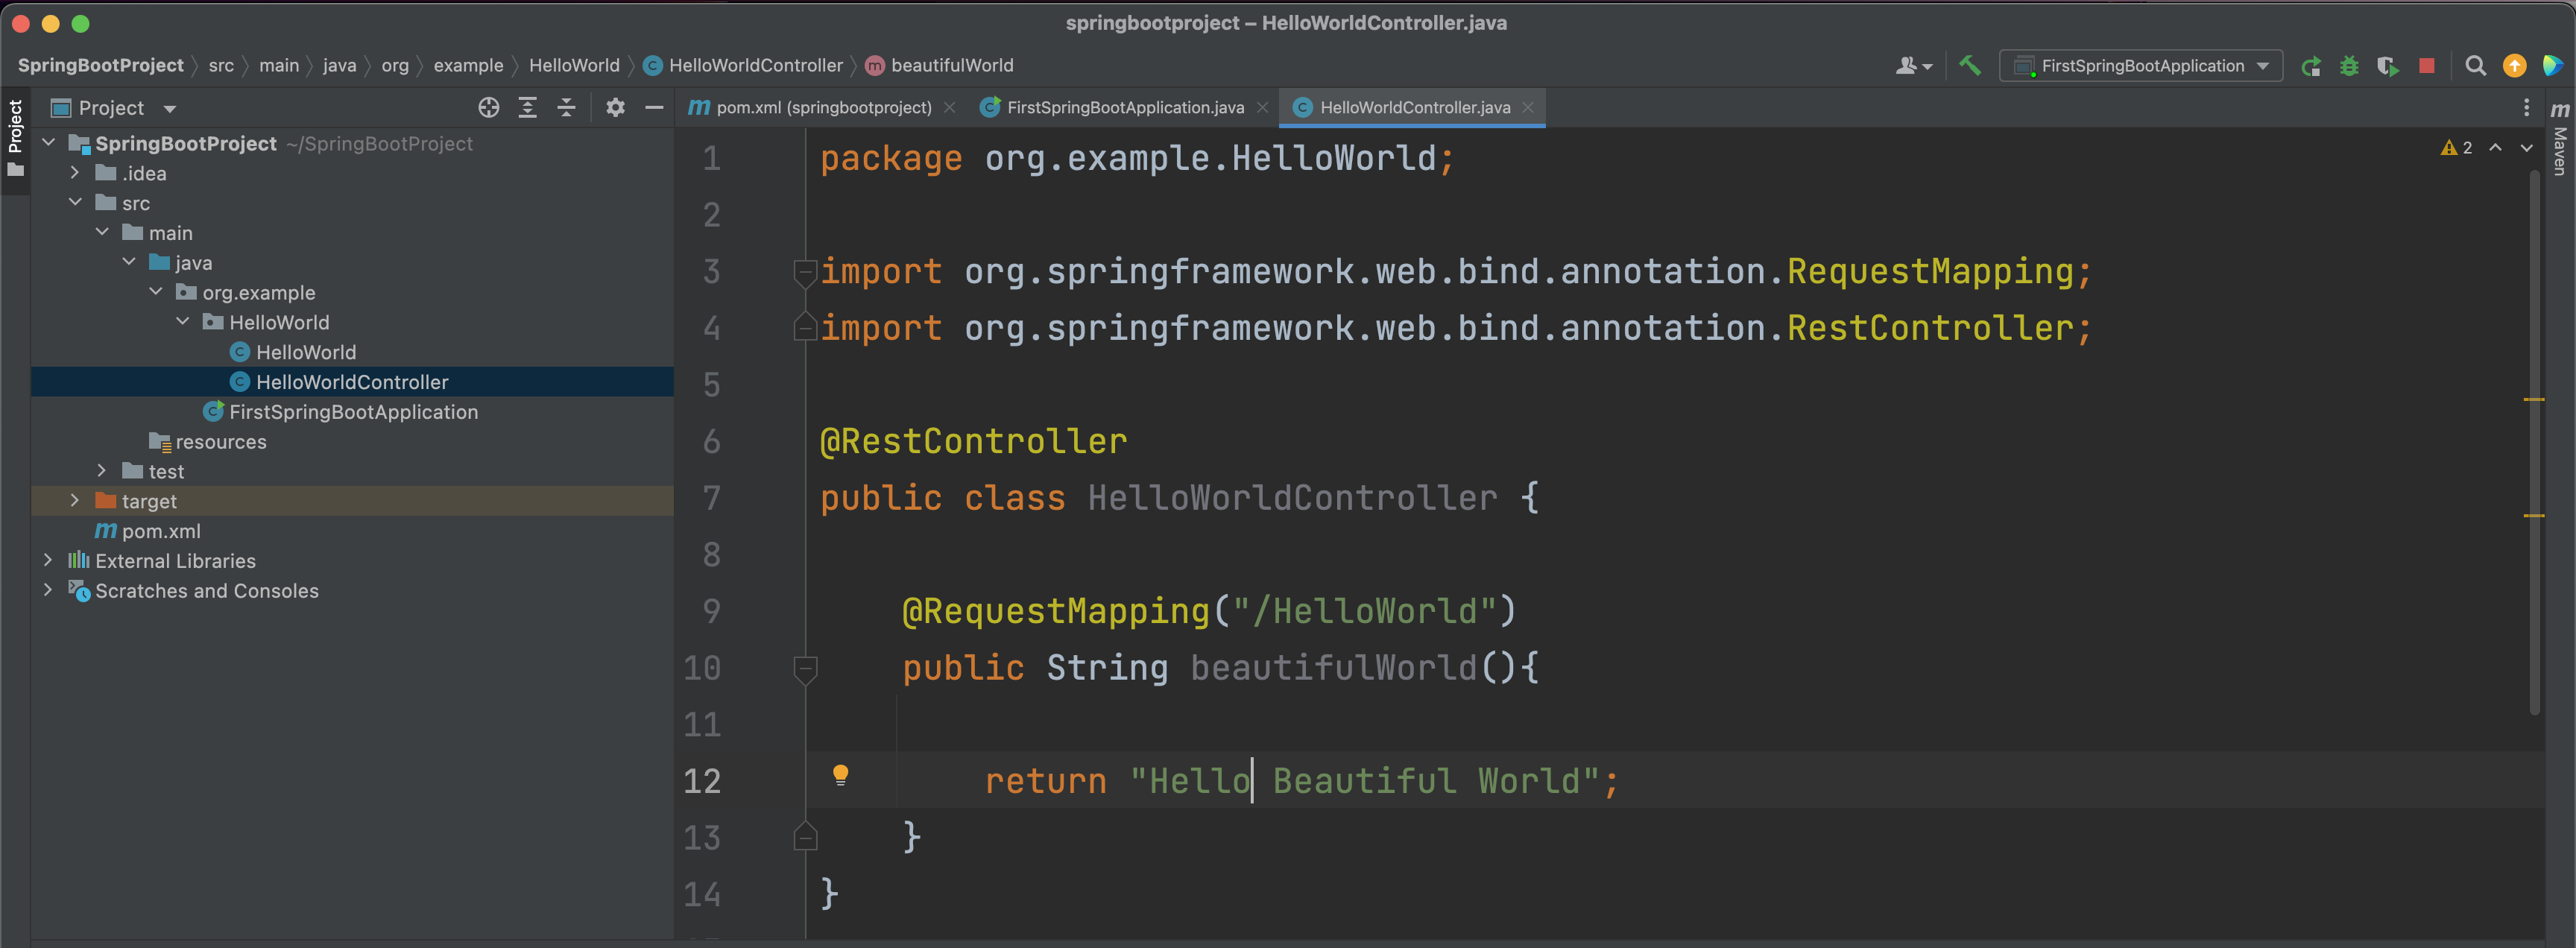
Now, let make use of the method beautifulWorld() such that it accepts the request /HelloWorld in the url http://localhost:8080/HelloWorld.
And to achieve that we use @RequestMapping annotation.
package org.example.HelloWorld;

import org.springframework.web.bind.annotation.RequestMapping;
import org.springframework.web.bind.annotation.RestController;

@RestController
public class HelloWorldController {

    @RequestMapping("/HelloWorld")
    public String beautifulWorld(){

        return "Hello Beautiful World";
    }
}
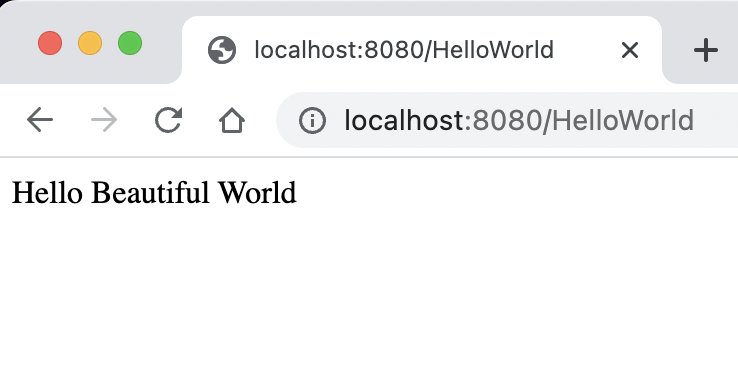
Now, let us rerun the application again.
And when we open the browser, and type,
http://localhost:8080/HelloWorld
We get
Hello Beautiful World
Printed in the browser.
So, let us summarise what we have done so far :
import org.springframework.web.bind.annotation.RestController;
@RestController
public class HelloWorldController {
}import org.springframework.web.bind.annotation.RequestMapping;
import org.springframework.web.bind.annotation.RestController;
@RestController
public class HelloWorldController {
@RequestMapping("/HelloWorld")
public String beautifulWorld(){
return "Hello Beautiful World";
}
}