What is the first thing that comes into your mind when you hear the term Scheduled?
Well! Something that is Scheduled to run at a particular time.
If you guessed that, you are right on track. @Scheduled Annotation is used to run a particular task at a given time.
Not just that, @Scheduled Annotation does a lot more than just running a particular task at a particular time.
With @Scheduled Annotation, we are going to run an application that runs at a particular time.
So let us build a Spring Boot application first.
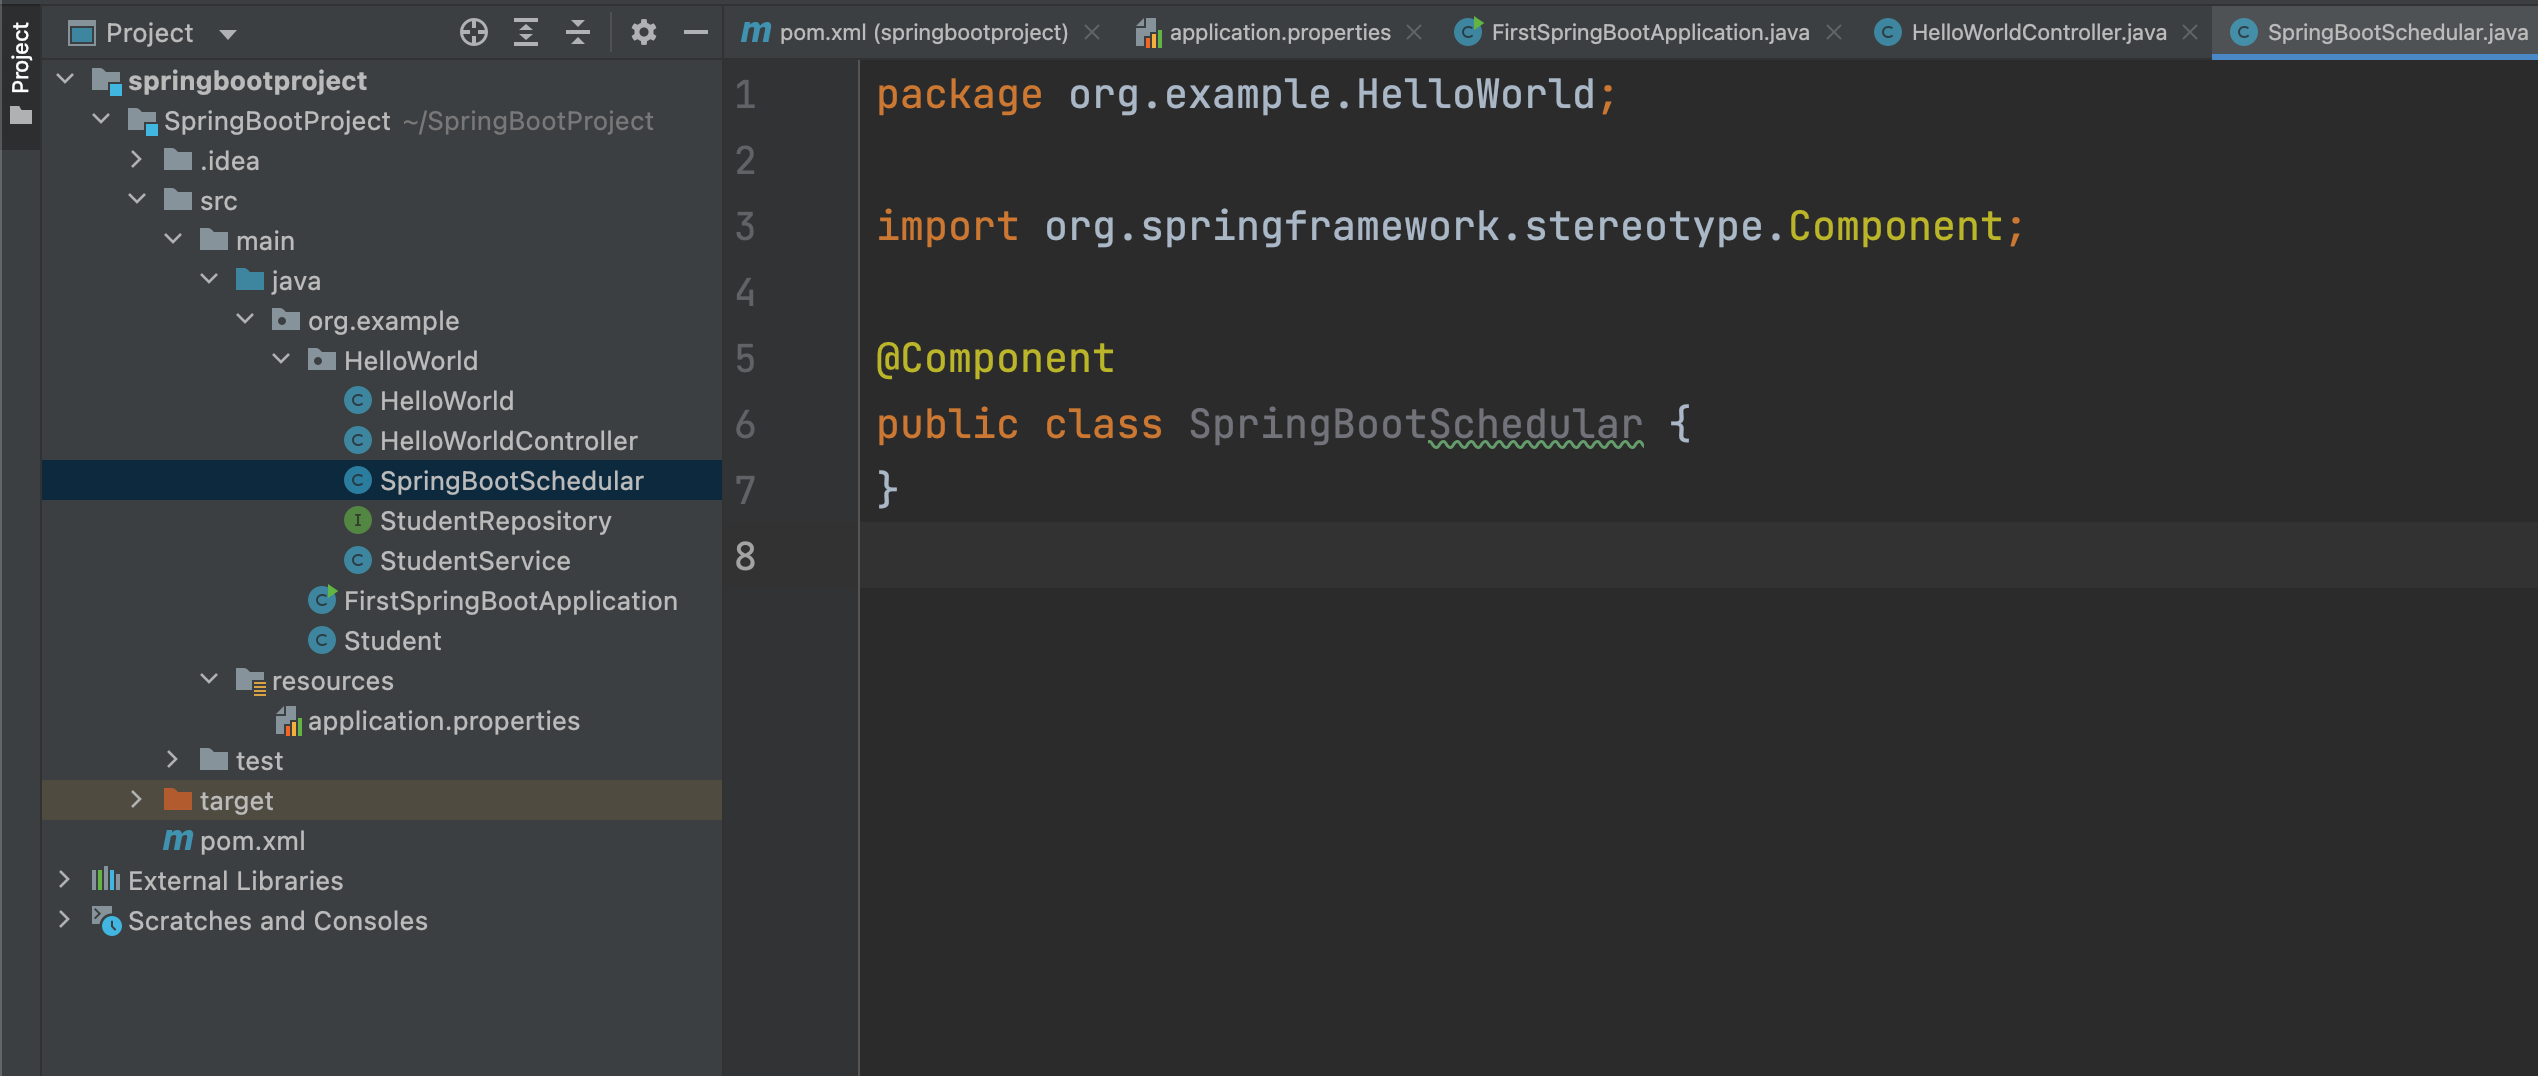
@Component
public class SpringBootSchedular {
}
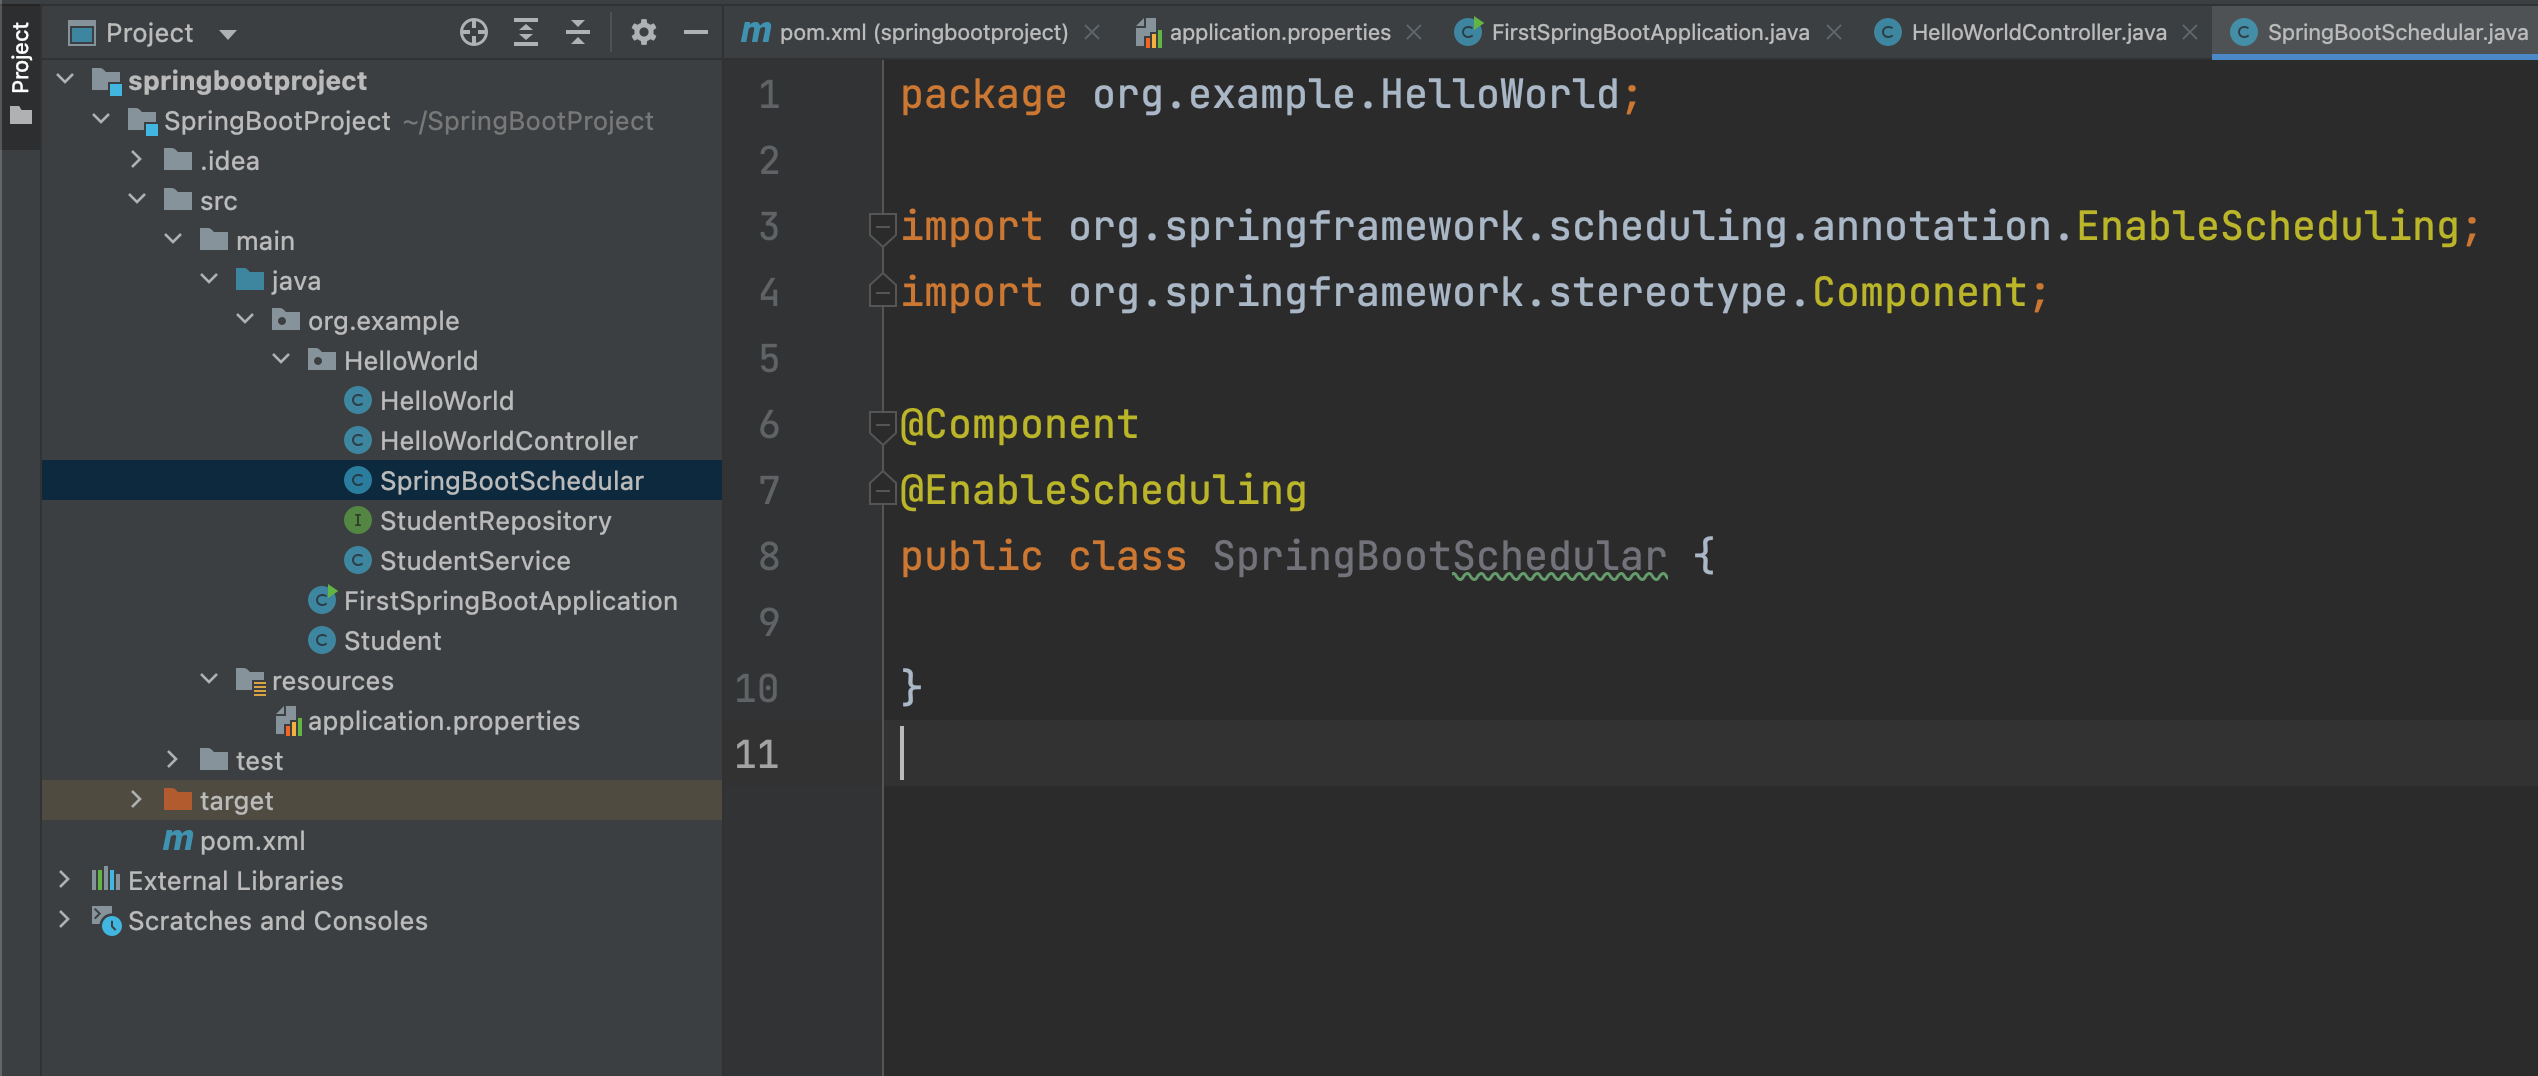
@Component
@EnableScheduling
public class SpringBootSchedular {

}
@Component
@EnableScheduling
public class SpringBootSchedular {
	@Scheduled(cron = "0 * 15 * * ?")
	public void printHelloWorld() {
		System.out.println("Hello World");
	}
}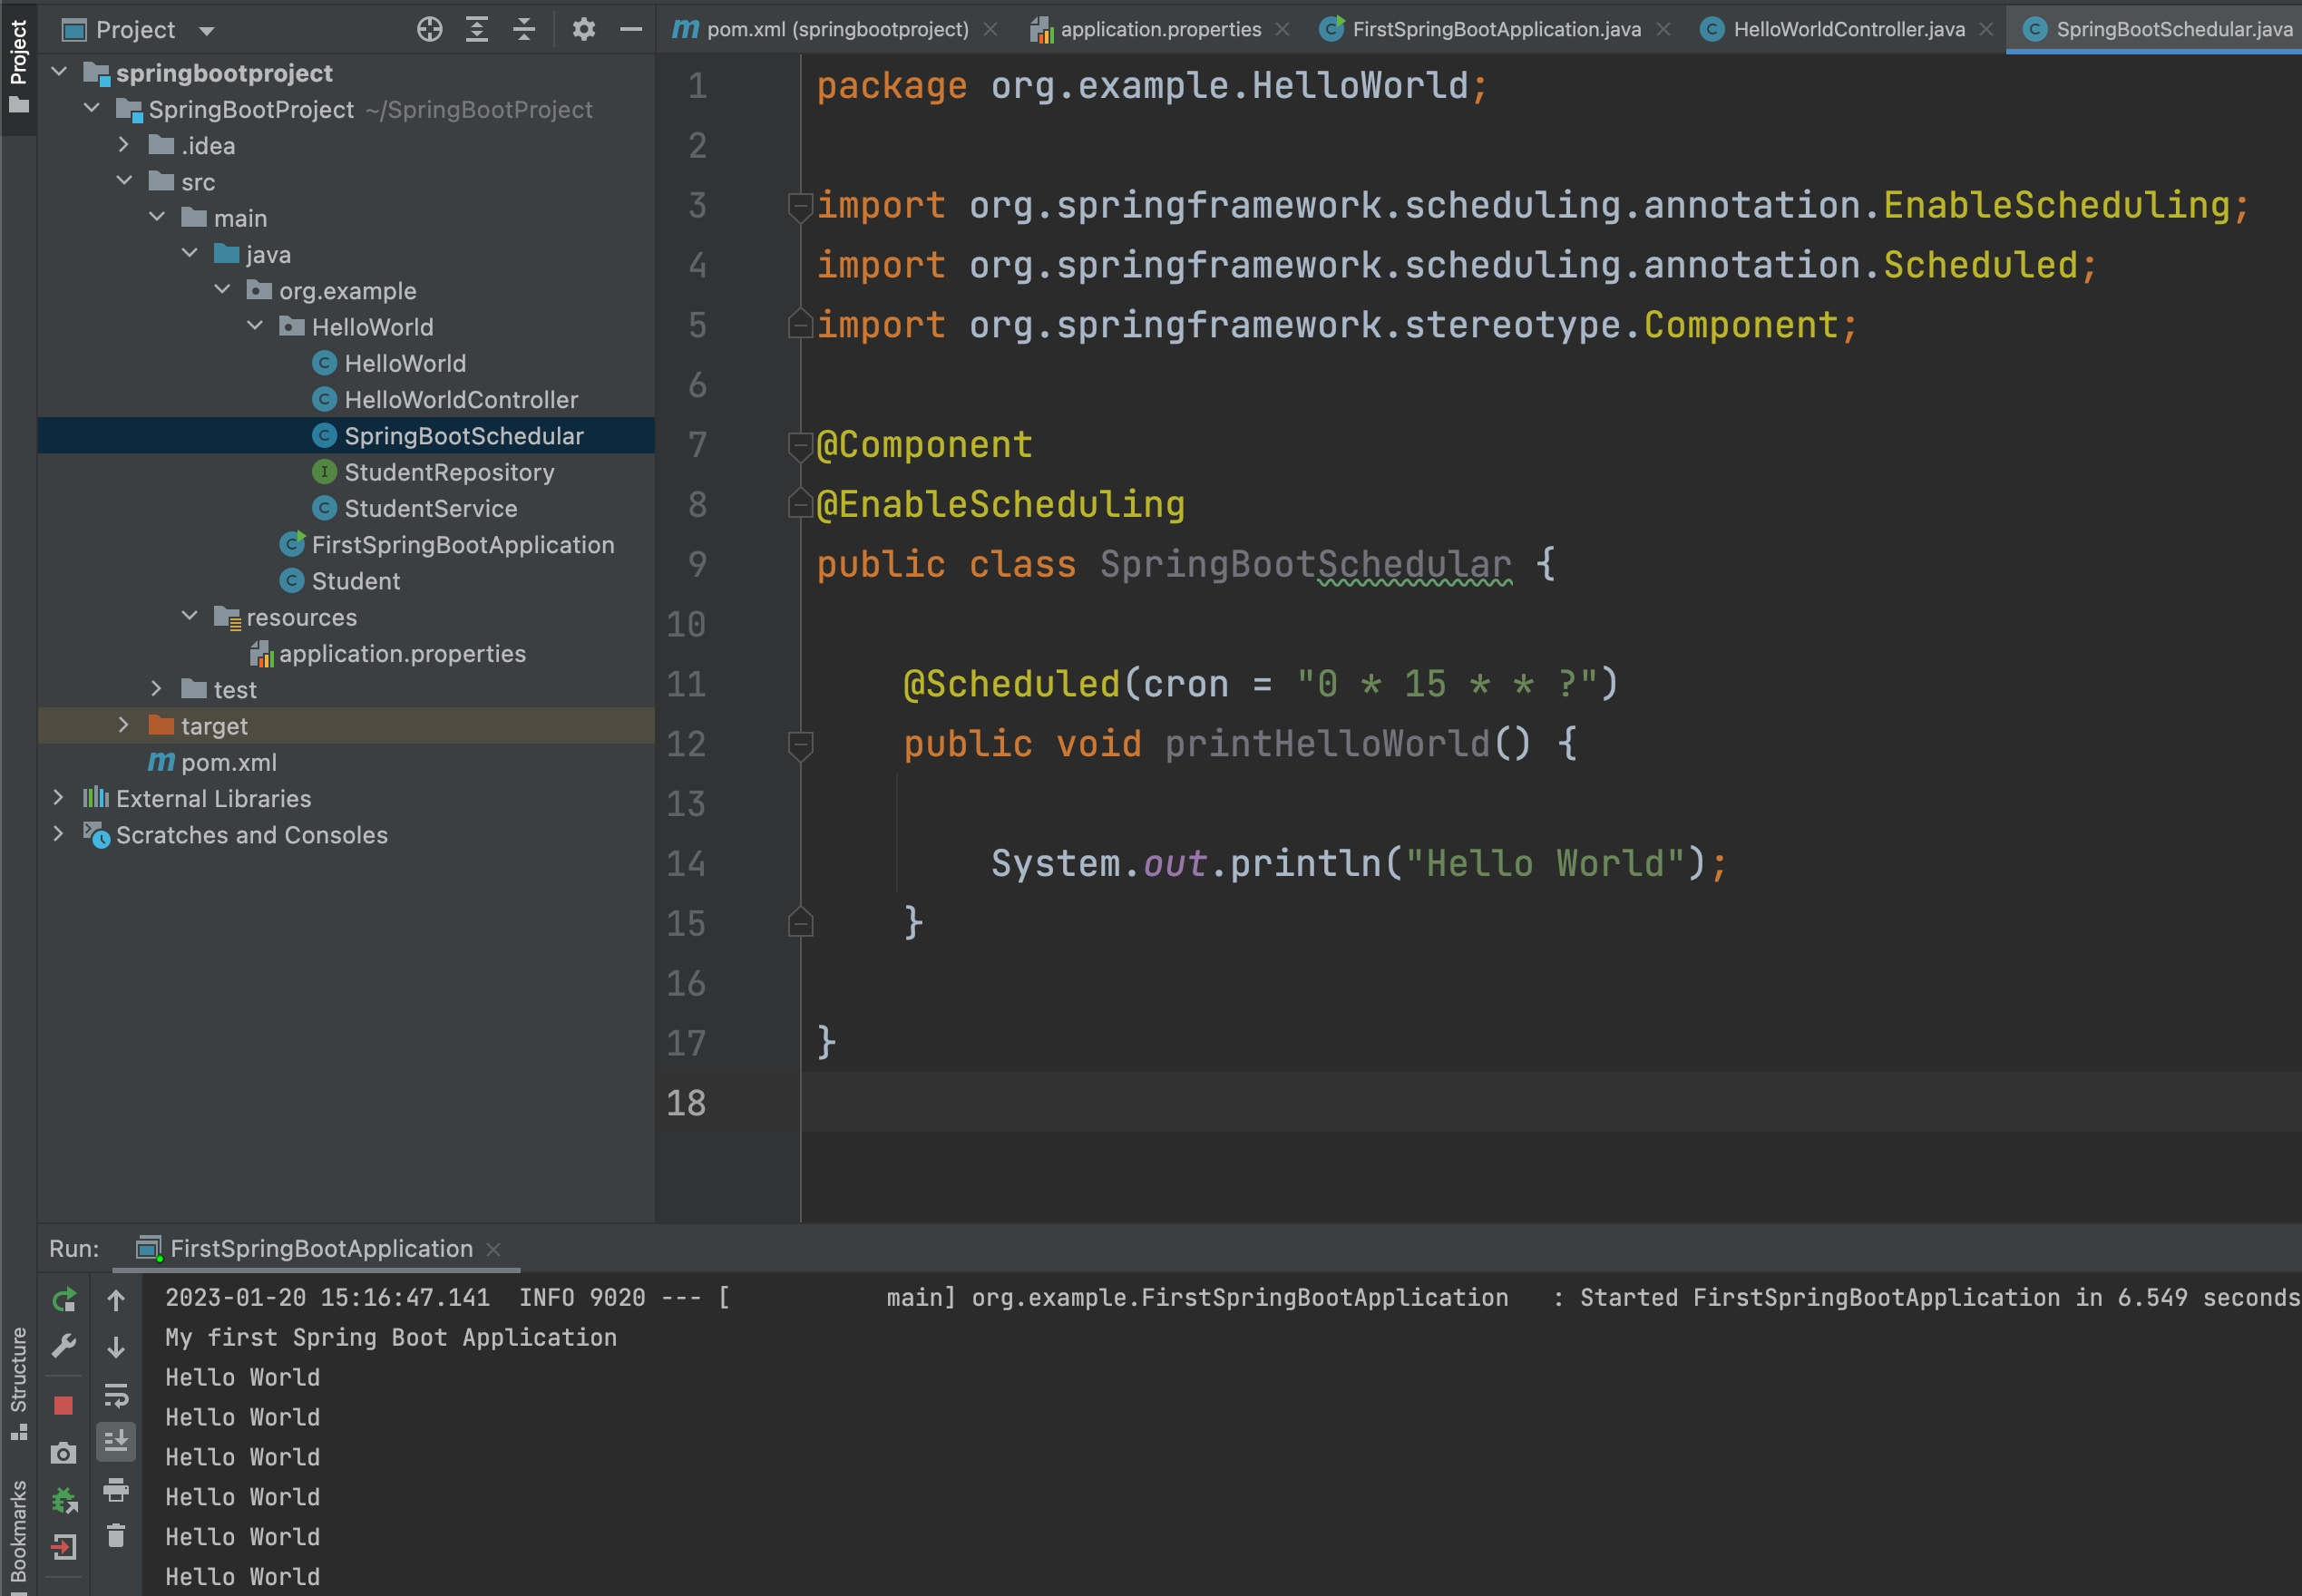
@Scheduled(cron = "0 * 15 * * ?")
Other than running at a particular time, we also said that the @Scheduled annotation does a lot more than that.
Let us see them below :
@Component
@EnableScheduling
public class SpringBootSchedular {

	@Scheduled(fixedDelay = 1000)
	public void printHelloWorld() {

		System.out.println("Hello World");
	}
}
So in the above code, we have used fixedDelay with @Scheduled annotation.
@Scheduled(fixedDelay = 1000)
The application waits 1 second or 1000 milli seconds to execute the next task.
In simple words, Hello World is printed then the control waits for 1 second and again prints Hello World.
This is how, fixedDelay works with @Scheduled annotation.
@Component
@EnableScheduling
public class SpringBootSchedular {

	@Scheduled(fixedRate = 1000)
	public void printHelloWorld() {

		System.out.println("Hello World");
	}
}
The fixedRate is almost similar to fixedDelay with a minor difference. The fixedRate doesn't wait for the previous task to finish. Where as the fixedDelay waits for the previous task to finish.
@EnableScheduling
public class SpringBootSchedular {

	@Scheduled(fixedDelay = 1000, initialDelay = 1000)
	public void printHelloWorld() {

		System.out.println("Hello World");
	}
}
The initialDelay is used with fixedDelay property, when you want to start the execution with an initial delay of 1 second.
In simple words, the Hello World would be printed after 1 second initially due to the initialDelay property. Then continue printing every 1 second as we are using fixedDelay property.