Spring Boot - First Application with Annotation
×
![]()
So far, we were learning theories. Now, it is time for us to see a practical example using Spring Boot.
The best way to learn spring boot is by using an IDE.
We would be using IntelliJ Idea IDE for running our Spring boot applications.
You can download and install IntelliJ Idea IDE for free.
Once IntelliJ Idea IDE is downloaded and installed, we will be creating a simple Maven Java project.
-
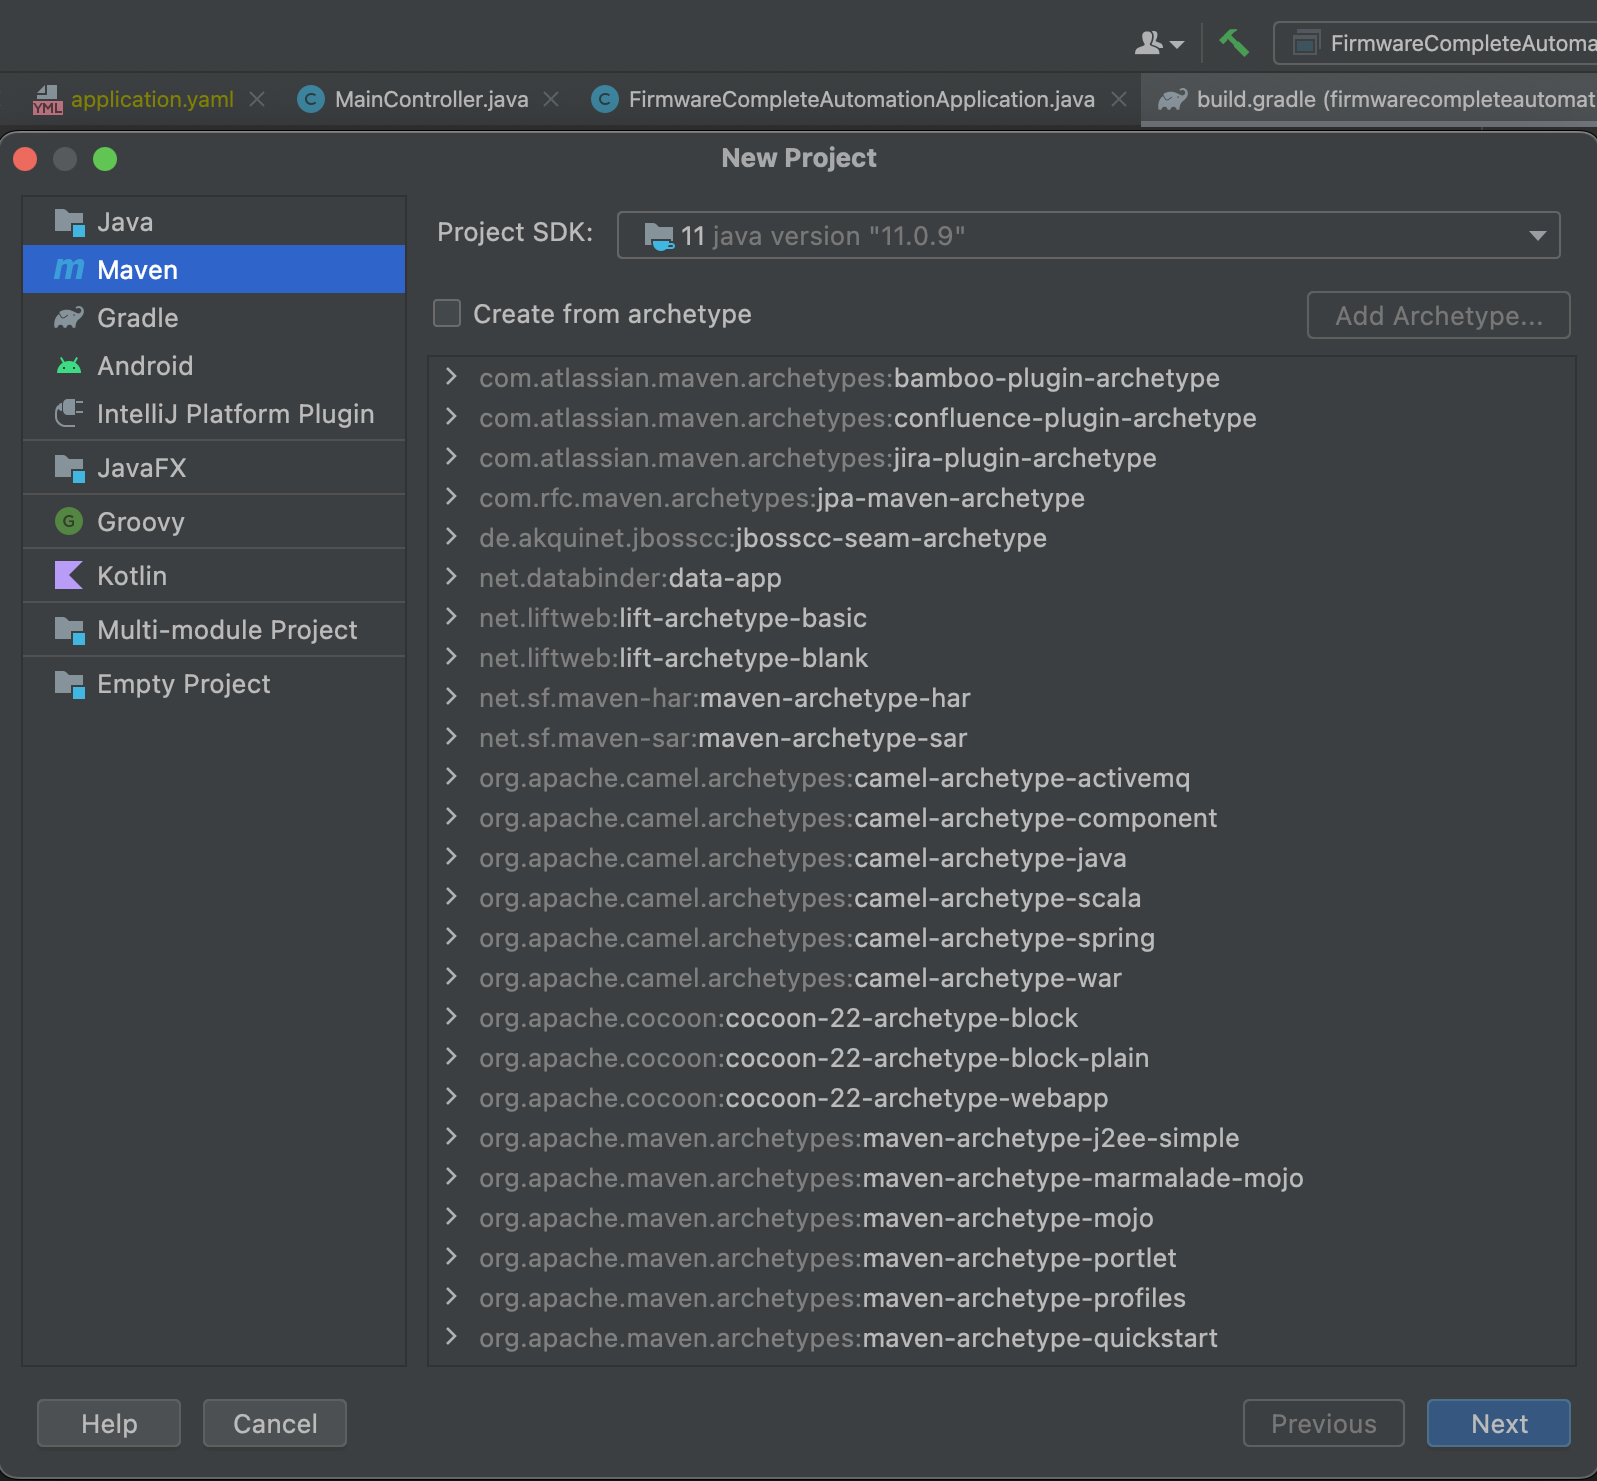
When we create a new project, we will get the below screen.
In the left hand side we can find a lot of options, like Java, Maven, Gradle e.t.c. In our case we would be selecting Maven(Since we are creating a Maven project).
On the right hand side, let the Project SDK be 11(Or whatever java version is taken as default).
We will make no further change and click on next.
-
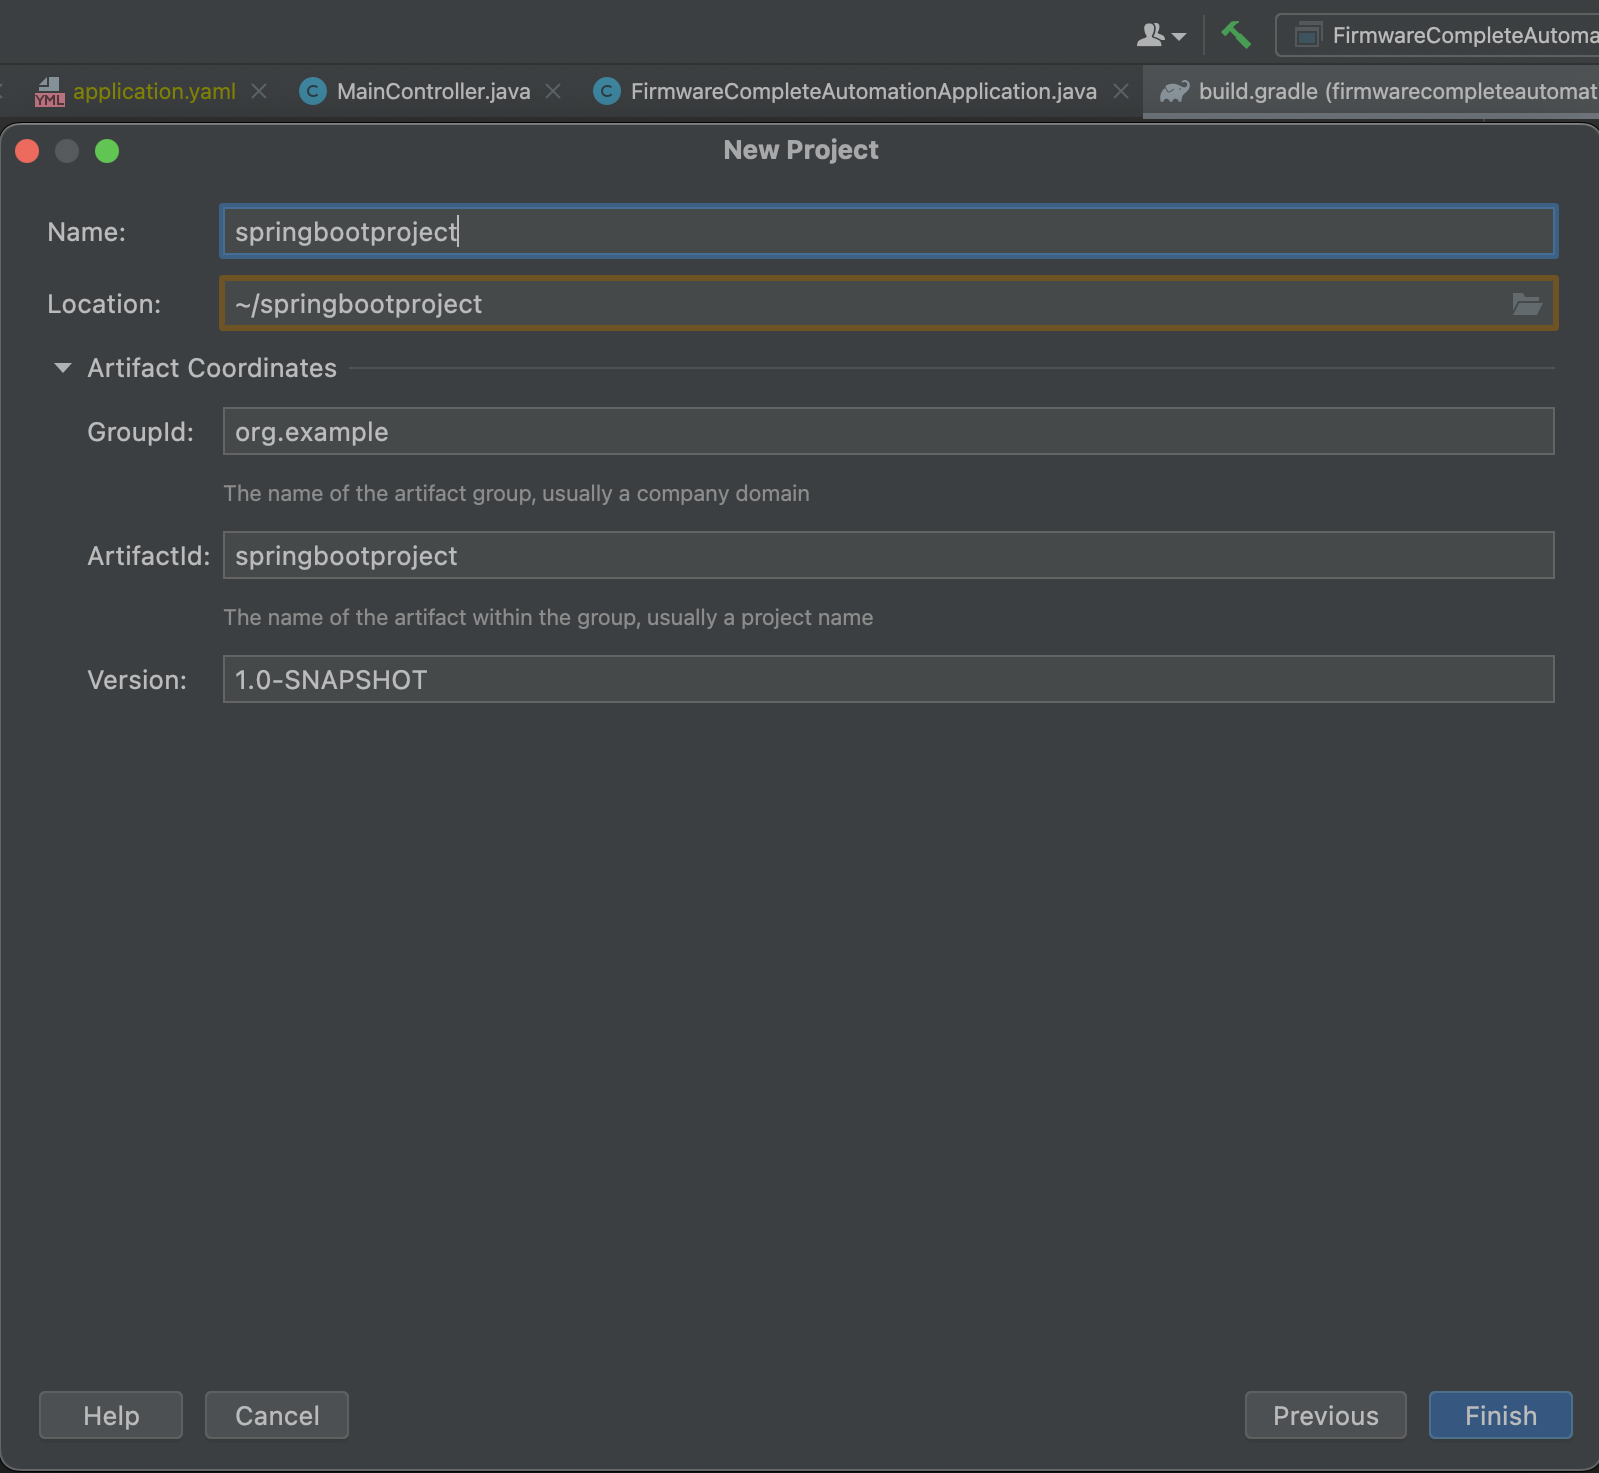
Now, we get a new screen, where you have to specify the details of your project.
We have specified springbootproject in the Name field. And springbootproject should be the name of the project.
Next, in the Location field, you can specify the location you want your project needs to be saved.
Then we have org.example in the GroupId field. In a little while we will show, how you use the GroupId.
In the next field ArtifactId, we will be specifying the name of the application (i.e. springbootproject).
Then we click Finish. And your project structure is created.
-
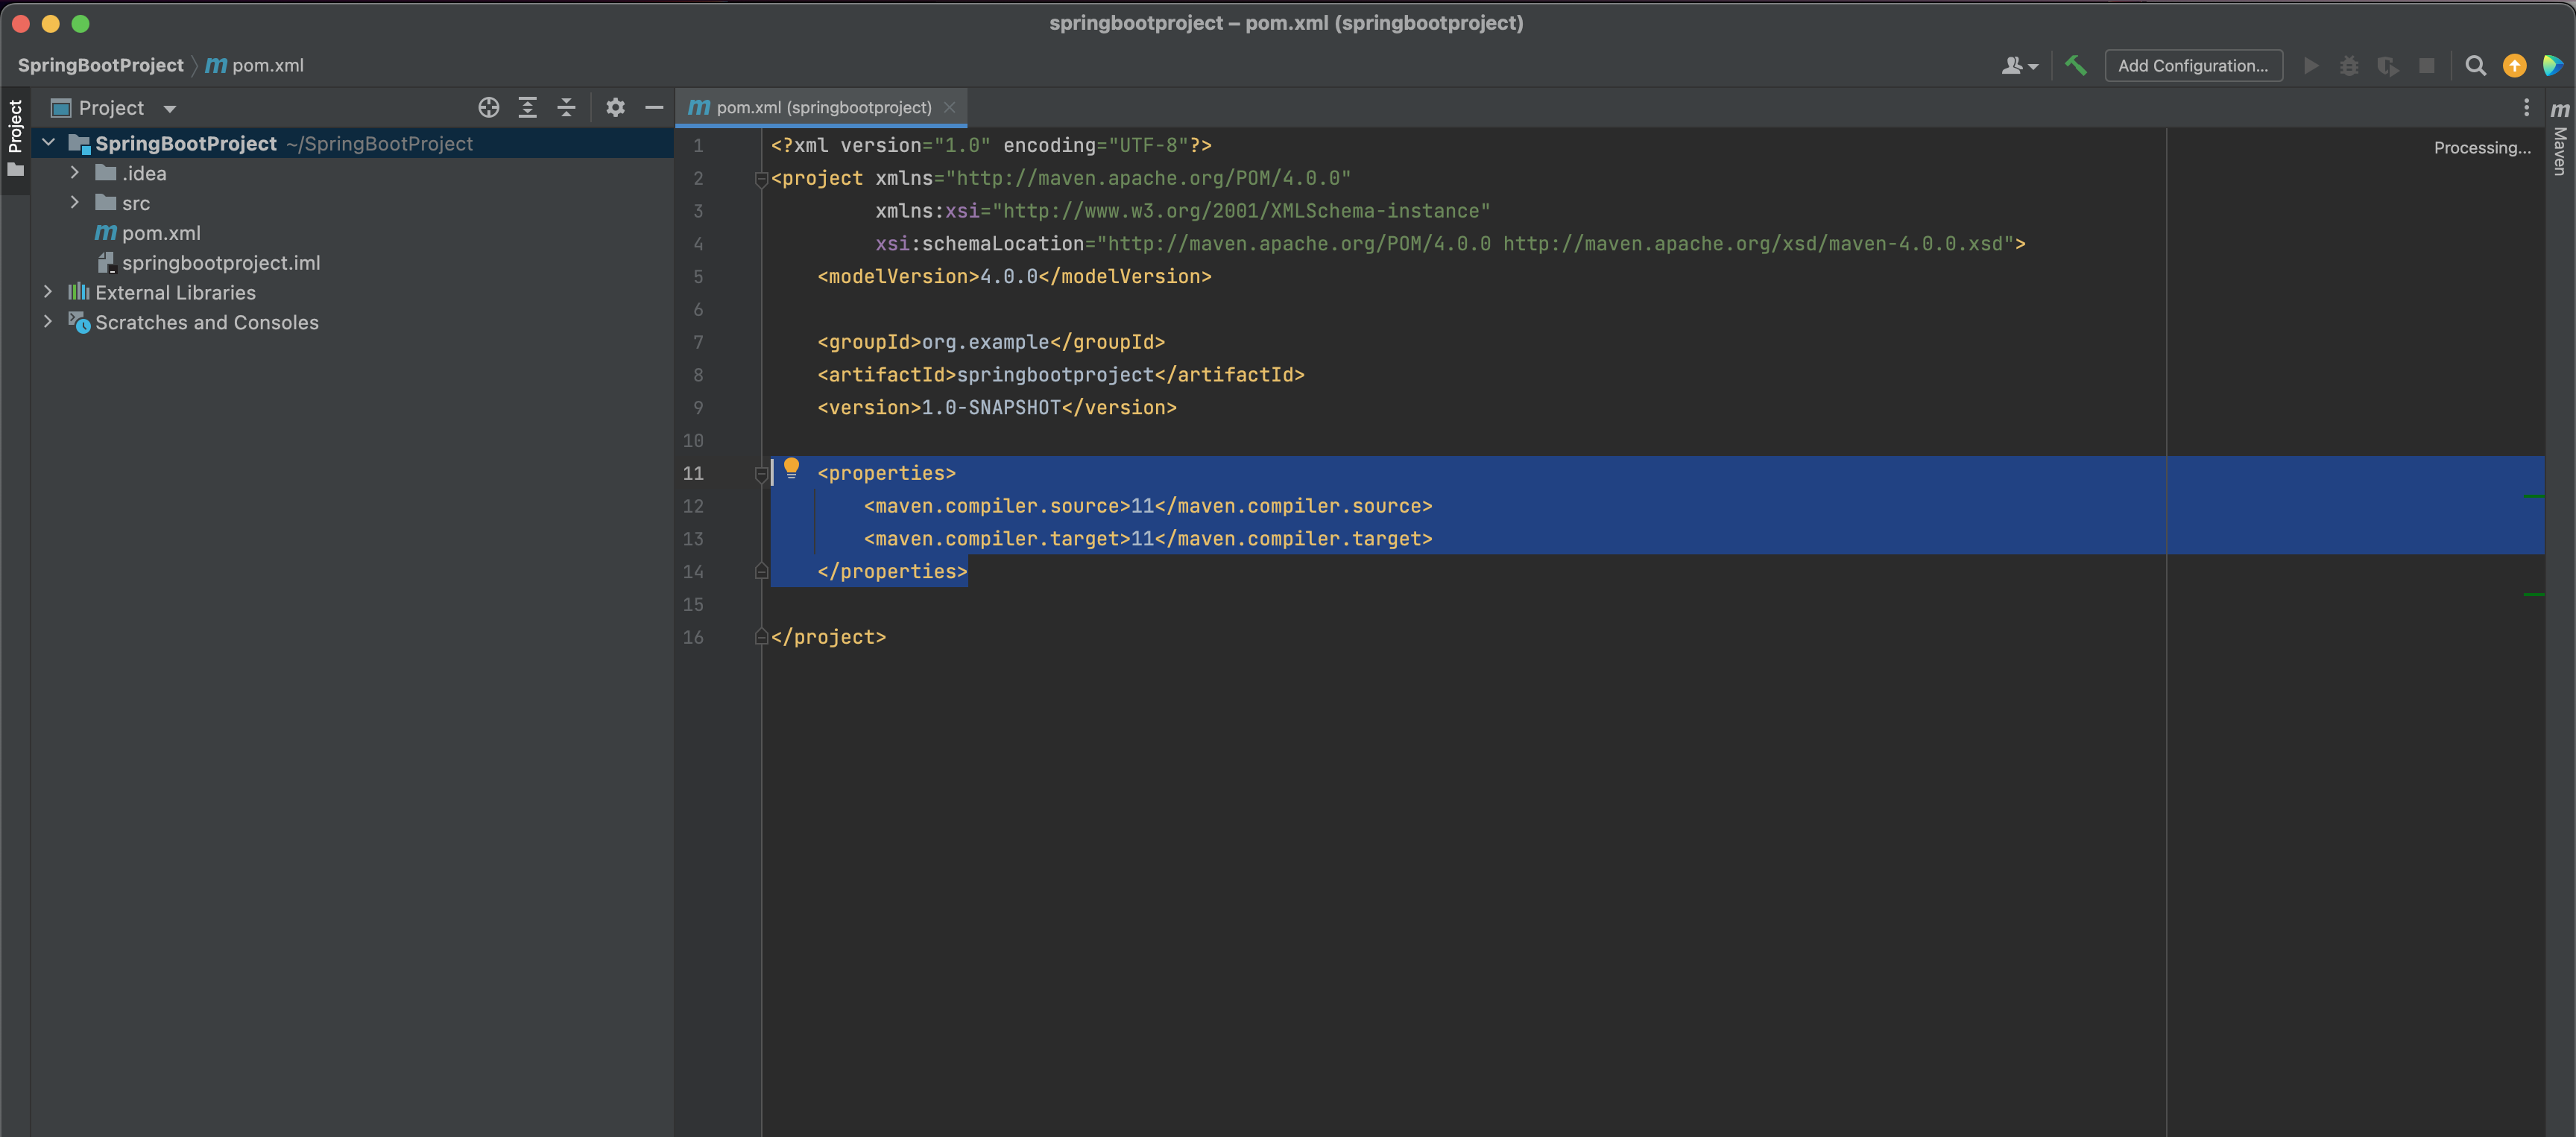
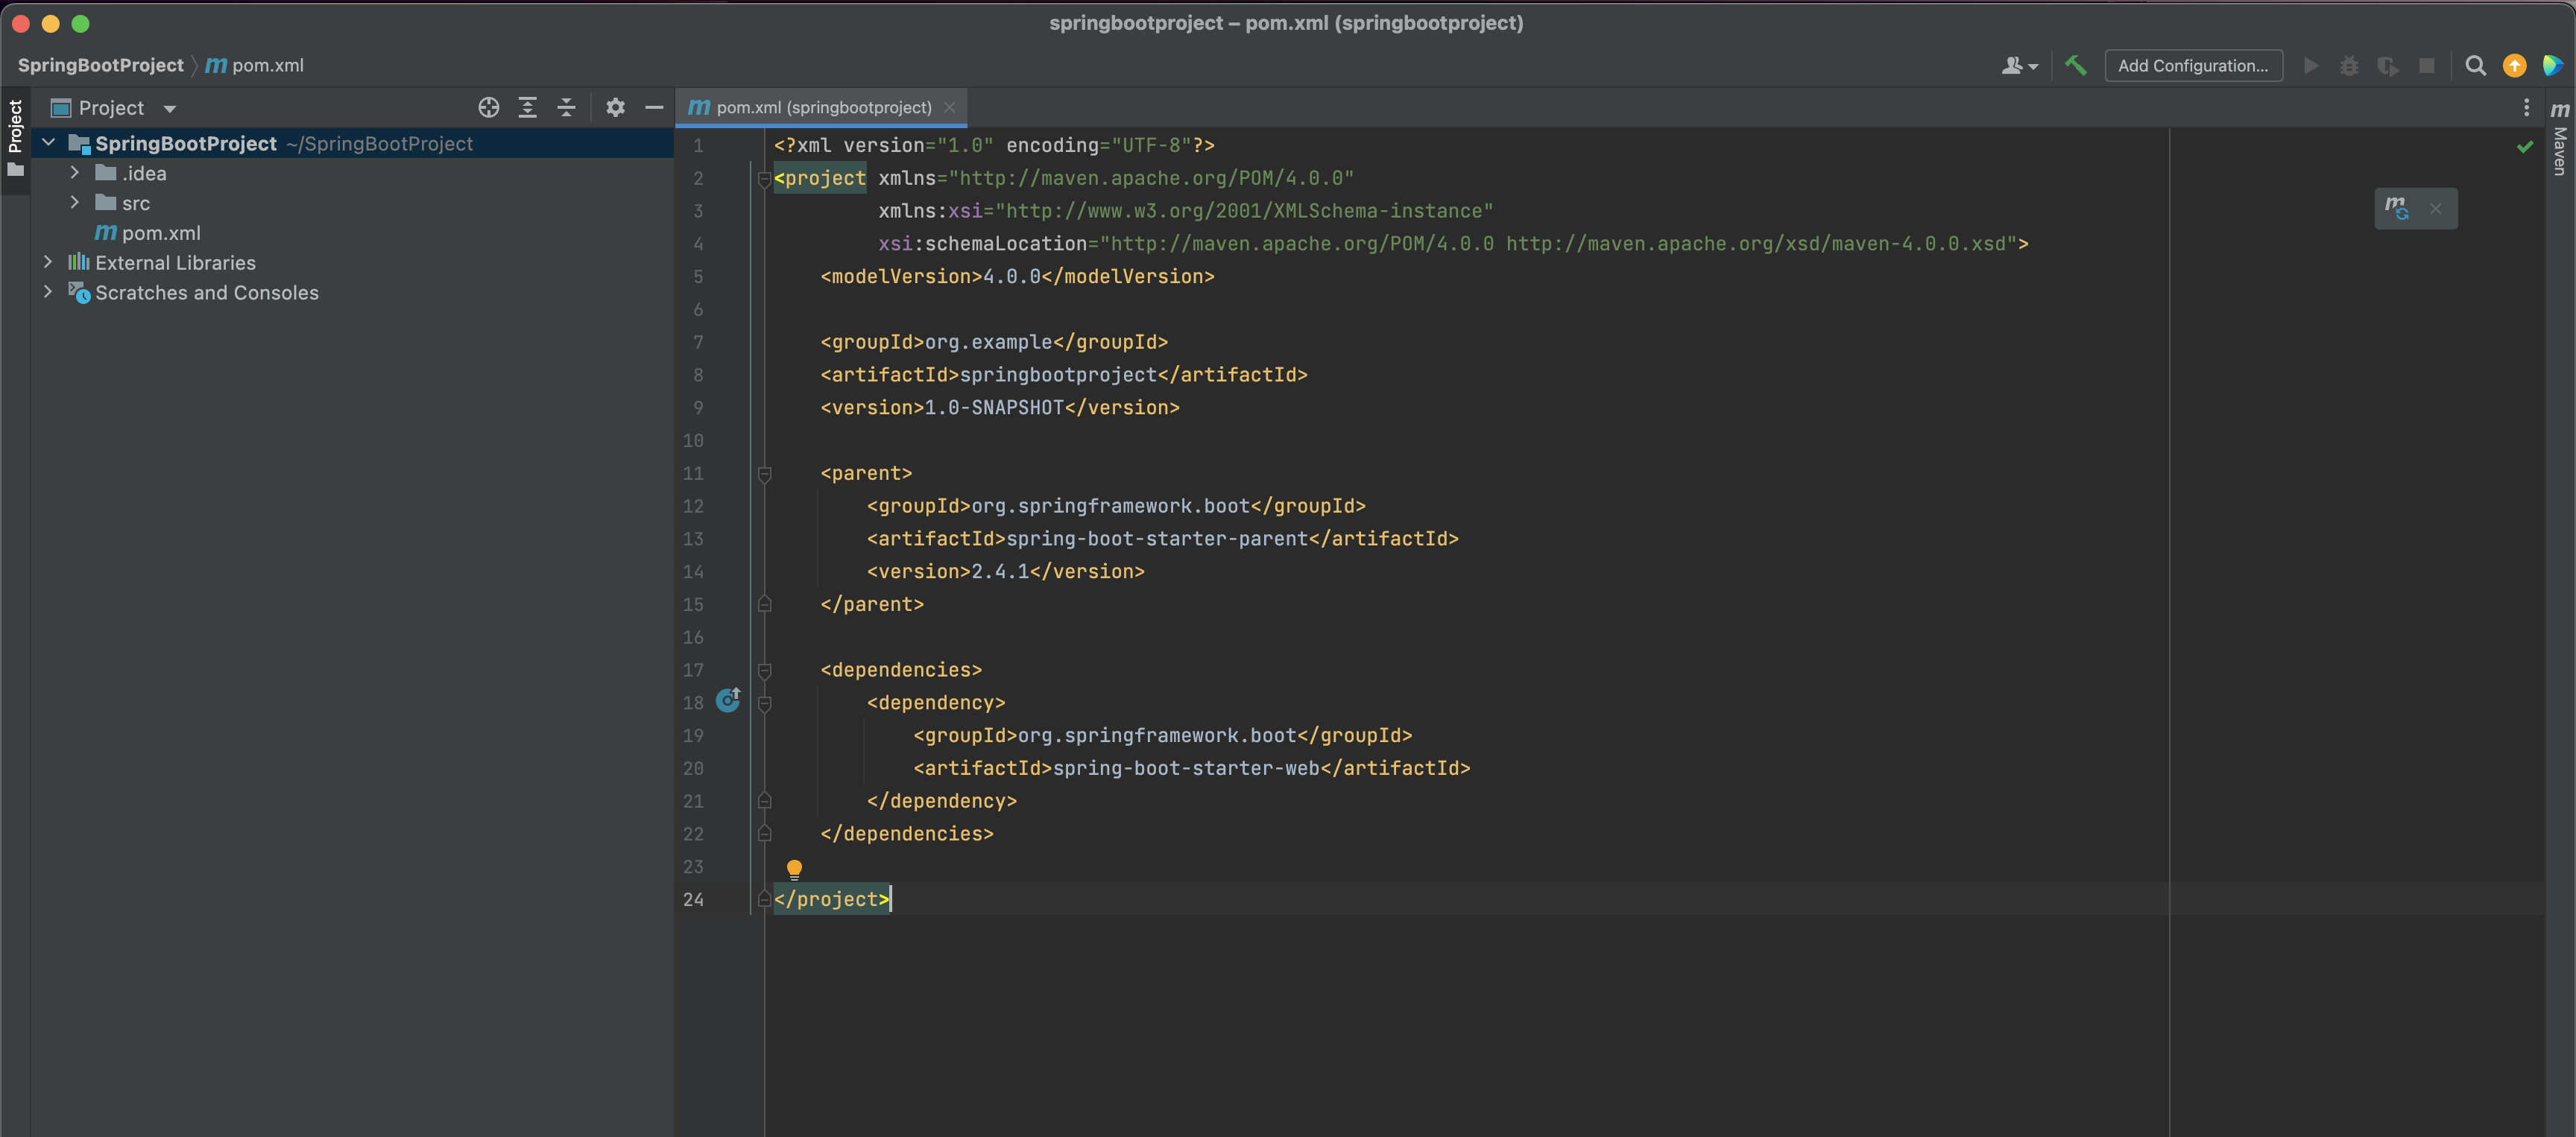
Once your project structure is created. You can see that Maven has created a pom.xml for you.
The pom.xml contains the <properties>, <groupId>, <artifactId> and <version> for you.
Along with the above elements, Maven has also created a <properties> element for you(As highlighted).
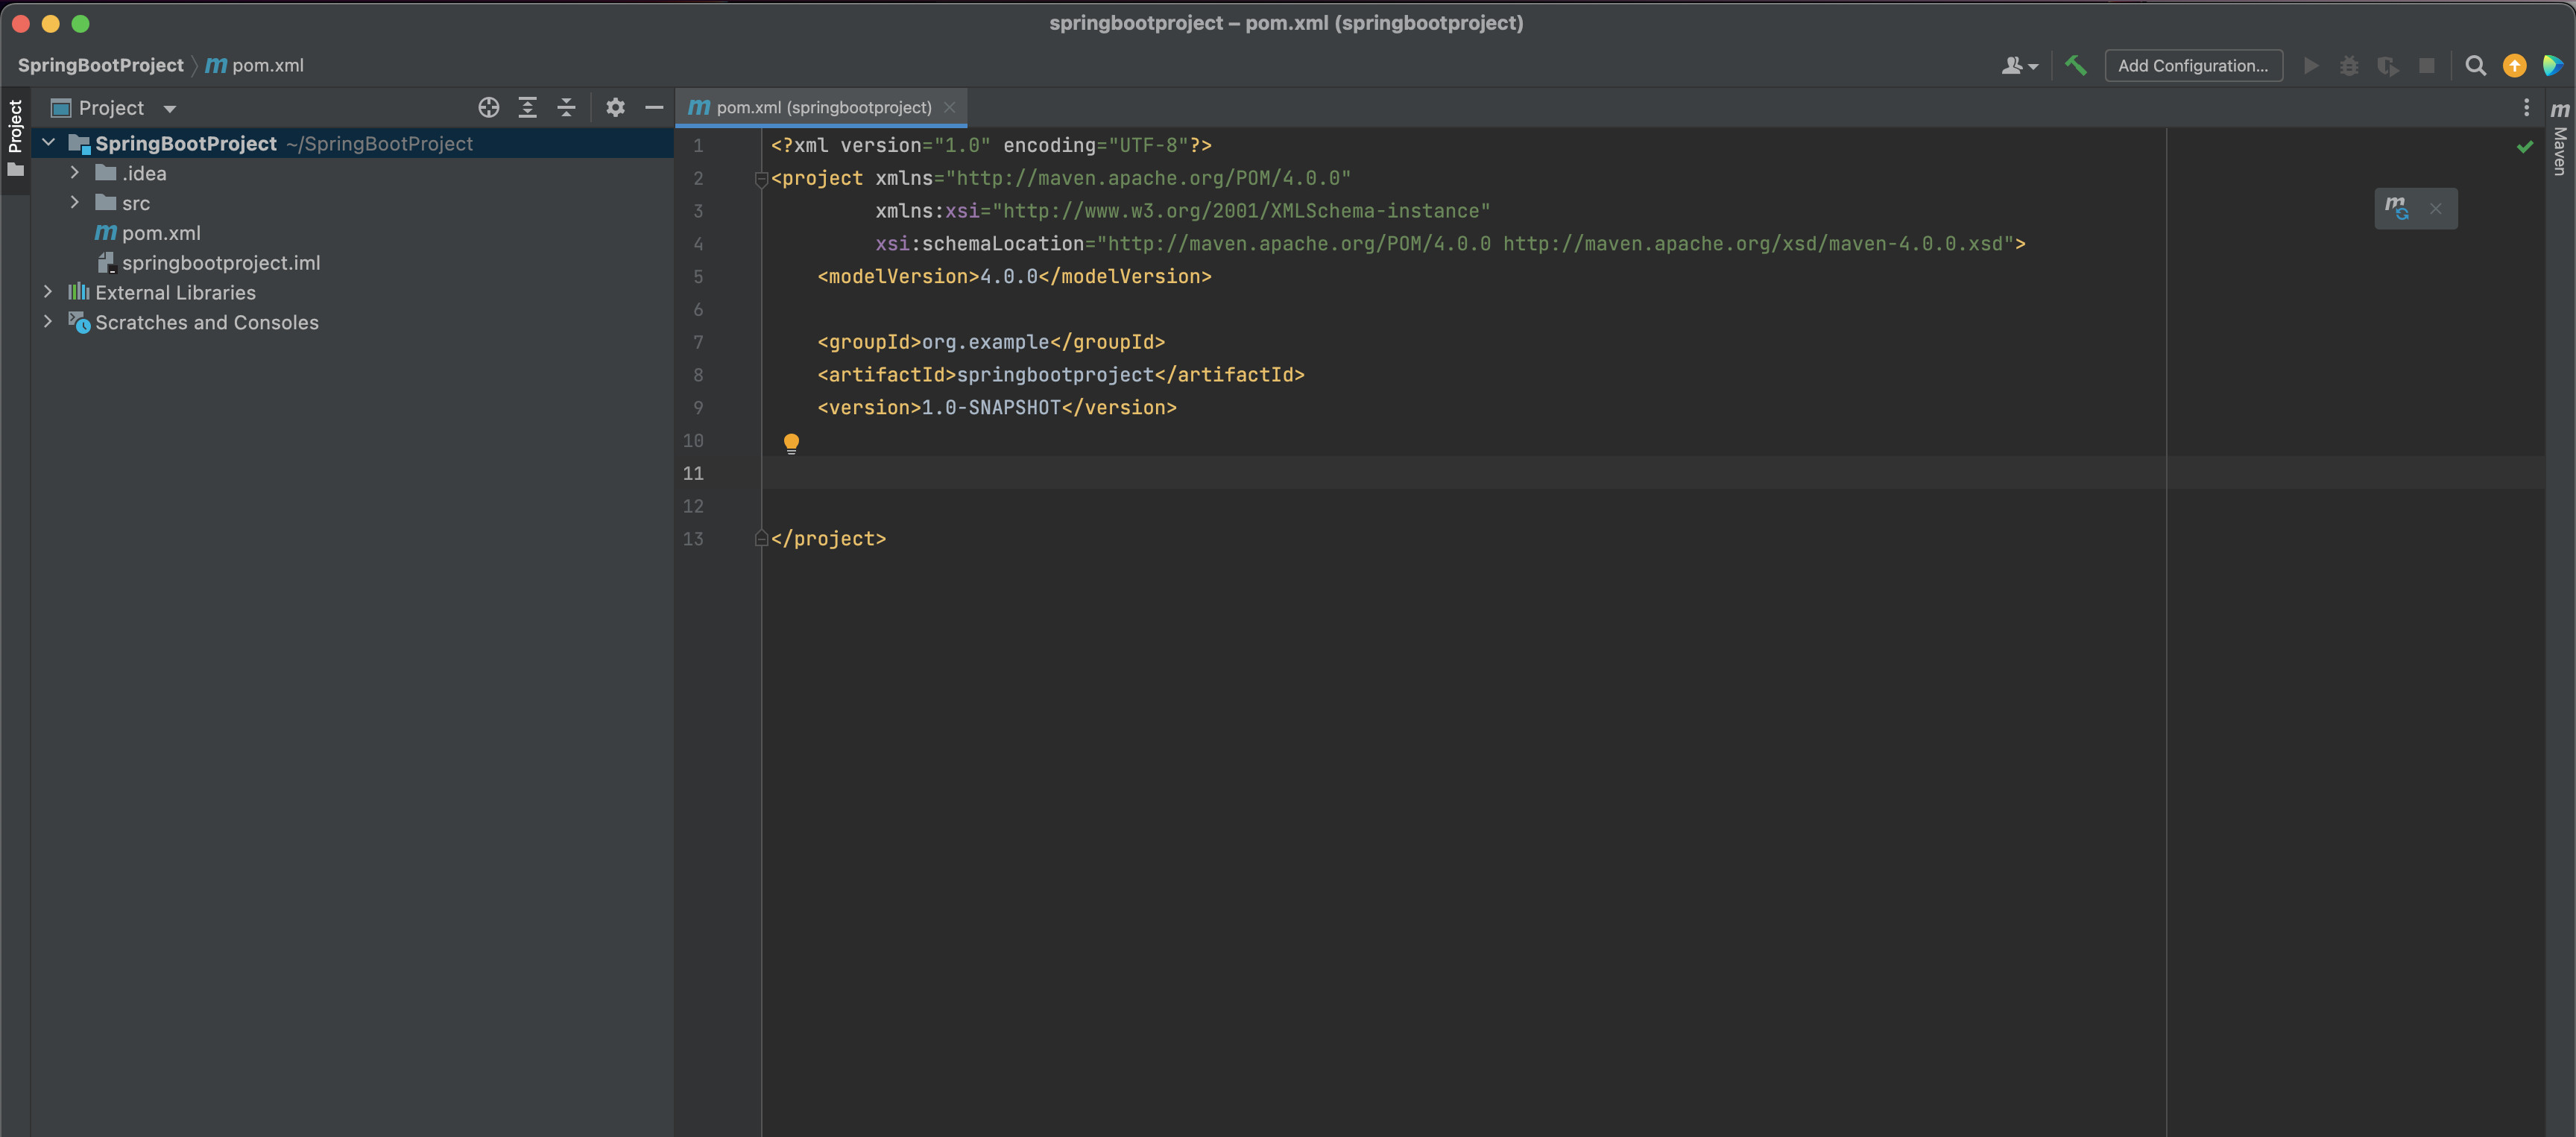
Let us get rid of the <properties> element(Just to make things simple).
-
So far, what we have the pom.xml with <properties>, <groupId>, <artifactId> and <version>.
And this is a simple maven project, which is not at all a Spring Boot Application.
Now, let us add the steps to make it a Spring Boot application.
The first thing you need to do is, add the below lines of code in pom.xml.
<parent>
	<groupId>org.springframework.boot</groupId>
	<artifactId>spring-boot-starter-parent</artifactId>
	<version>2.4.1</version>
</parent>
The above lines of code has a <parent> element, which has <groupId>, <artifactId> and <version> inside it.
From the <groupId>
<groupId>org.springframework.boot</groupId>
And <artifactId>,
<artifactId>spring-boot-starter-parent</artifactId>
It clearly says that it converts the Maven project to a Spring Boot Project.
And this project spring-boot-starter-parent,
<artifactId>spring-boot-starter-parent</artifactId>
Has all the maven related configurations that are needed for Spring to run.
But! Hold on!
It is just the parent(As the <parent> element specifies). And if there is a parent, there must be children as well.
And yes, there are children.
We have already learnt about the starters in the previous tutorial. Now, in this case let us say we want to design a web project in Spring Boot.
And if anyone who is coming from a Spring background knows that a lot of dependencies needs to be included for a Spring web application to run.
And here Spring Boot comes for rescue. It already assumes, all the list of dependencies and bundles in the starter pack of spring-boot-starter-web.
<dependencies>
	<dependency>
		<groupId>org.springframework.boot</groupId>
		<artifactId>spring-boot-starter-web</artifactId>
	</dependency>
</dependencies>
-
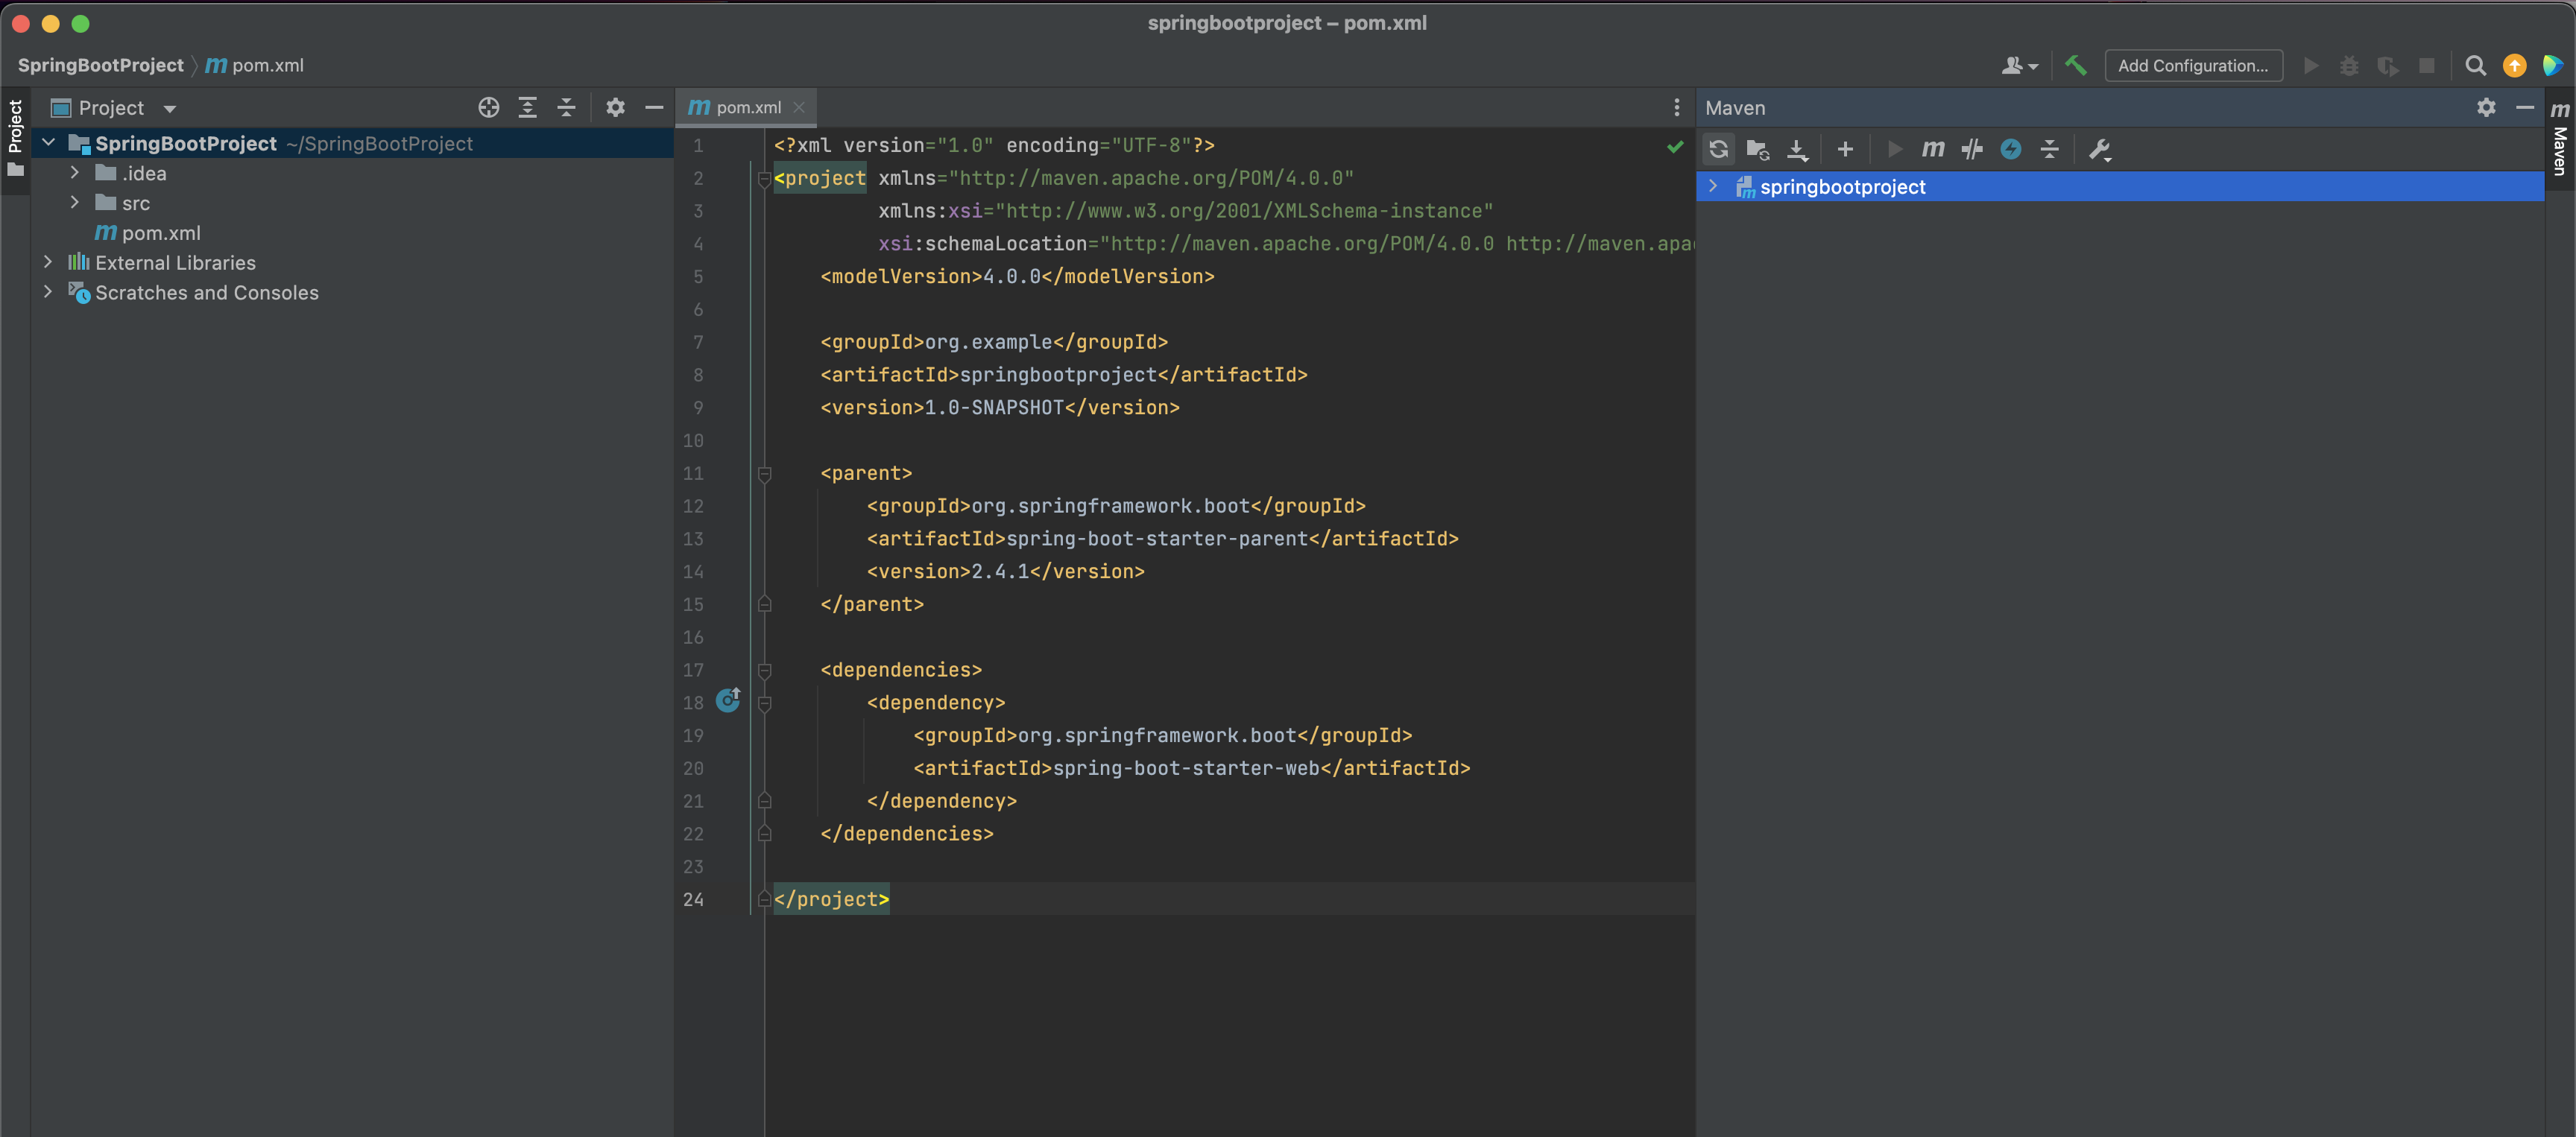
The next thing we need to do is, compile and build this maven project.
It is quite easy in IntelliJ Idea.
In the right side of the screen, you can find a maven tag. You need to click on that and then click on the icon with two arrows facing each other.
And your Spring boot project is ready.
-
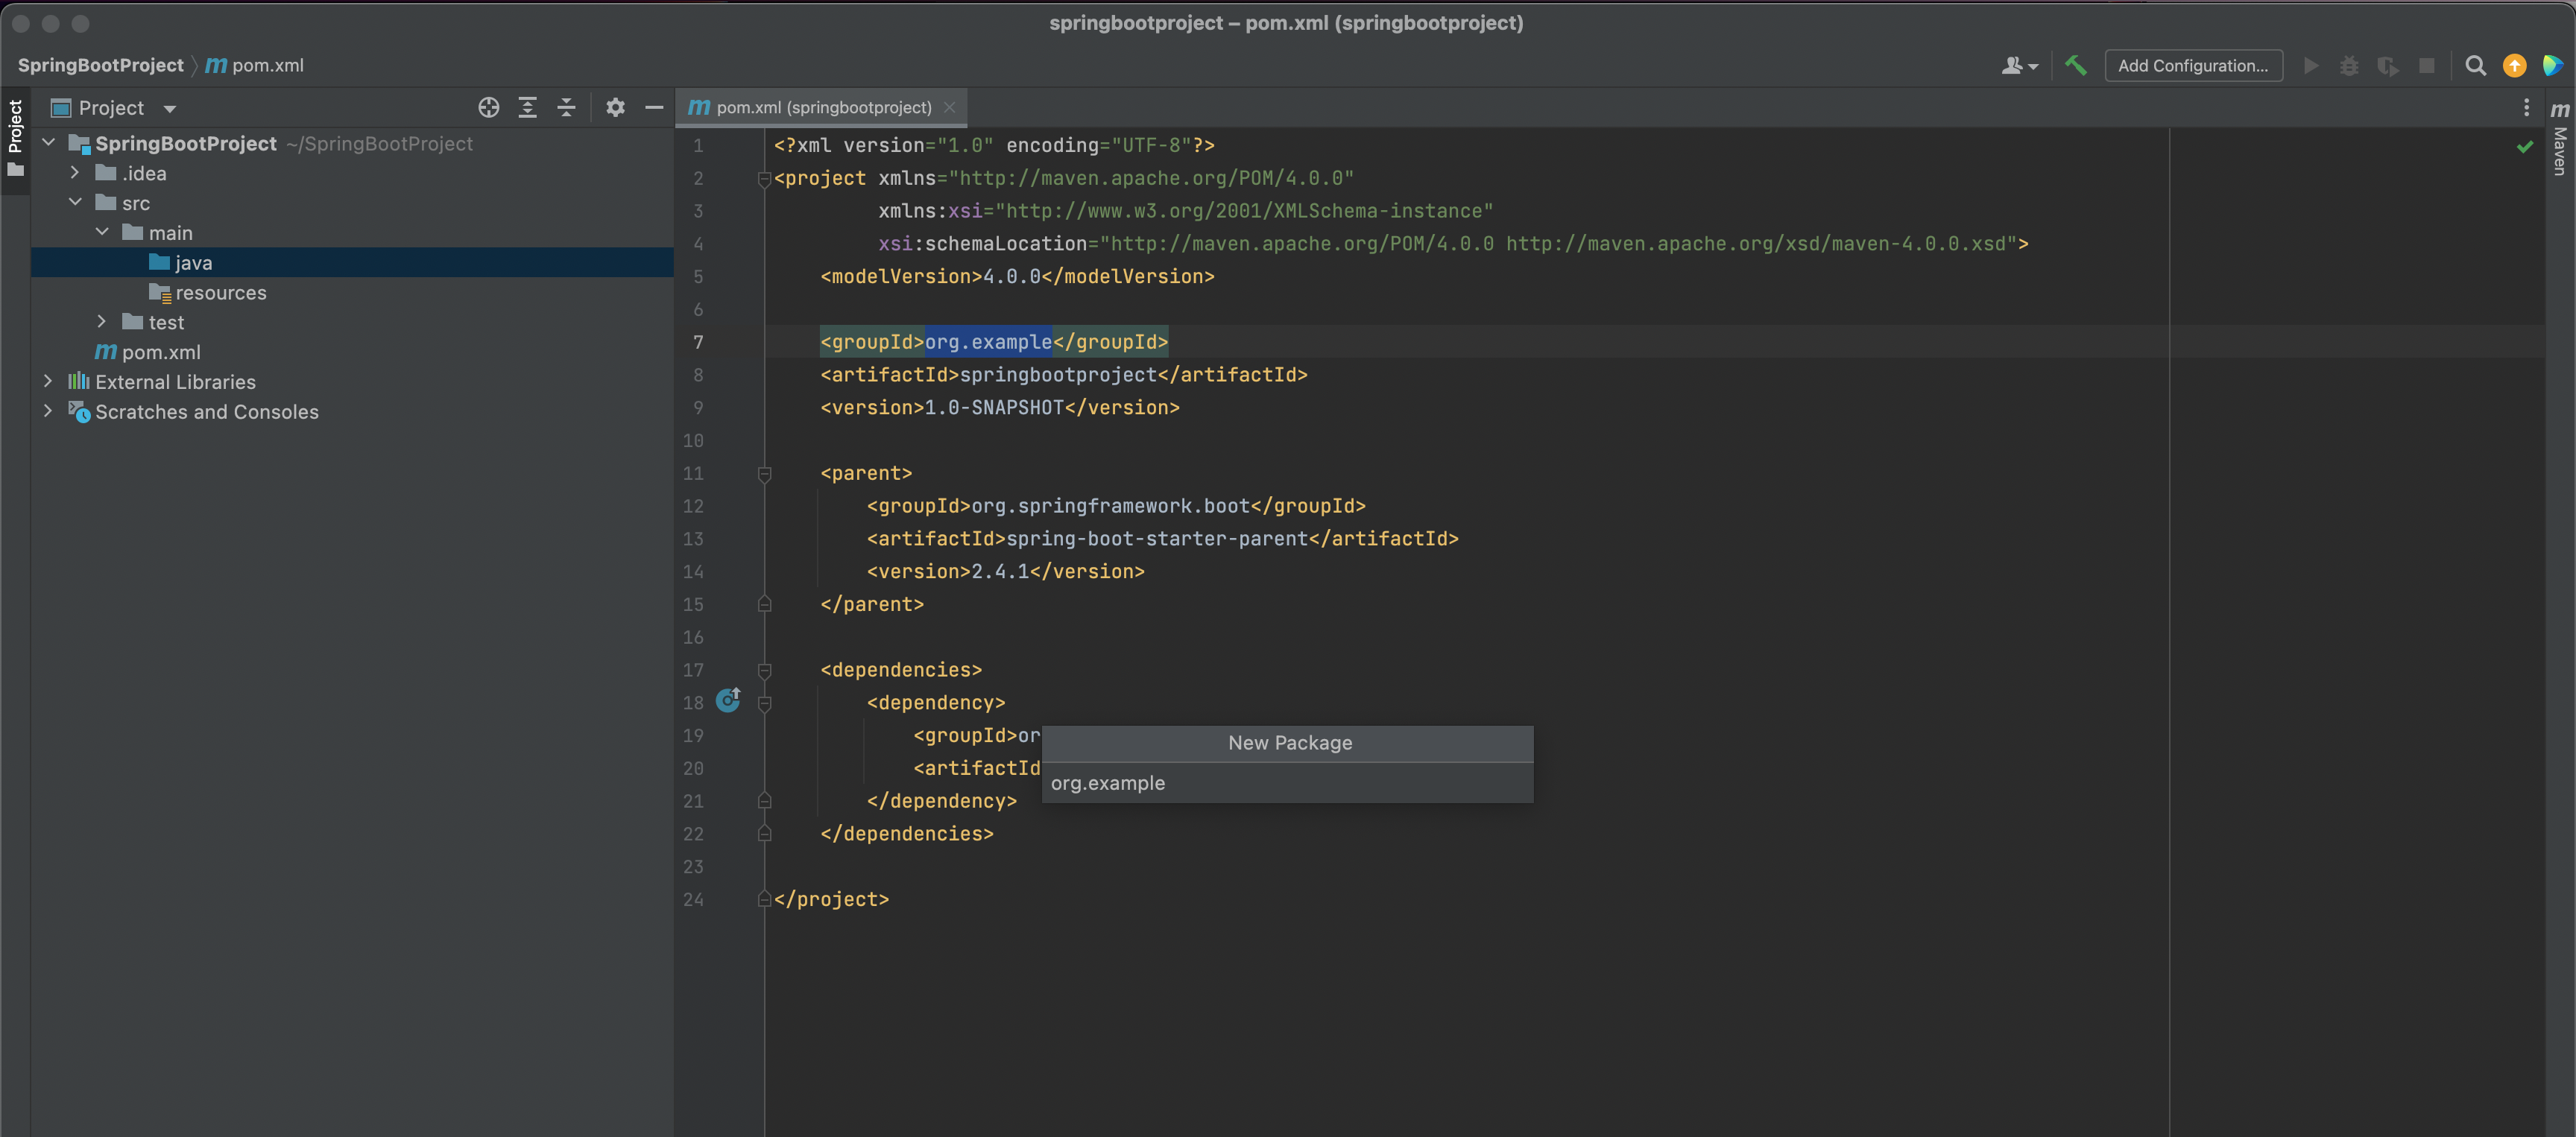
The next thing we are going to do is create a simple java class.
To do it, at first expand the src folder and then expand the main folder on the right hand side.
Then right click on the java folder inside the main folder and click on New -> Package
And give the package name as org.example.
Note : Just remember org.example is the <groupId> of our application springbootproject mentioned in the <artifactId>.
<groupId>org.example</groupId>
<artifactId>springbootproject</artifactId>
<version>1.0-SNAPSHOT</version>
-
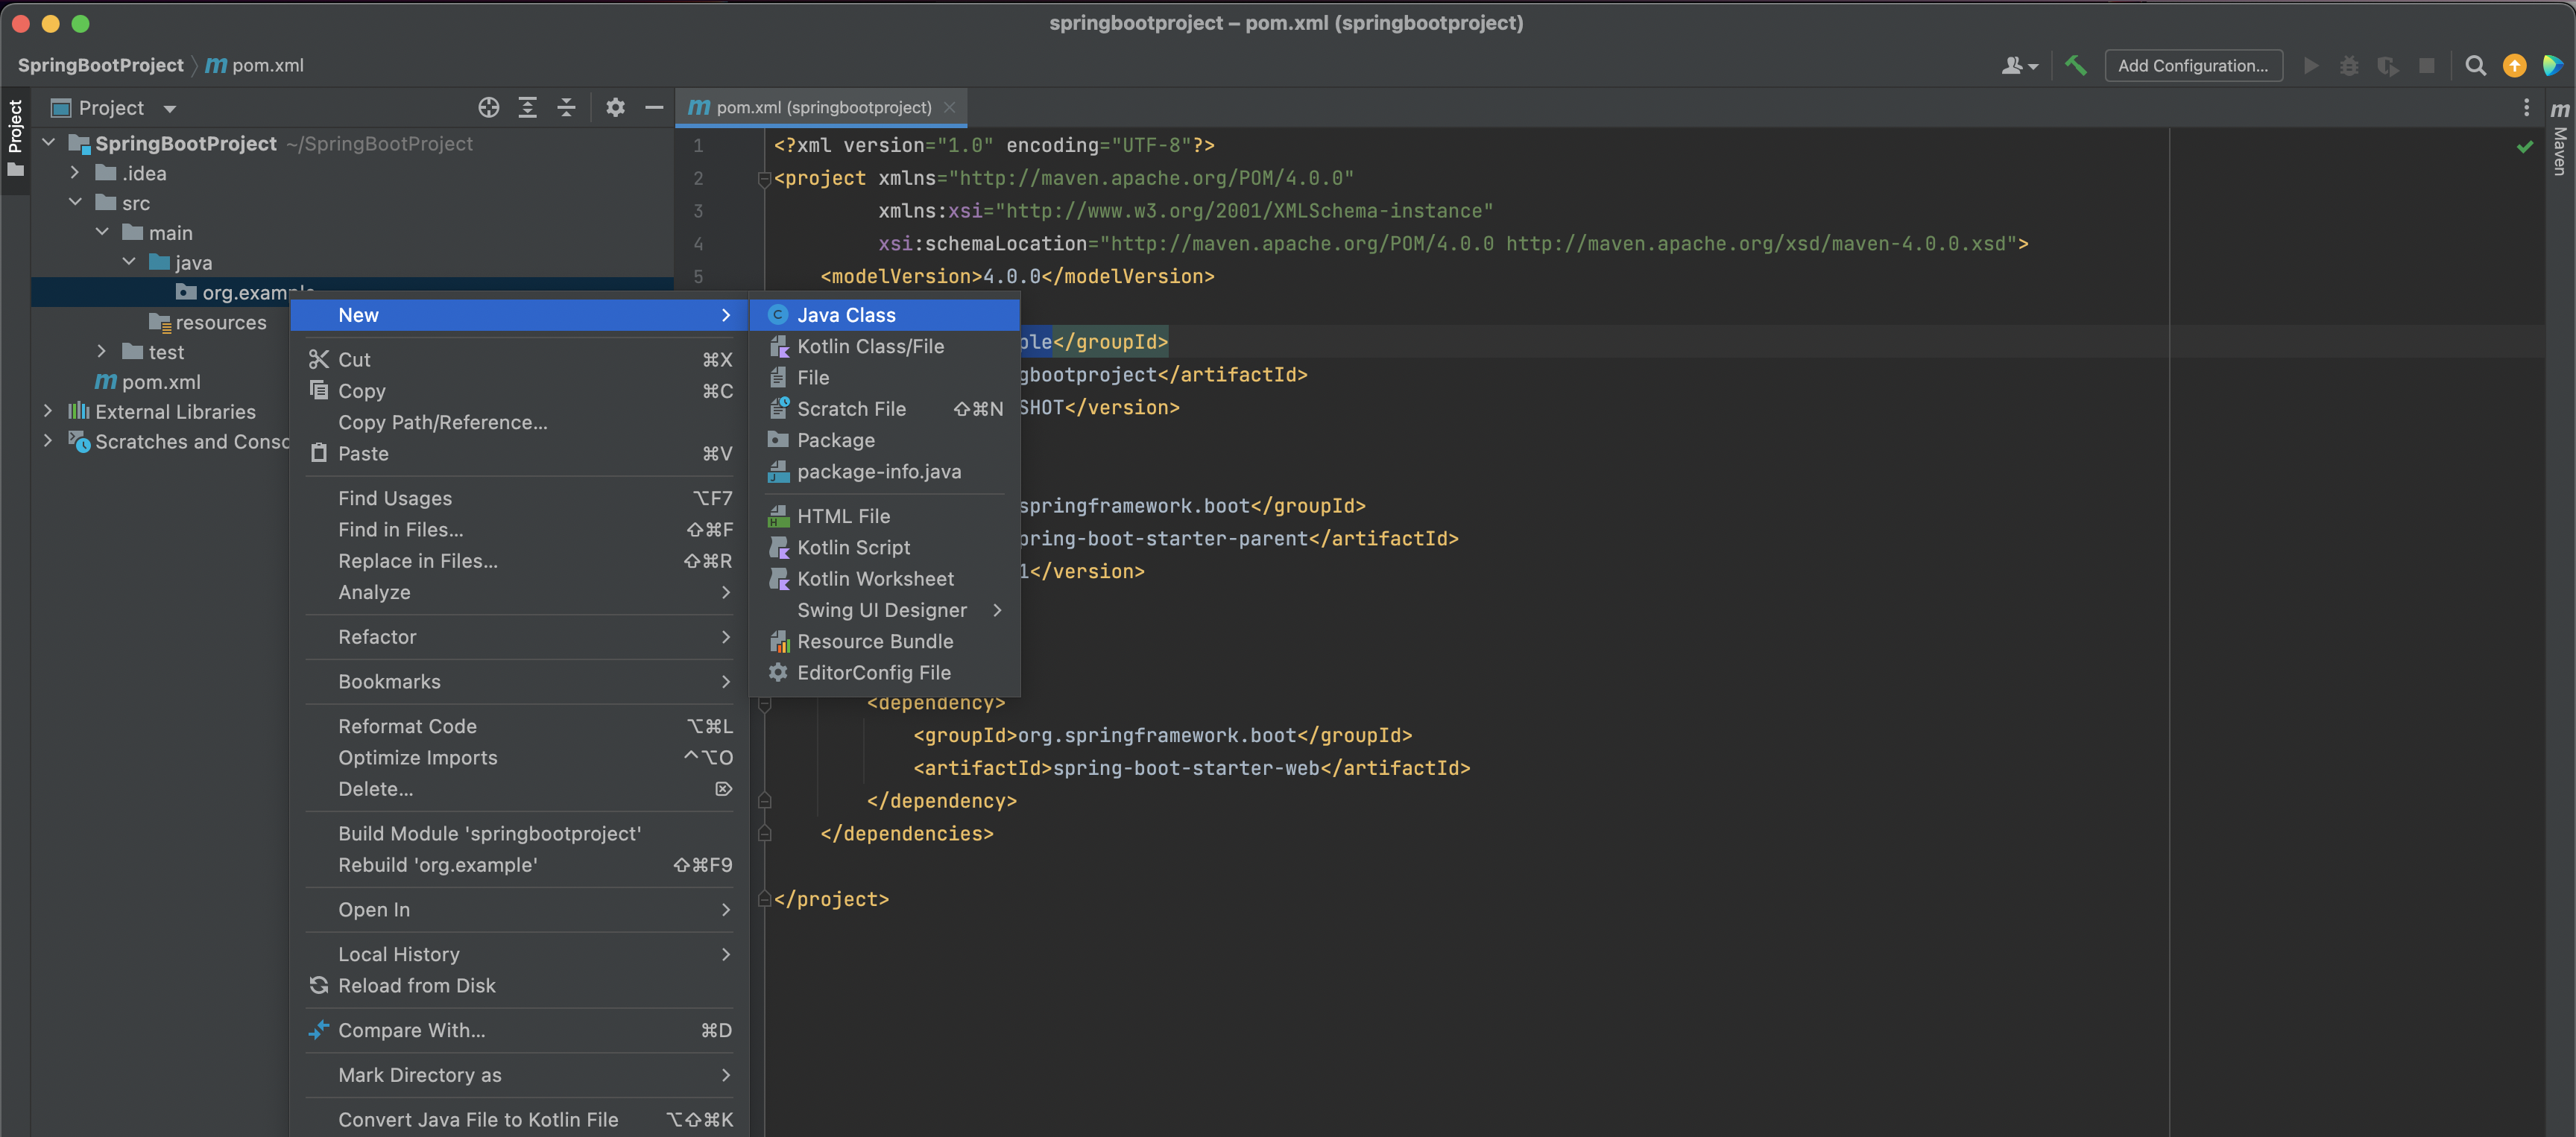
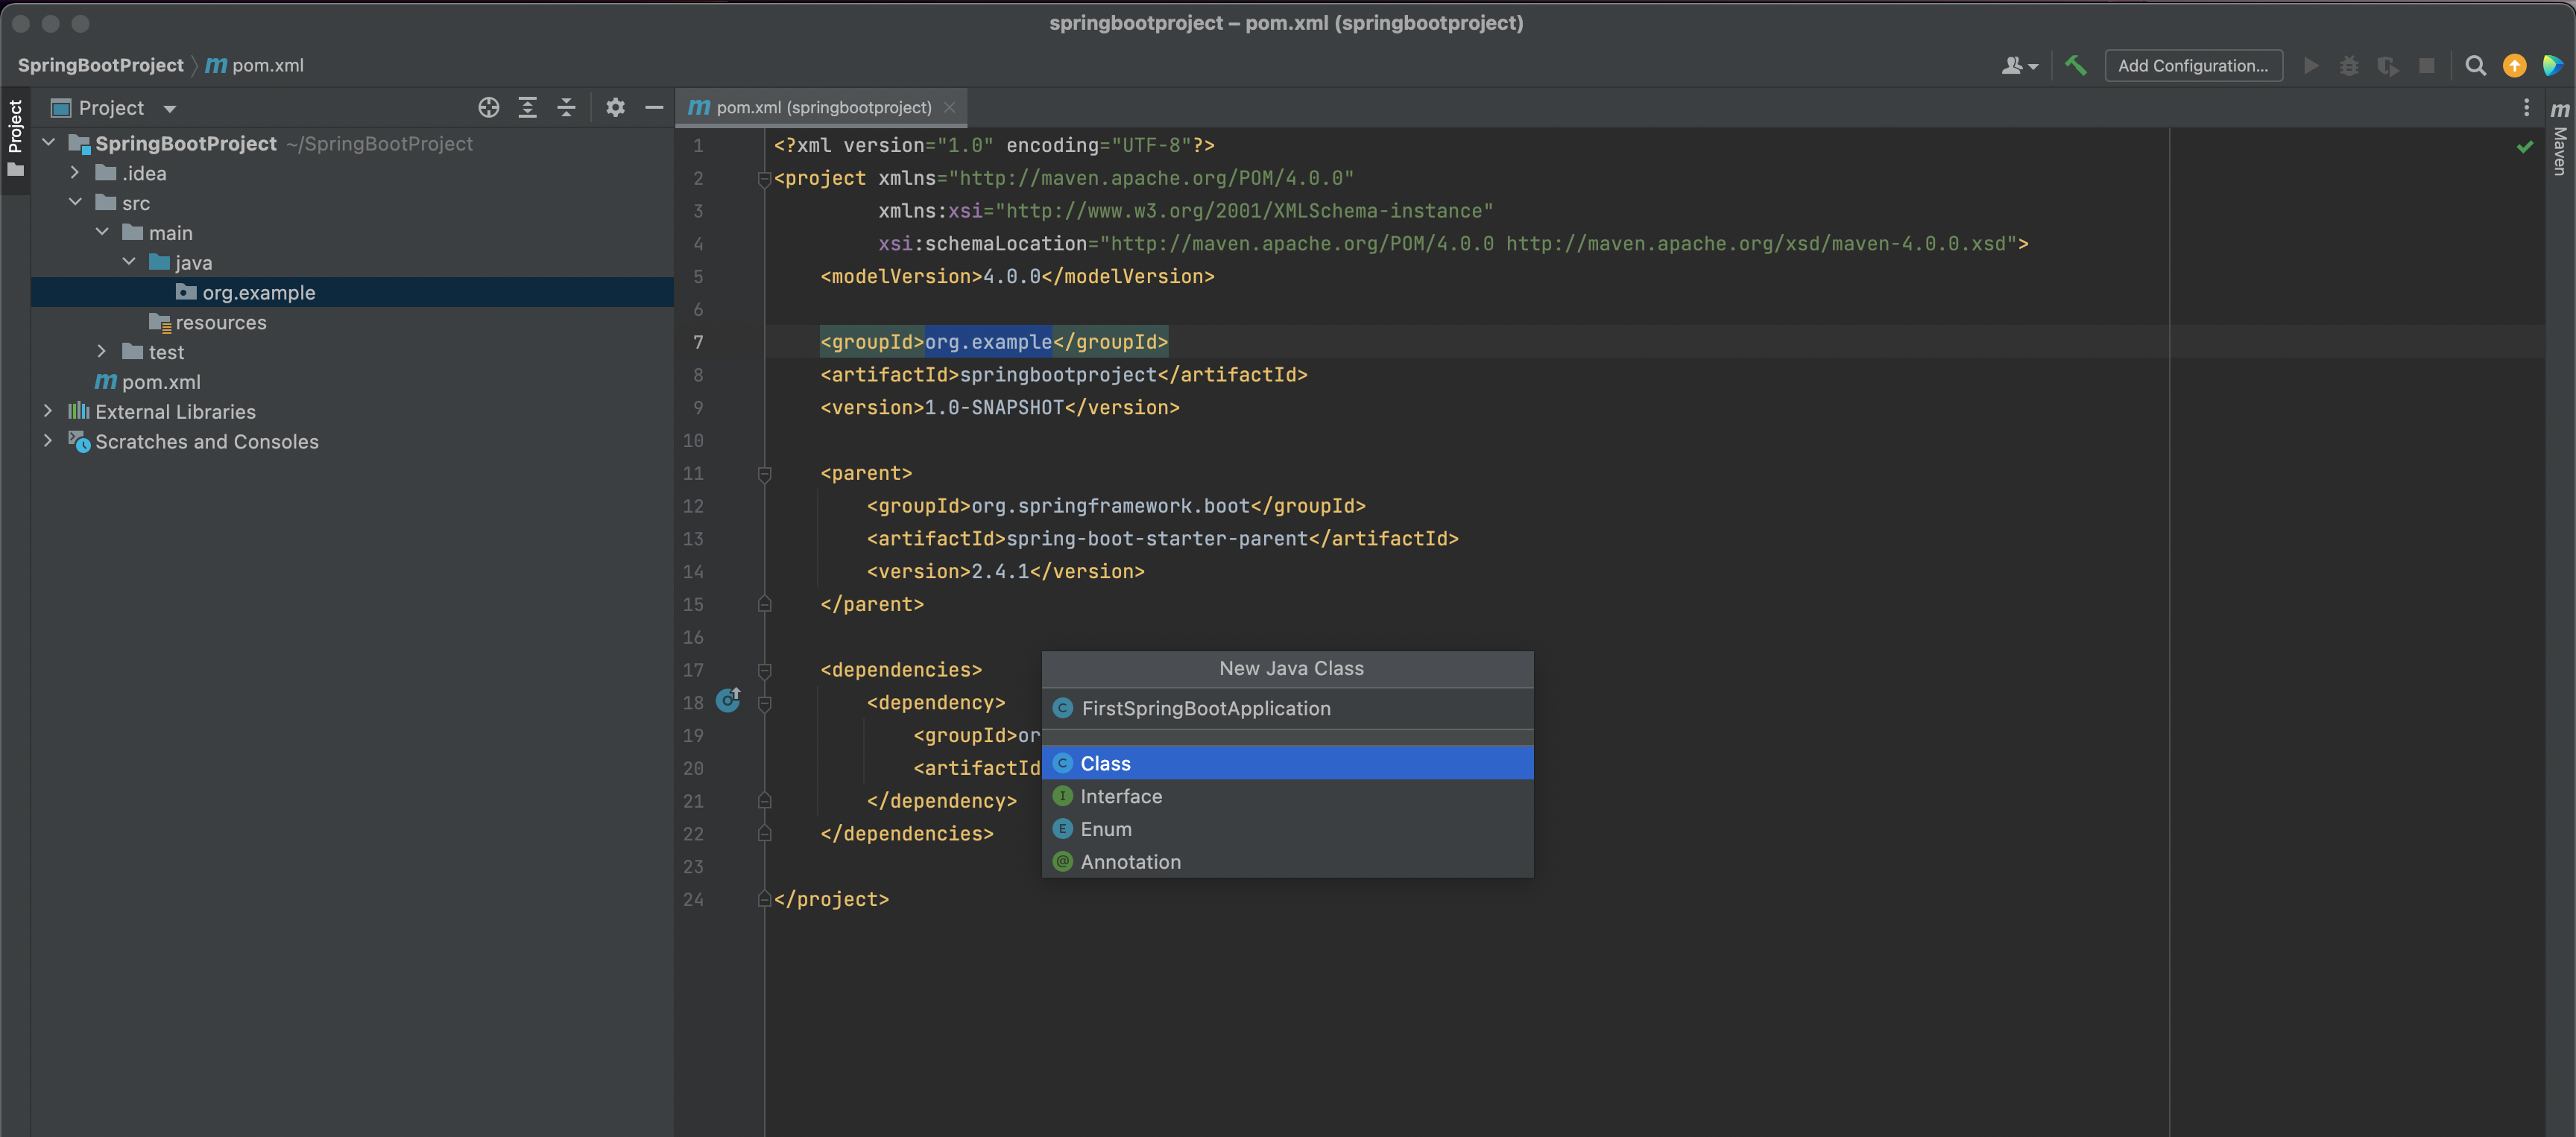
Once the package org.example is created, right click on it and select New -> Java Class.
-
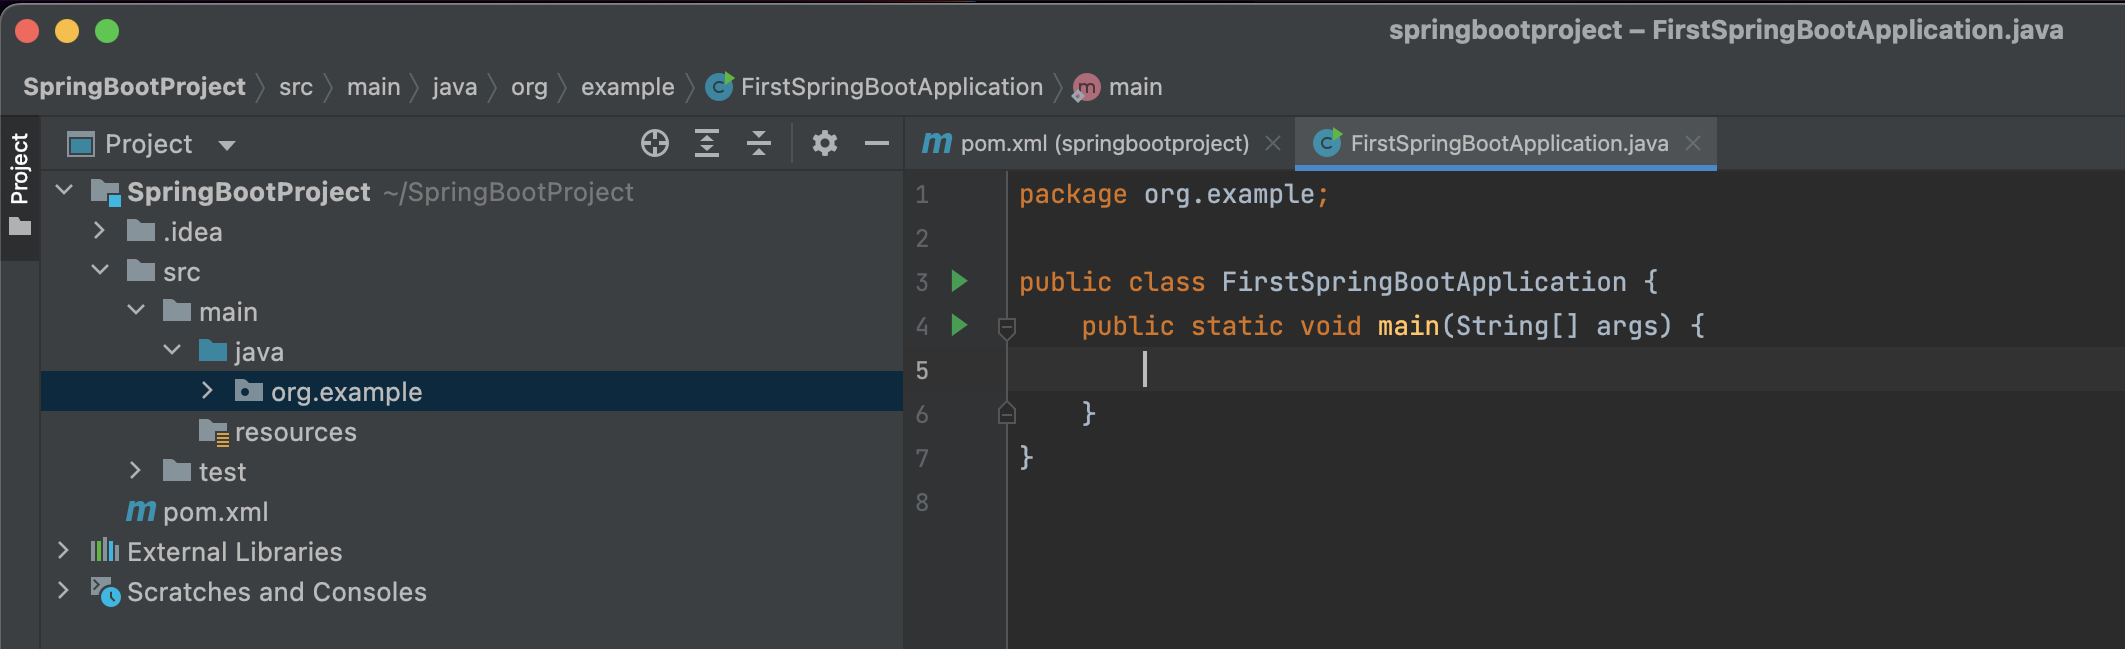
Give the name of the class as FirstSpringBootApplication.
-
And a simple java class with a main method is created.
-
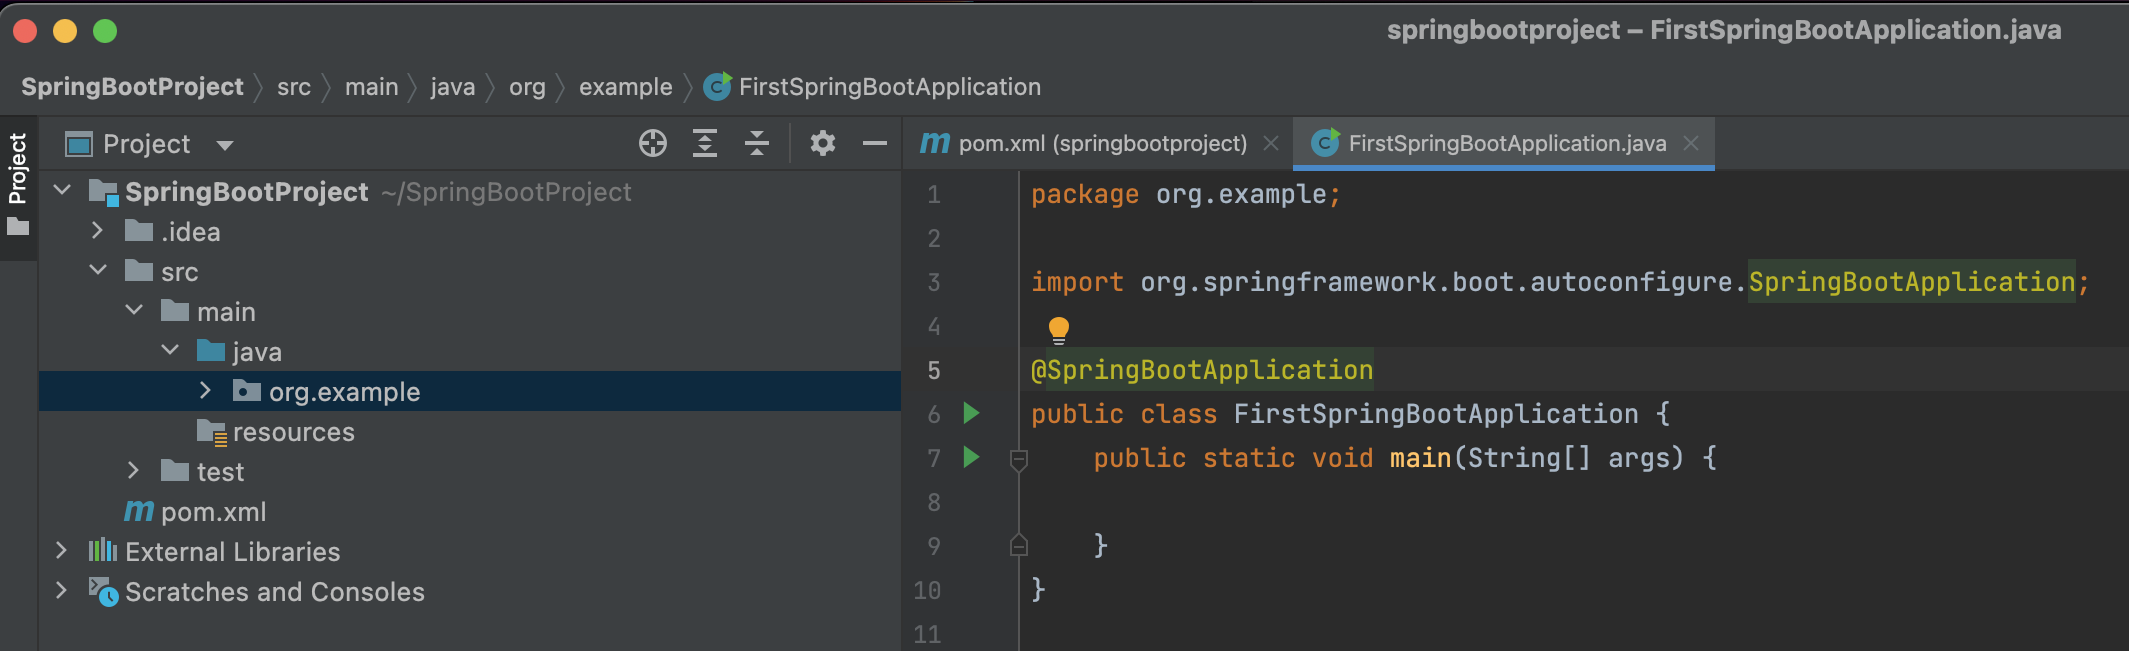
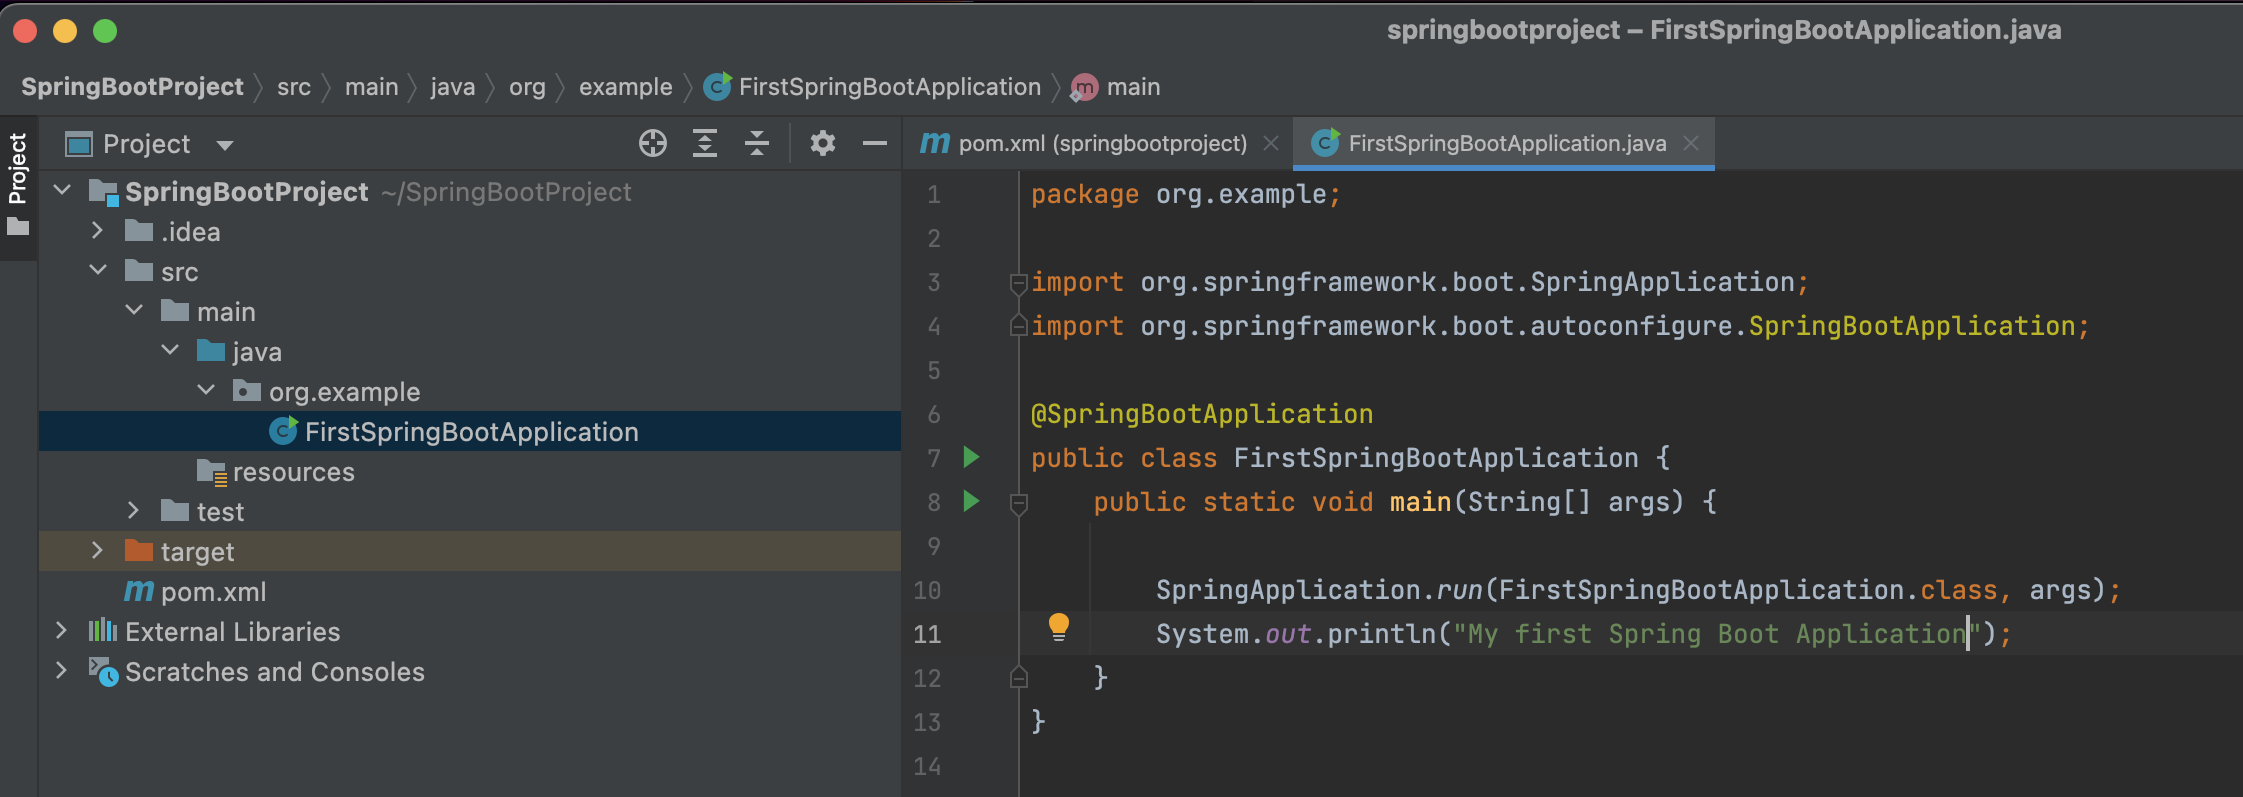
Now, it is time for us to convert it into a Spring Boot Application.
To do so, just annotate the FirstSpringBootApplication class with @SpringBootApplication.
-
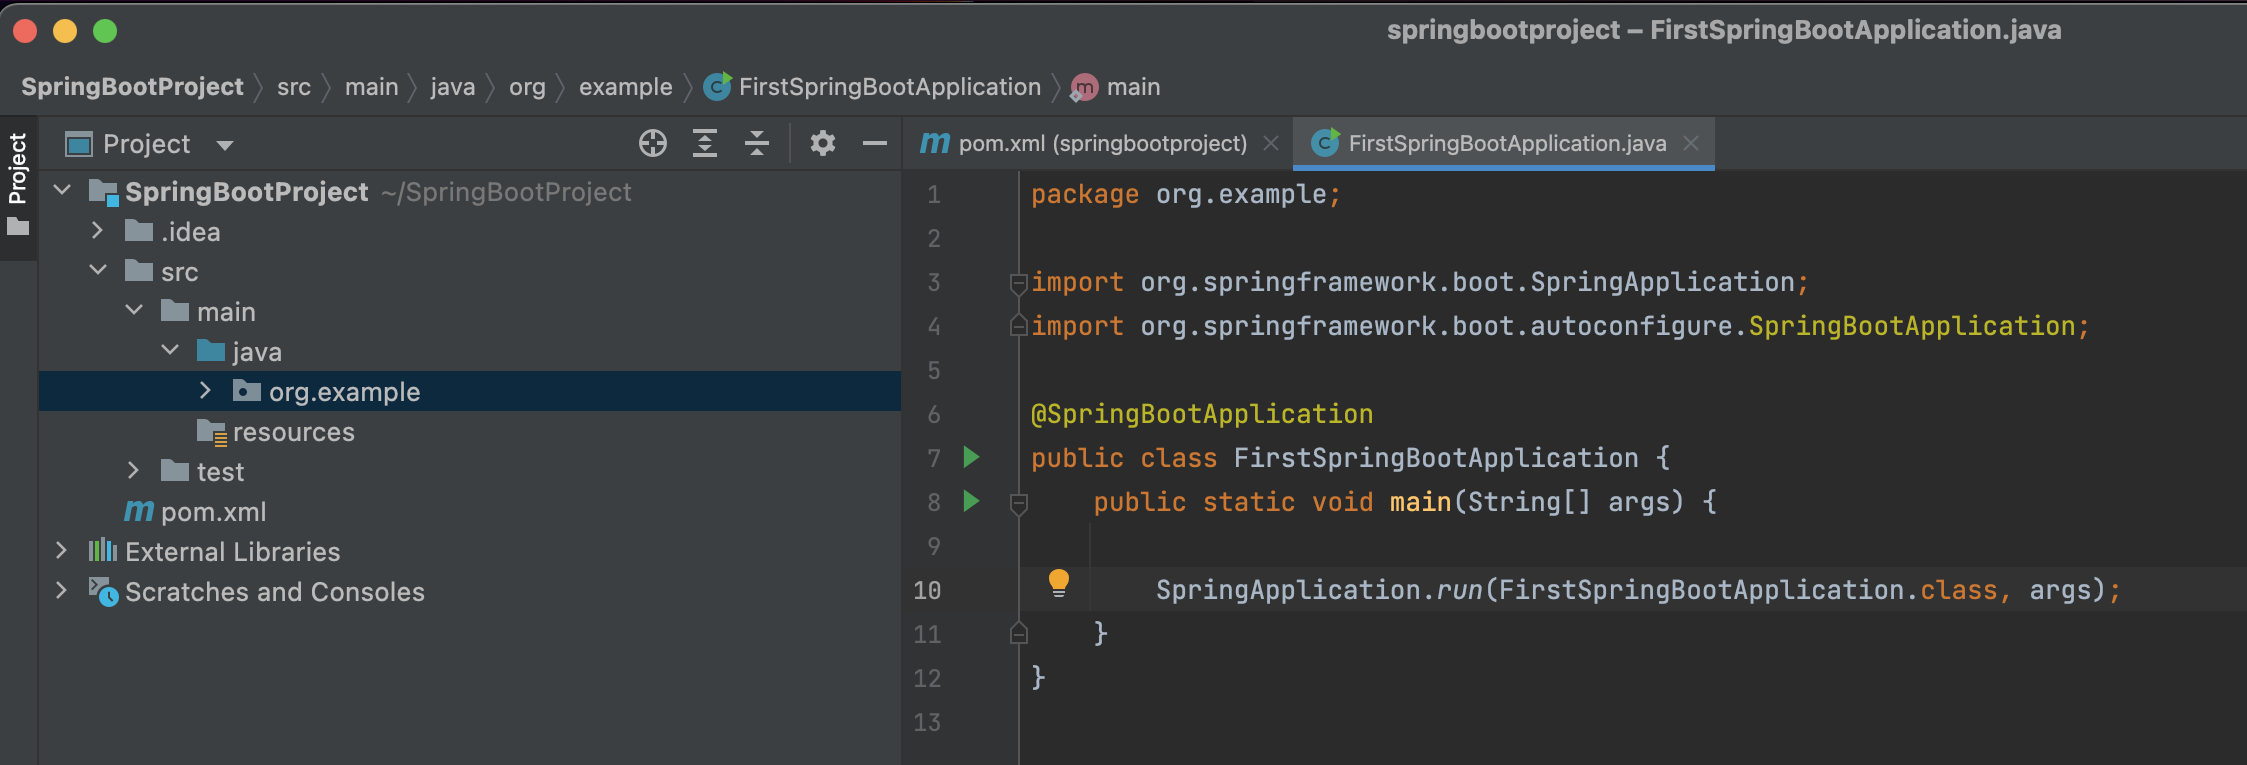
Then to run the Spring Boot Application, use the run() method of class.SpringApplication
-
Now, to check, if the Spring Boot application is working as expected, we have placed a print statement.
System.out.println("My first Spring Boot Application");
-
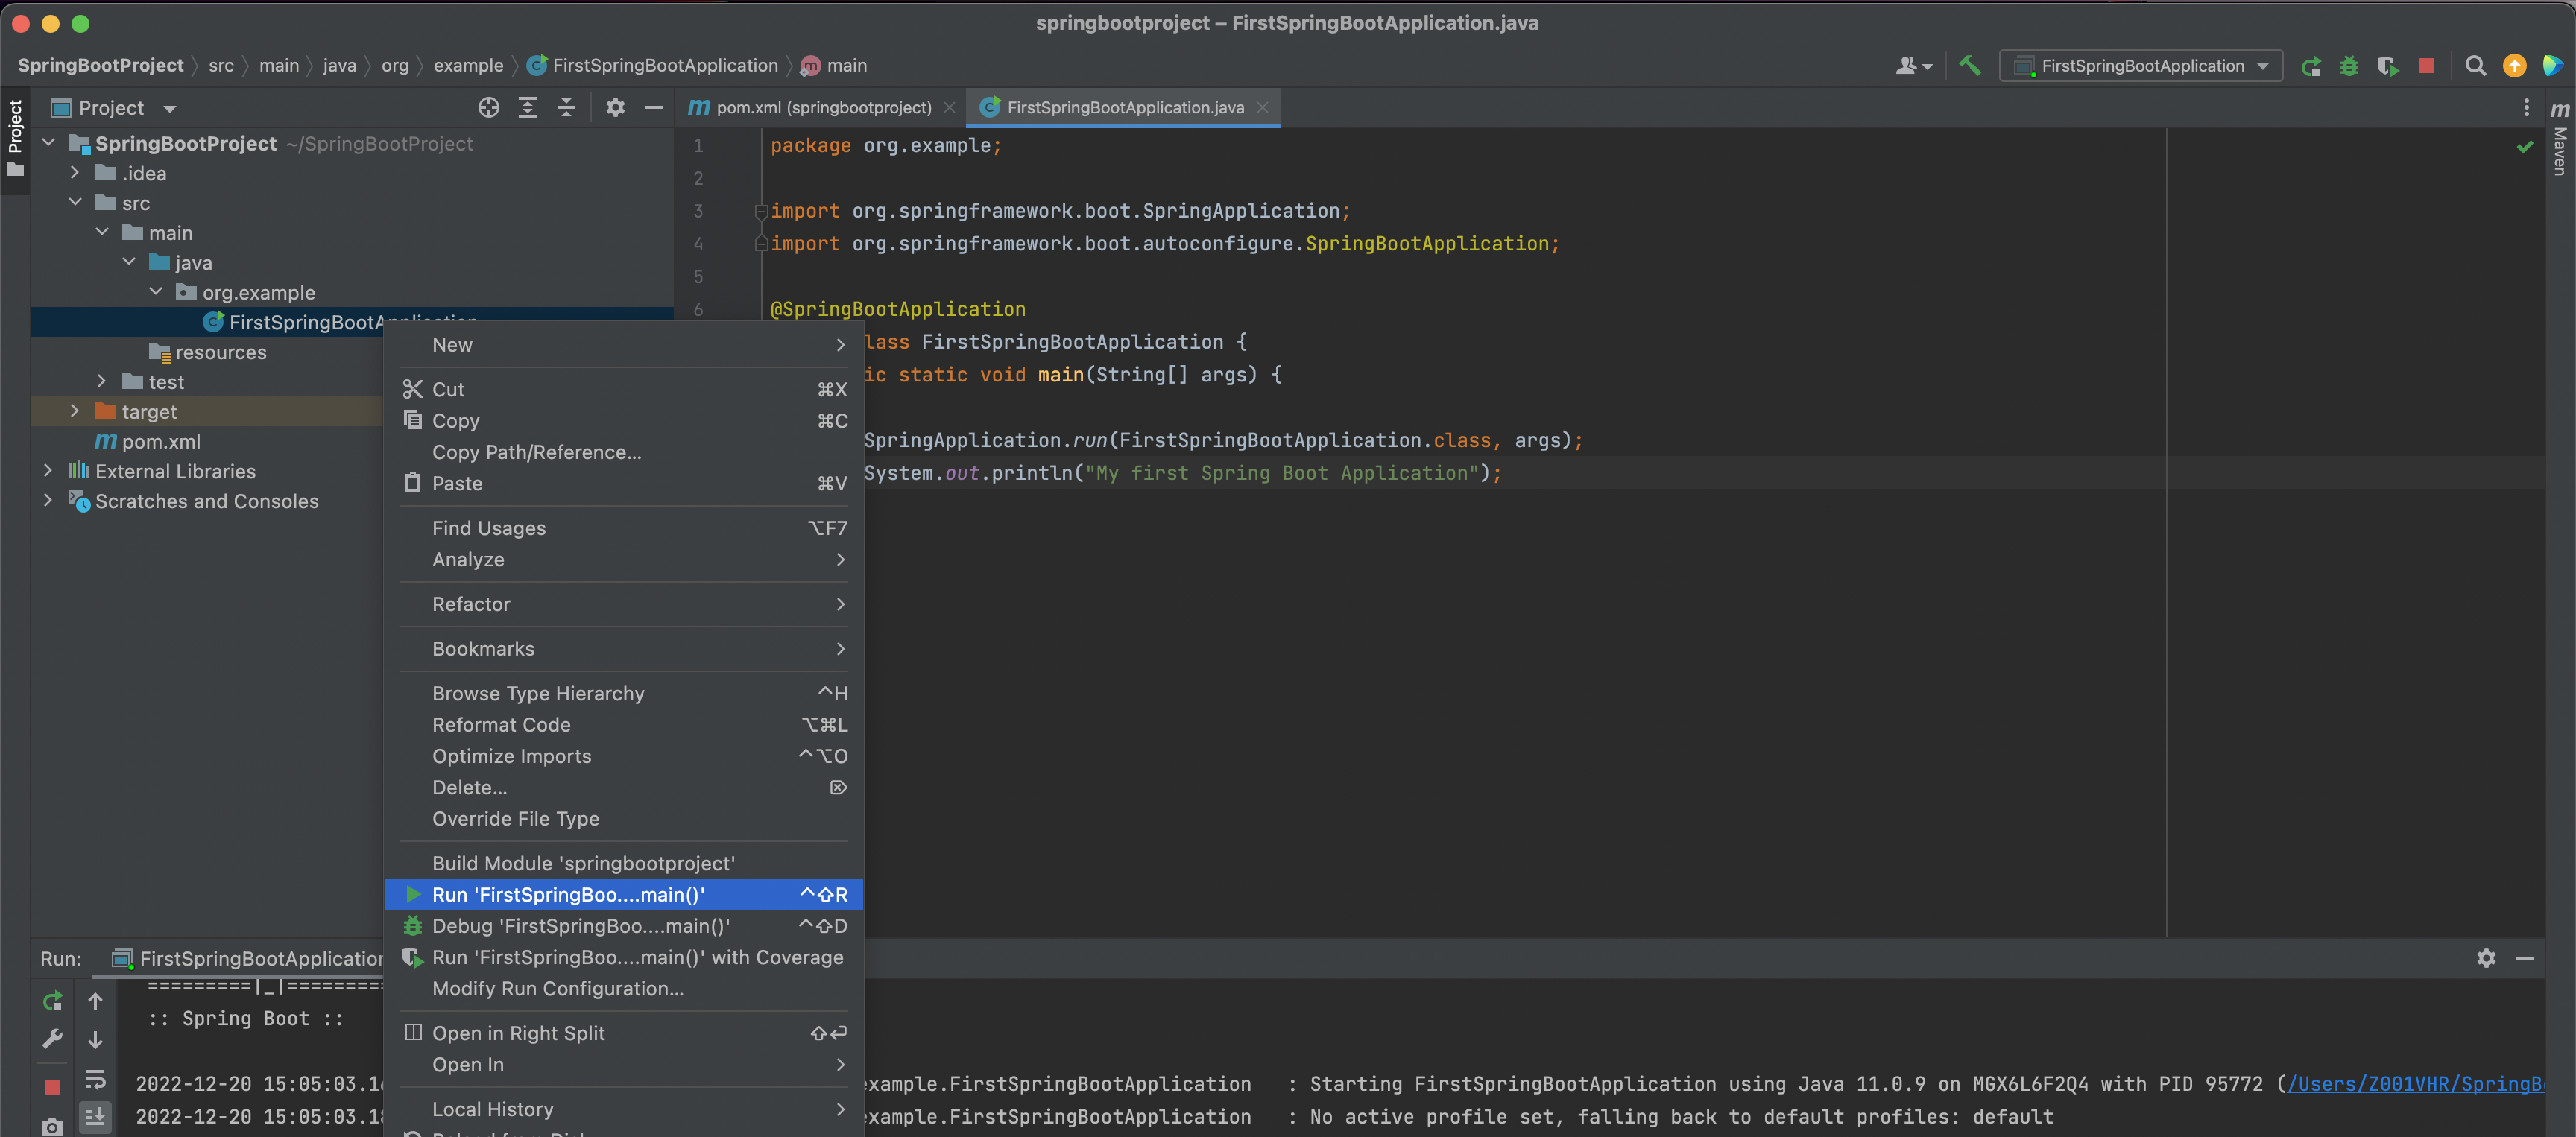
Then we run the Spring Boot by right clicking on the FirstSpringBootApplication class and click on Run ... as seen in the below screen.
-
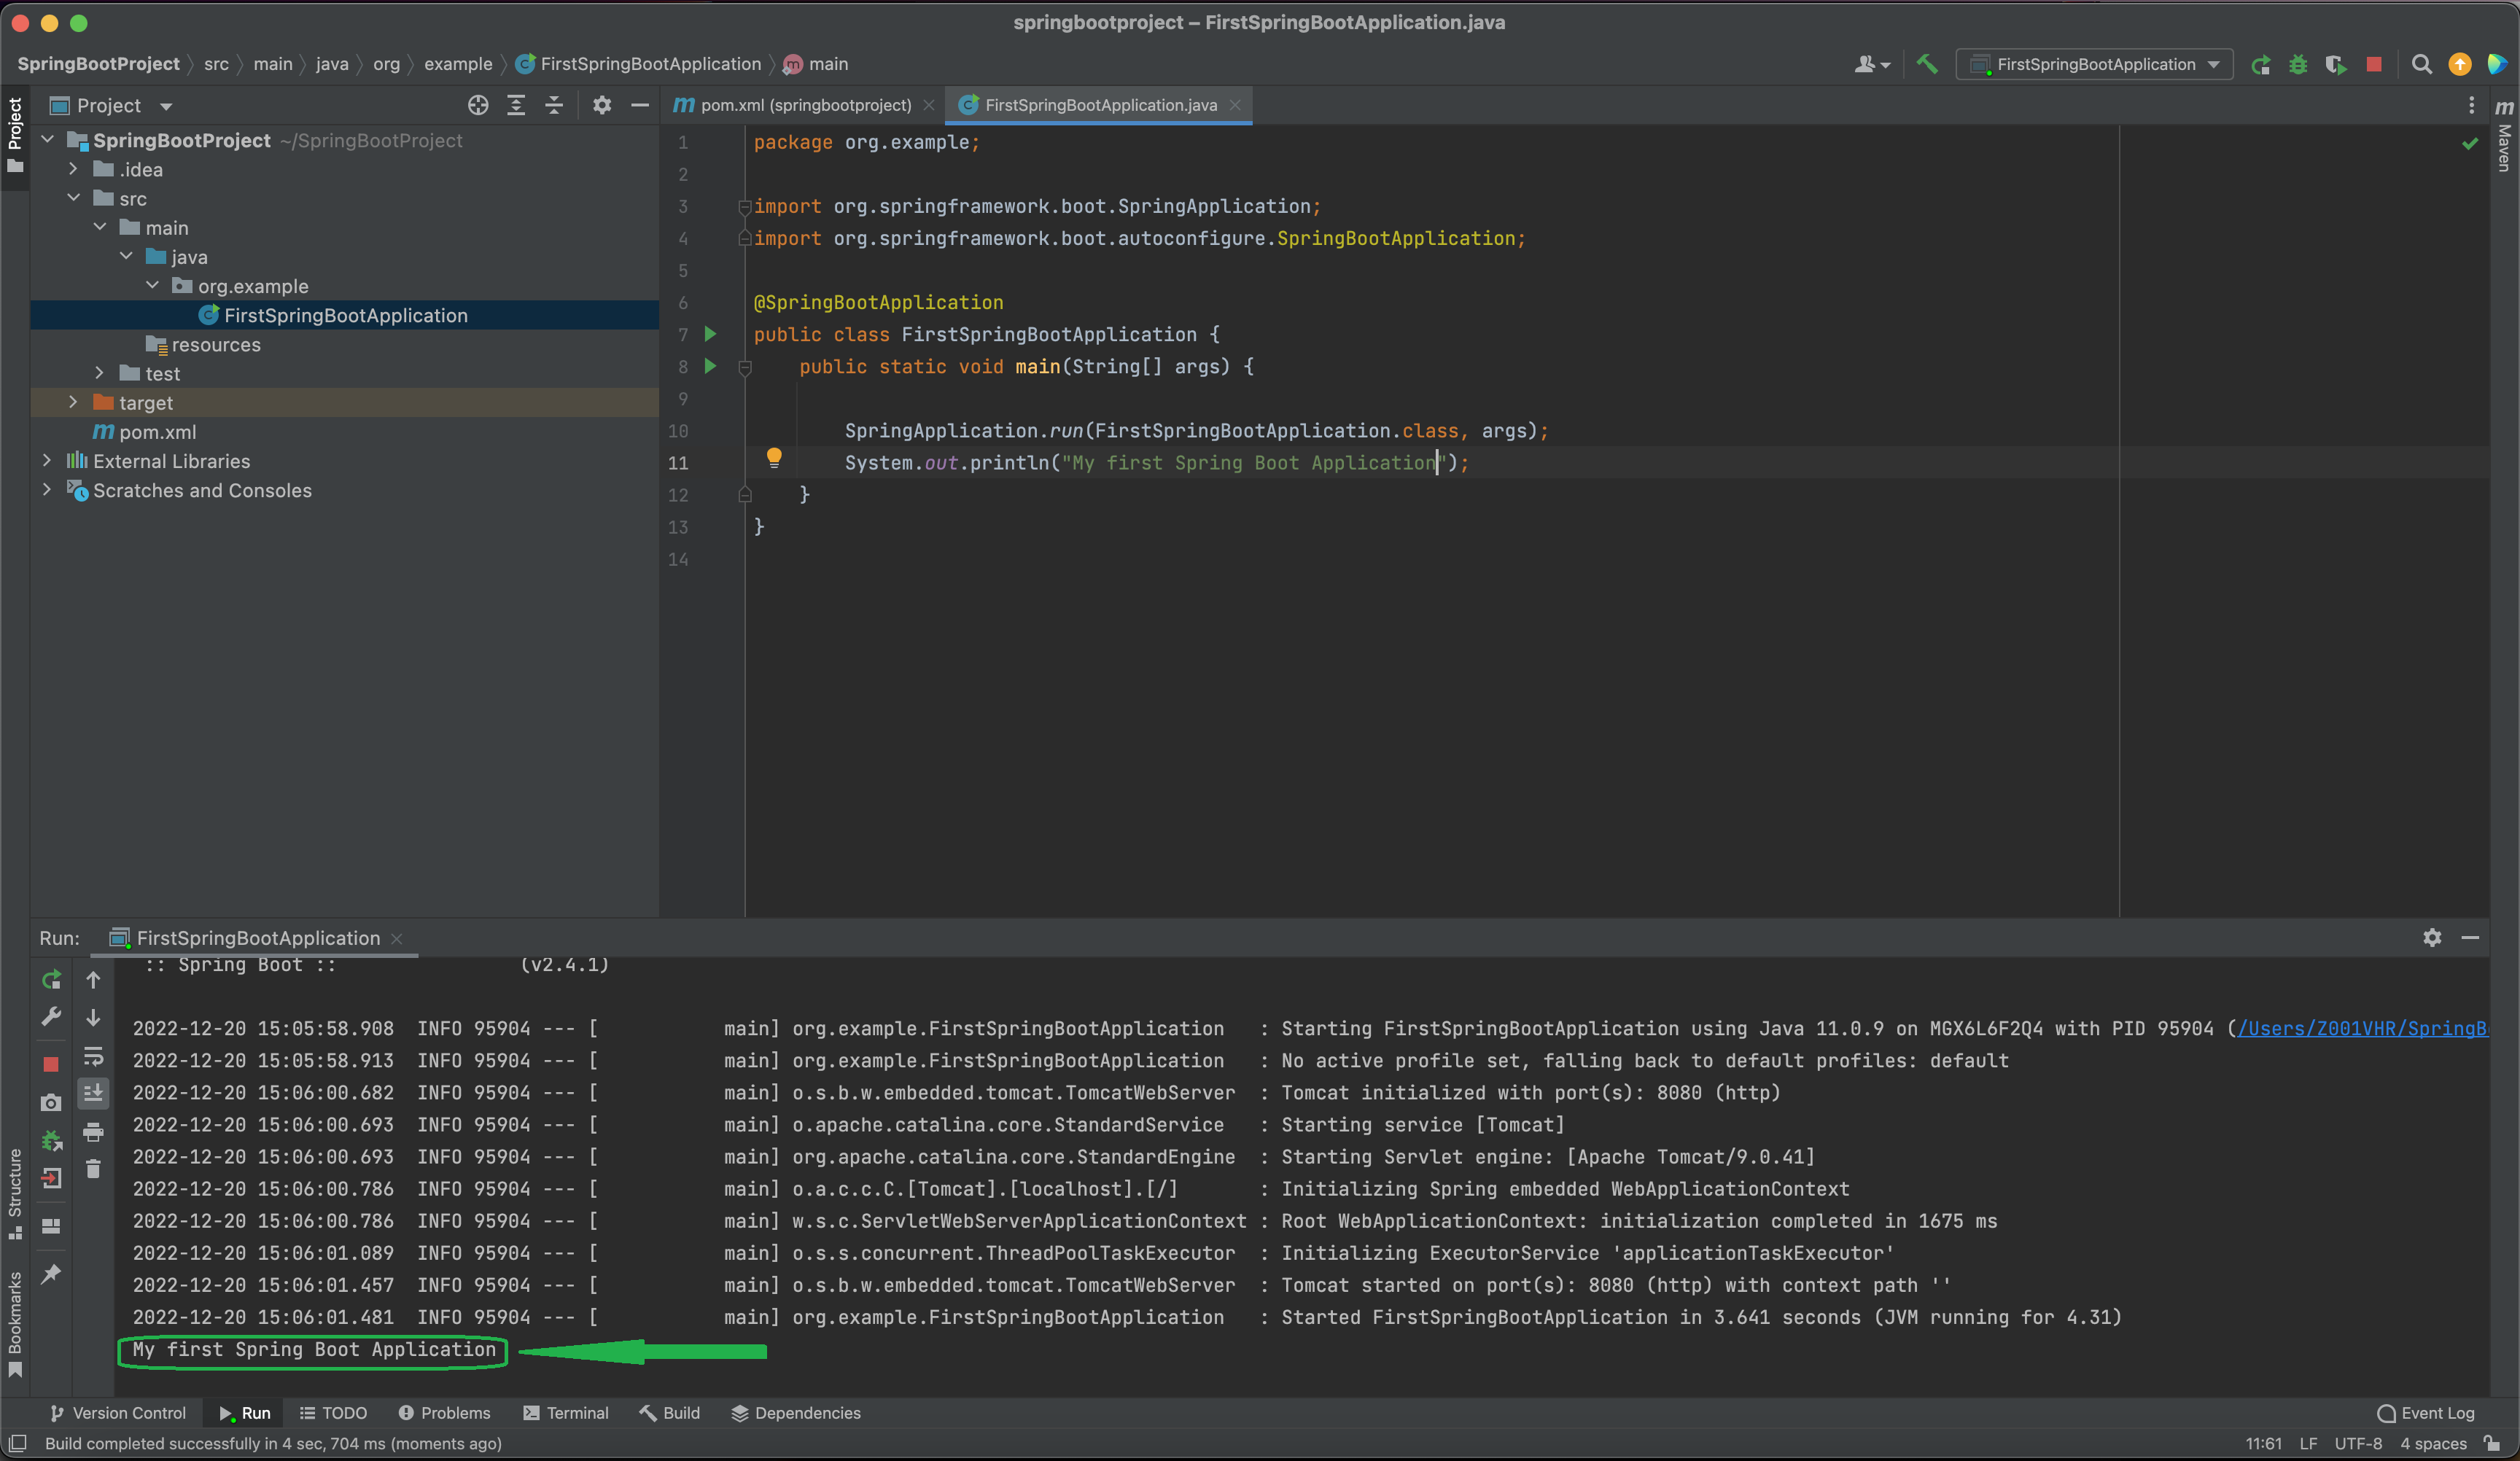
Now, if you see the console in the bottom, you can see the spring boot application is up and running and we get the output
My first Spring Boot Application
Printed on the console.
And thats all you have to do to run a spring boot application.